Burlap Wreath Tutorial – Bow
My burlap wreath tutorial found here has been by far my most followed tutorial, I’ve had a few follow up questions, specifically about how to make the bow and where I bought the materials.
I bought everything from Michaels, with many 40% off coupons. You’ll need about 2.5 rolls of burlaps for a 24inch wreath form.
You’ll need less than 1 roll of accent burlap. I chose green 4inch burlap.
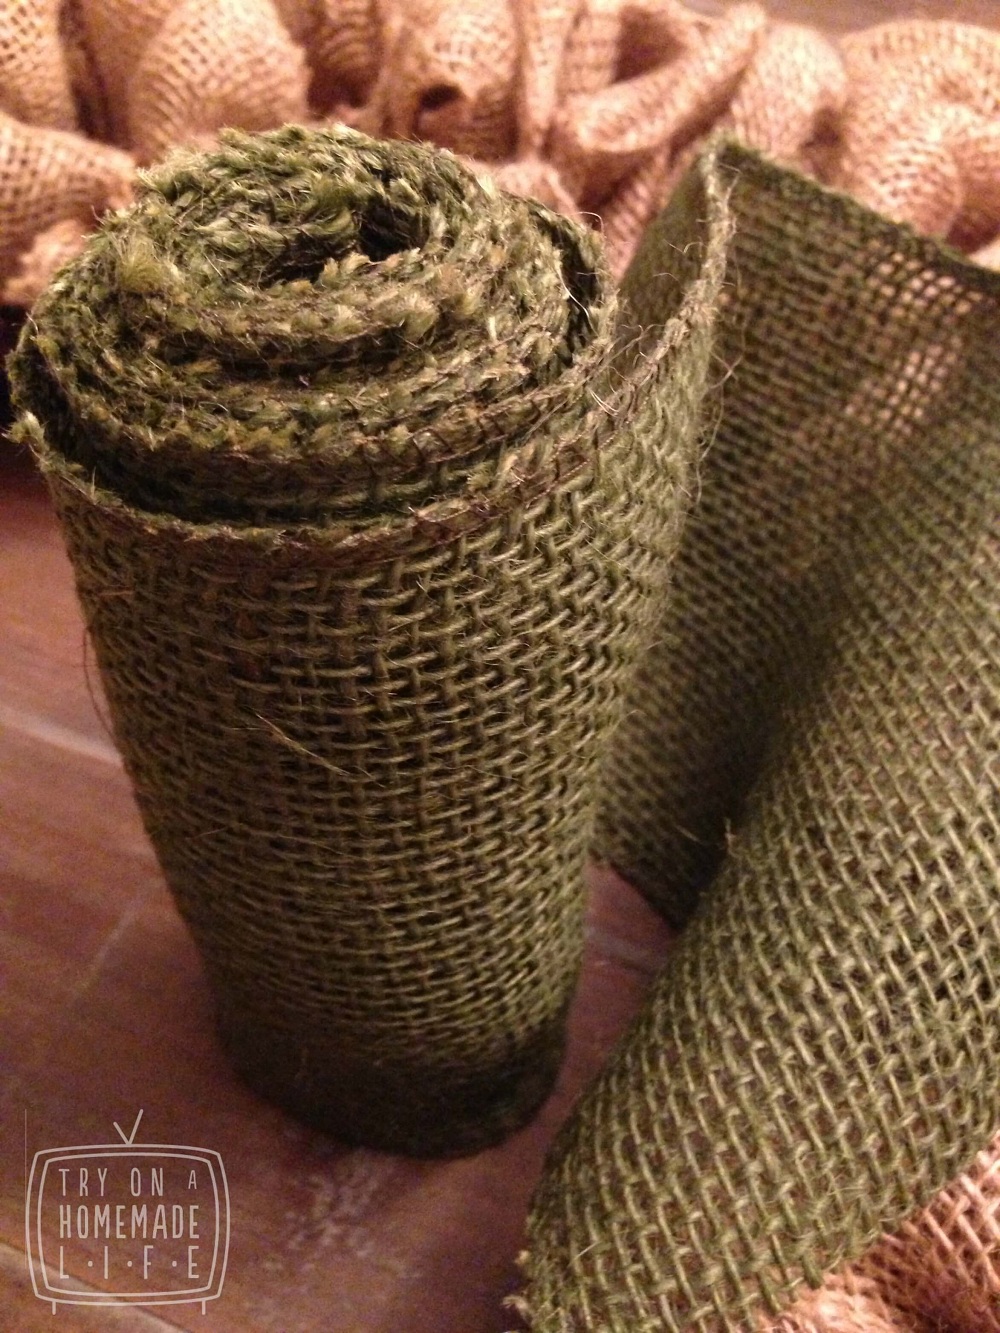
A great green roll of burlap, perfect for the bow on my burlap wreath.
The bow is simple to make.
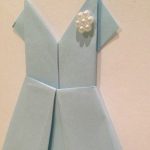
1. Fold about 20inches of green burlap so the ends meet the centre.
2. Squeeze the middle with your fingers, so a bow top takes shape and sew it together with corresponding thread.
3. take a small piece of green burlap and fold the finished/long edges (not where you’ve cut) to the middle and cover your stitching.
4. Measure out in an upside down “V” how long you want the two tails of the bow to be and cut, and sew on the top and bottom points.
5. Attach the top of the bow, overtop of the tails and sew in place.
NOTE: it only takes a few hand stitches to hold it in place. be sure to sew the bottom bow tails in place too, so they don’t flap in the wind.
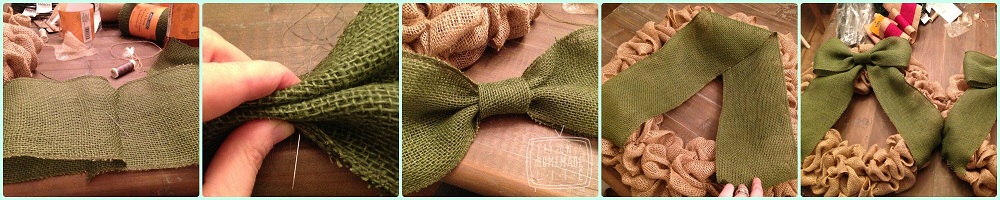
Making a burlap bow for a burlap wreath is easy.
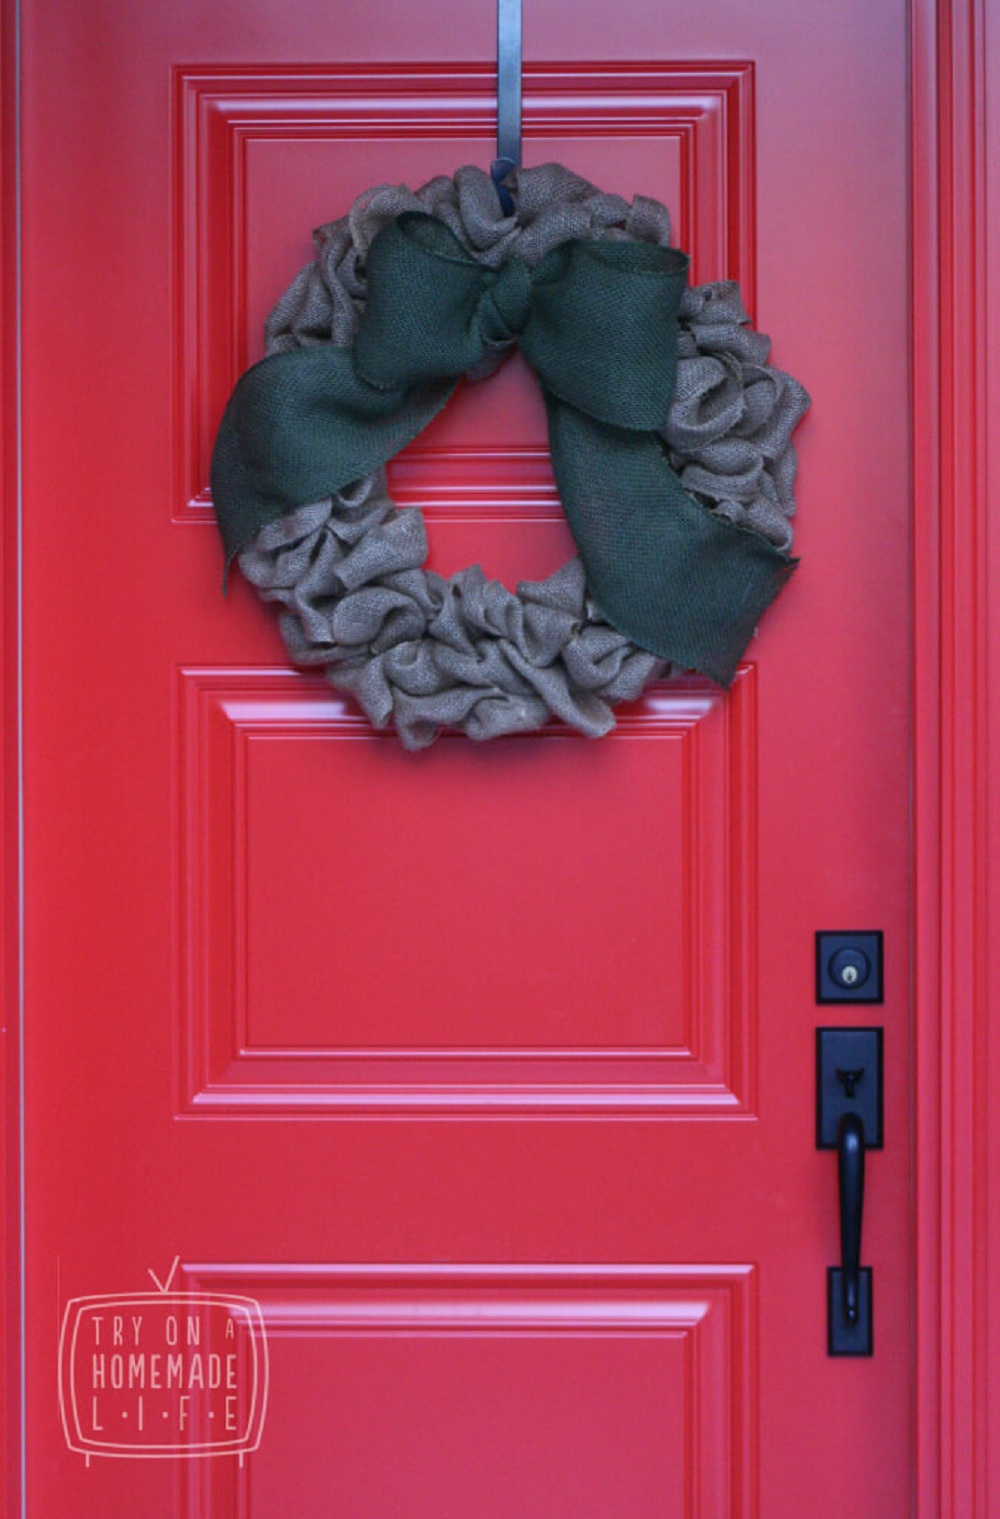
A burlap wreath on a red door. Is there a more perfect combo?