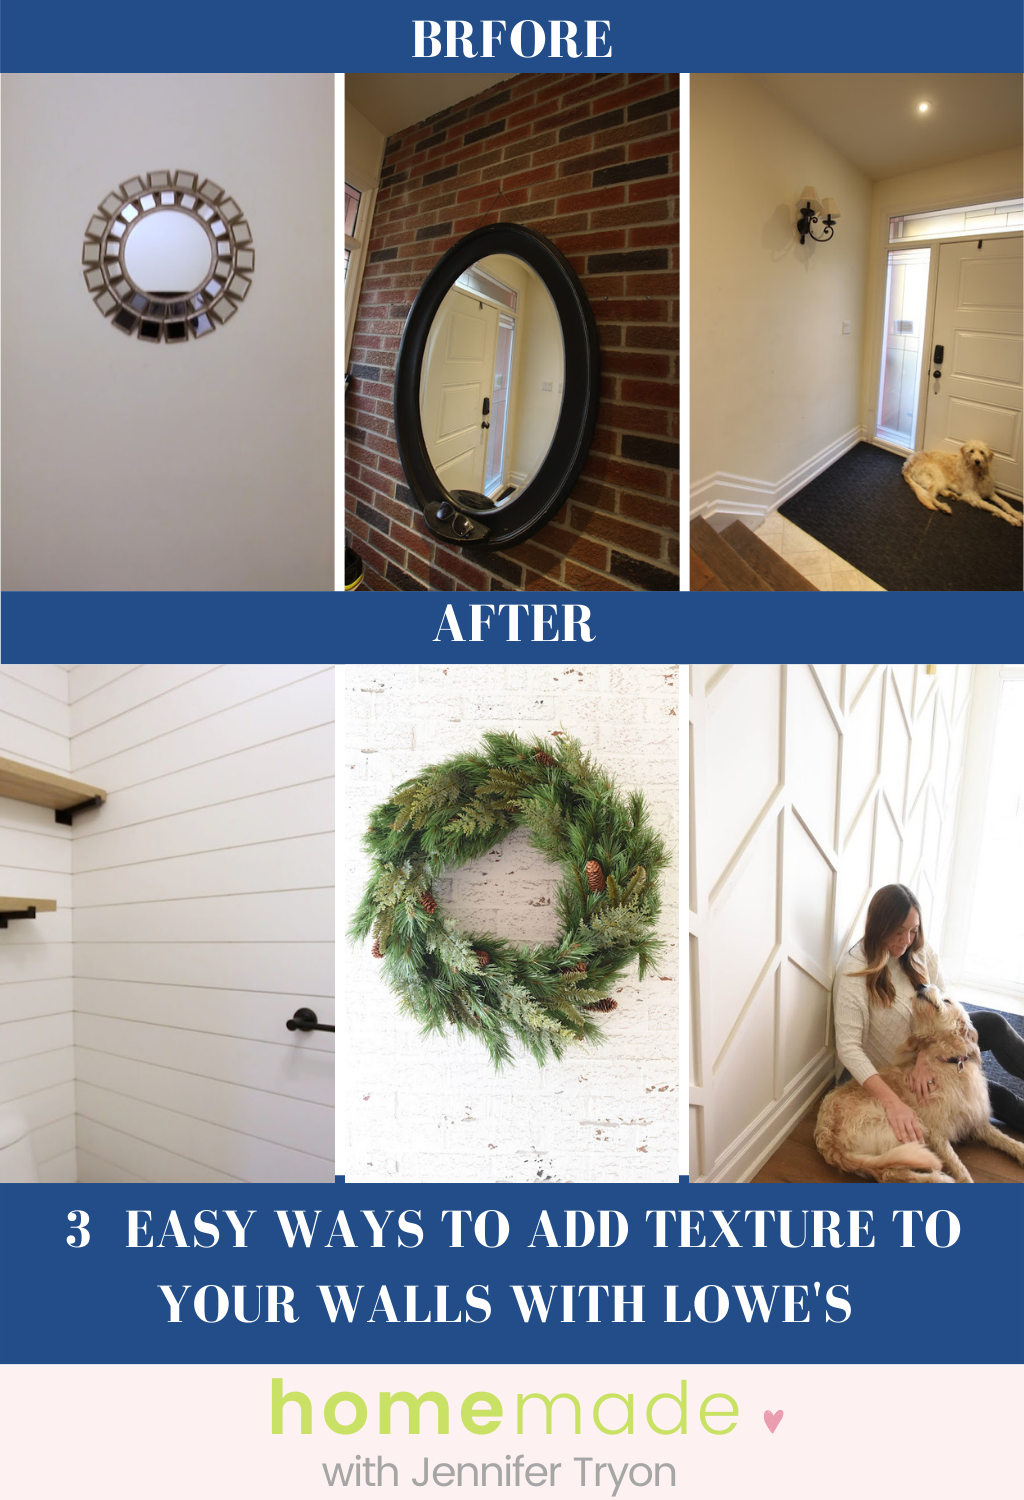
3 Easy Ways To Add Texture To Your Walls With Lowe’s
Are you looking for some simple ways to update your walls besides just the usual, change your paint colour?
Then you are in the right place because, with products from Lowe’s, I created 3 different DIYs that you can make to add texture and design to your walls!
Plus, the best part is that all of these wall DIYs are budget-friendly and can be completed over the weekend!
WATCH THE FULL PROJECT UNFOLD OR READ THE STEPS BELOW!
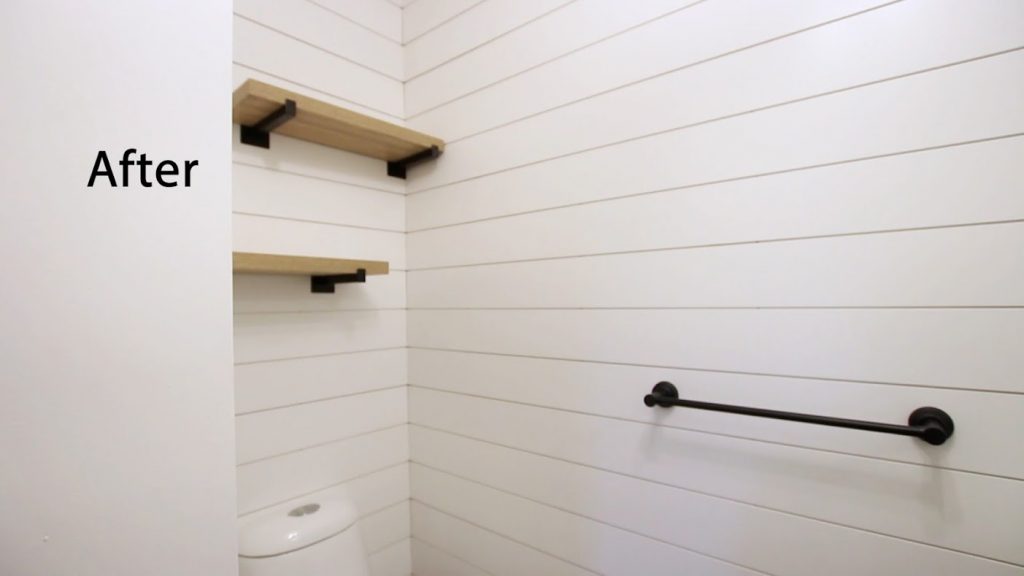
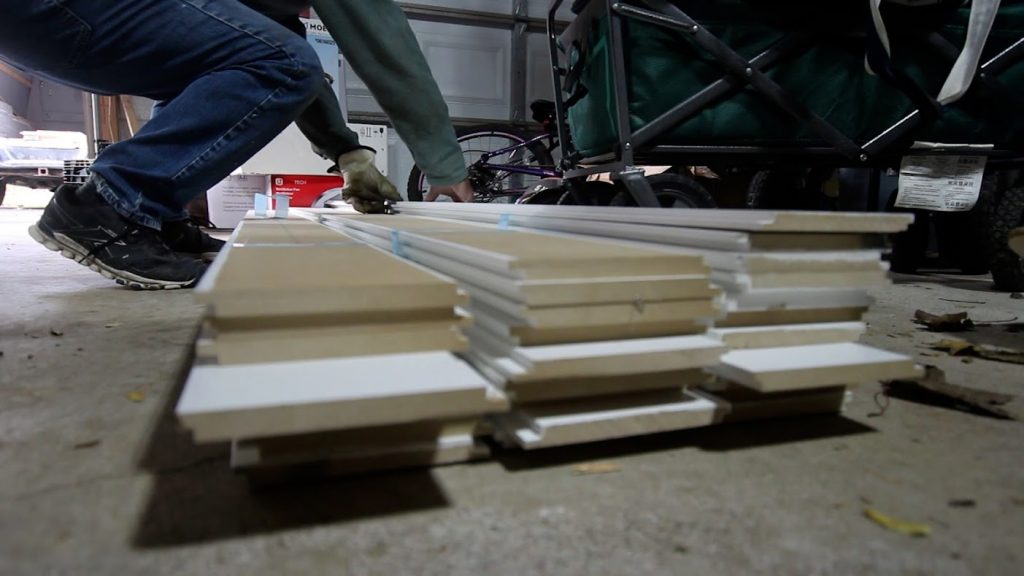
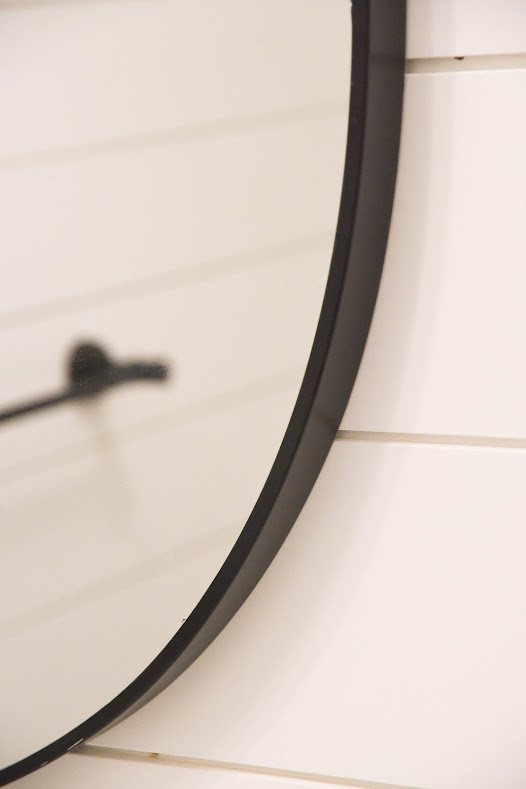
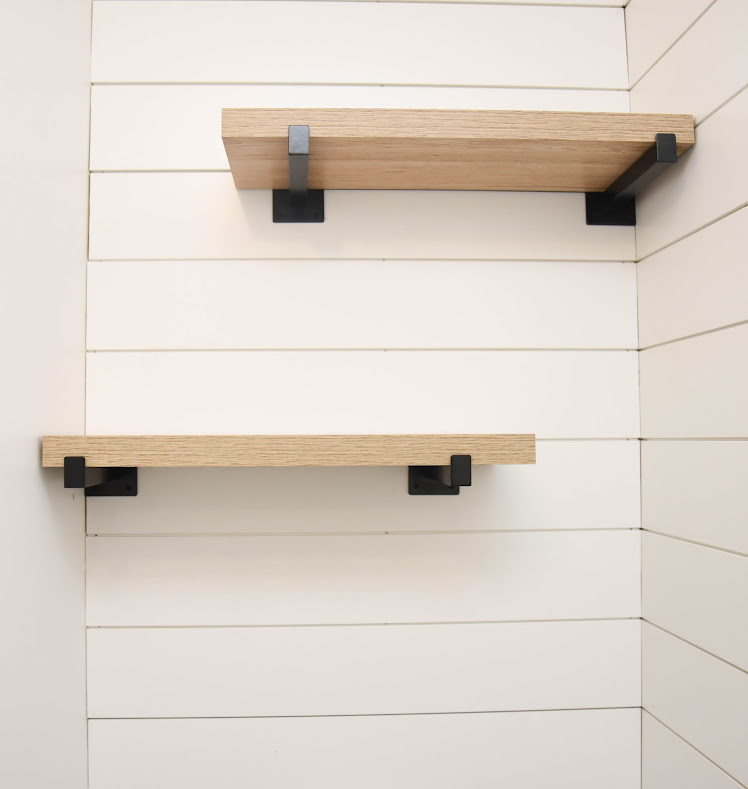
PROJECT 1: SHIPLAP WALLS
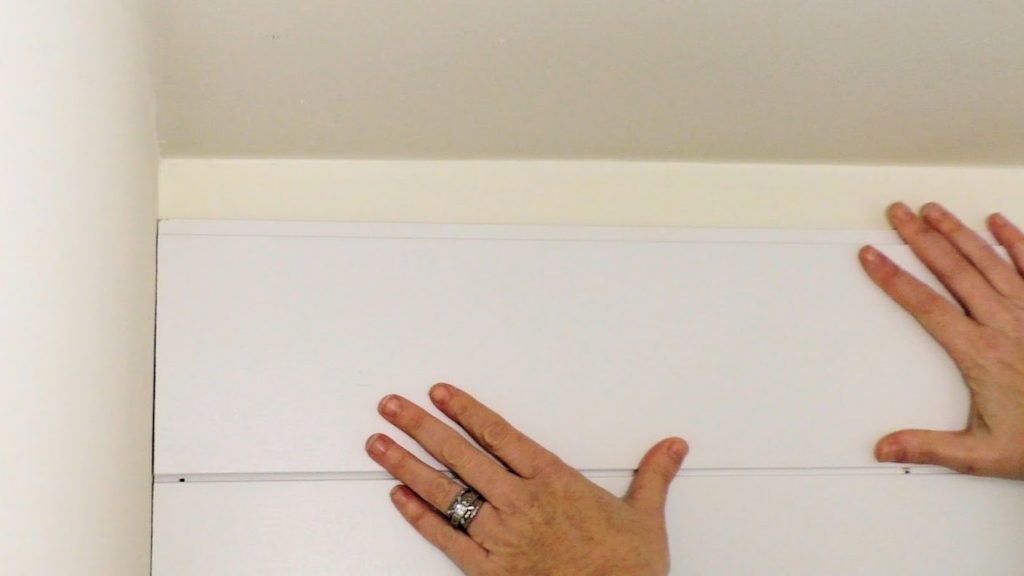
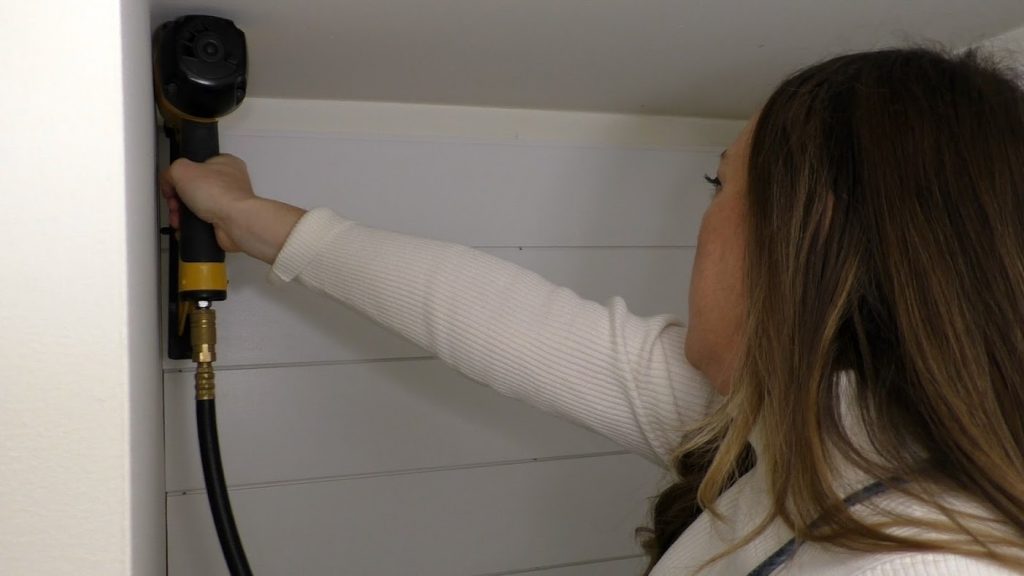
Shiplap are ready to hang boards that fit together perfectly! Just measure your wall and cut your board to length with a mitre saw. Then use a nail gun to nail the boards to your wall in between the grooves.
It’s really that simple and creates such a cute bathroom farmhouse look!
Supplies:
- Paslode 2,000-Piece 18-Gauge Galvanized Smooth Finish Nails Multi-Pack
- 11/16-in x 3-1/2-in x 8-ft Primed MDF Board
Tools:
Tutorial:
Step 1) Mark studs and measure your wall length across. Cut shiplap to length with mitre saw to wall length.
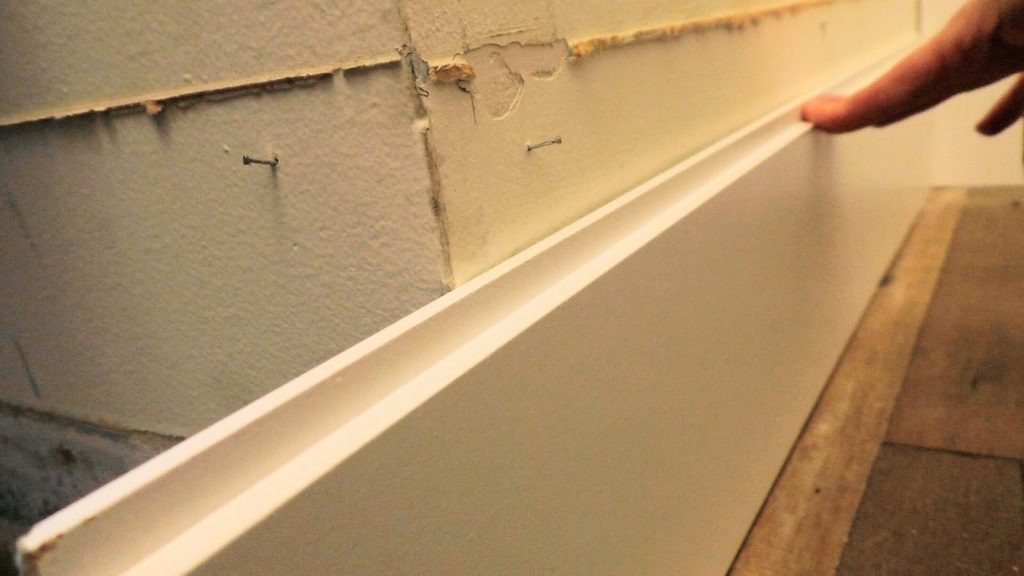
Step 2. Starting at the bottom, start stacking shiplap boards one at at time. Nail into the provided groves into the studs. Continuing stacking on all walls until you reach the ceiling.
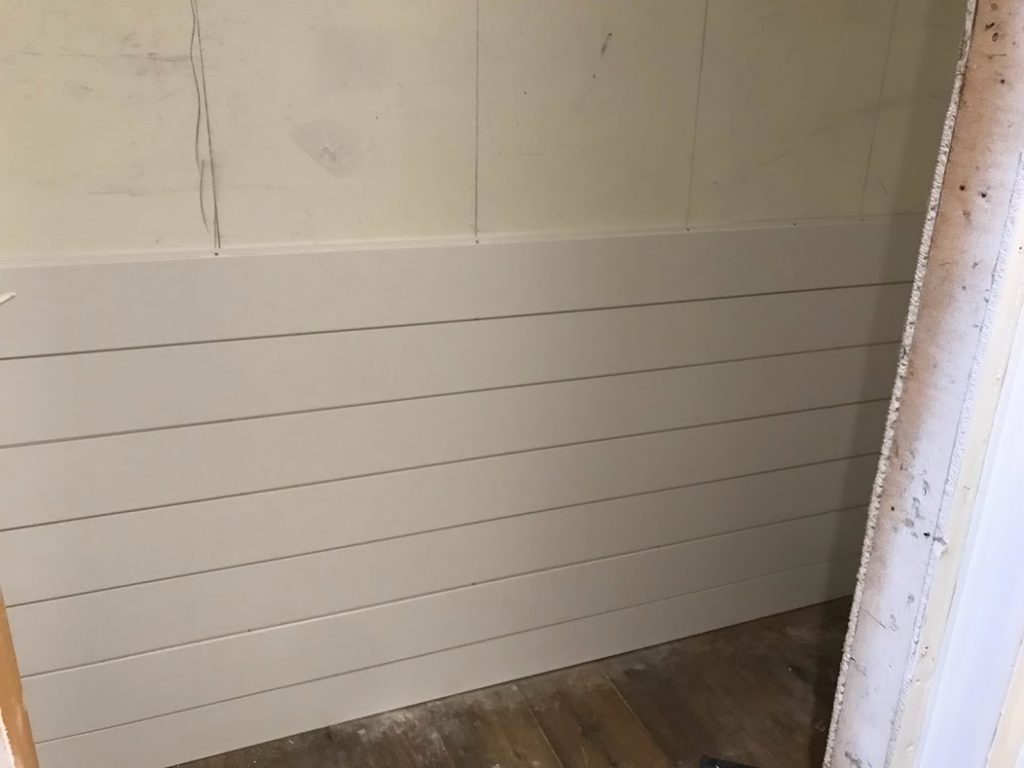
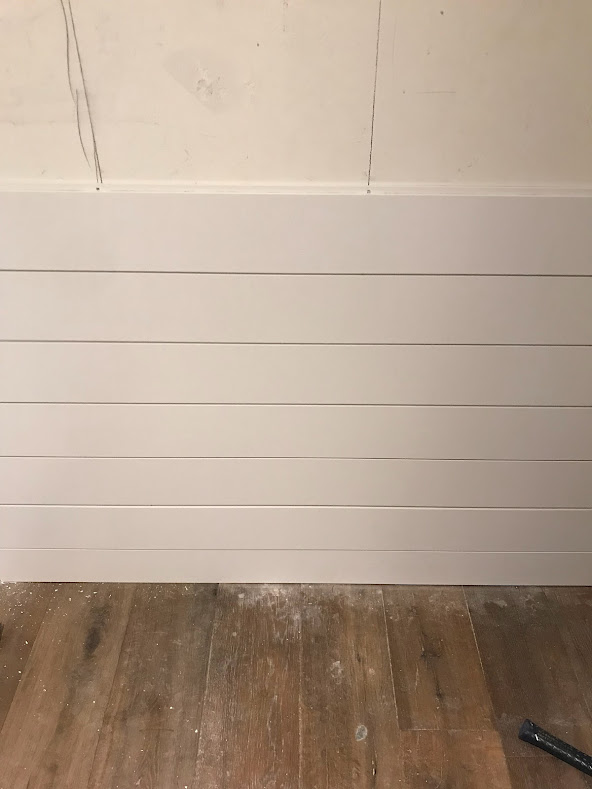
Step 3 Fill any exposed nail holes with wood fill. Painting is optional.


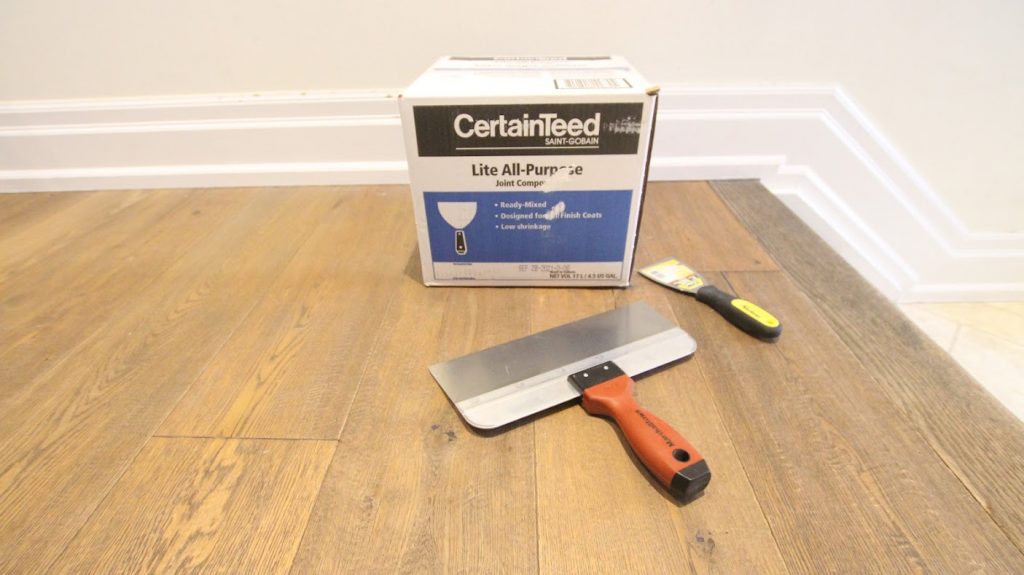
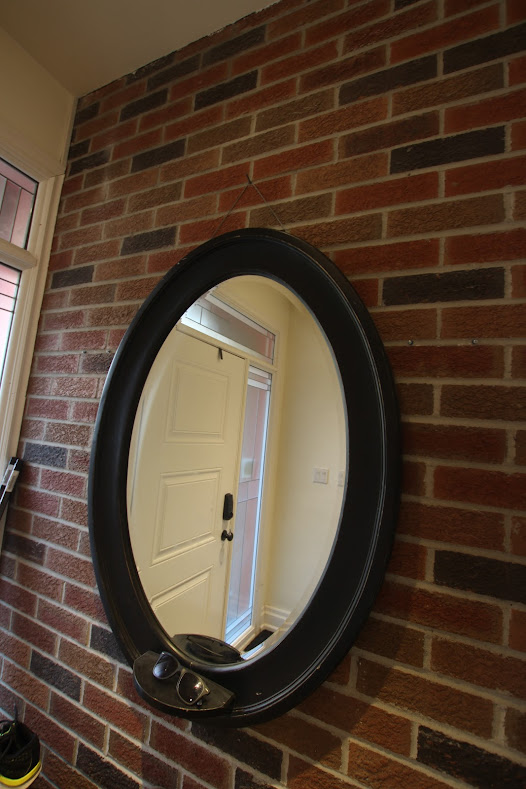
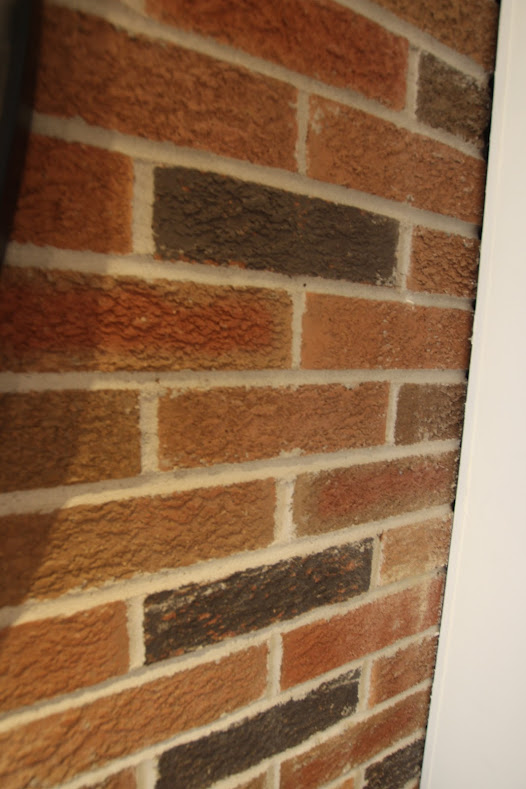
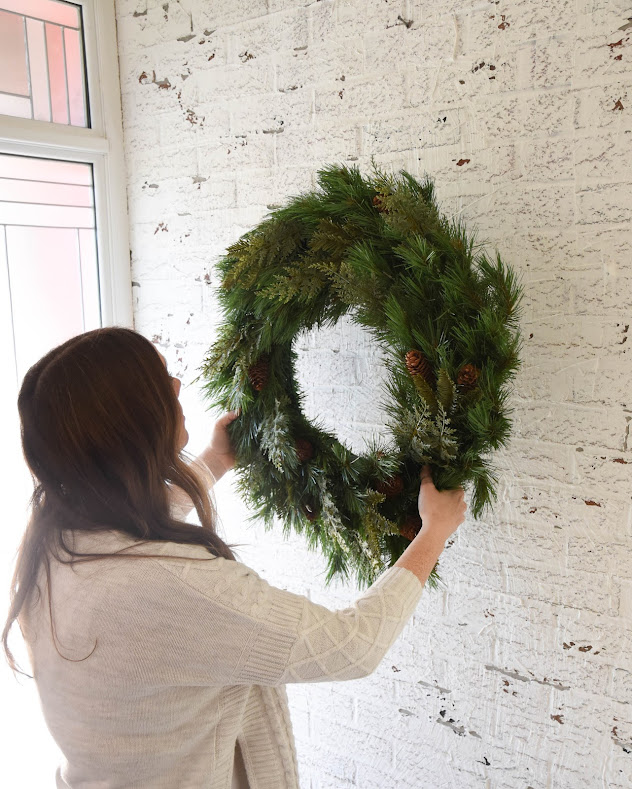
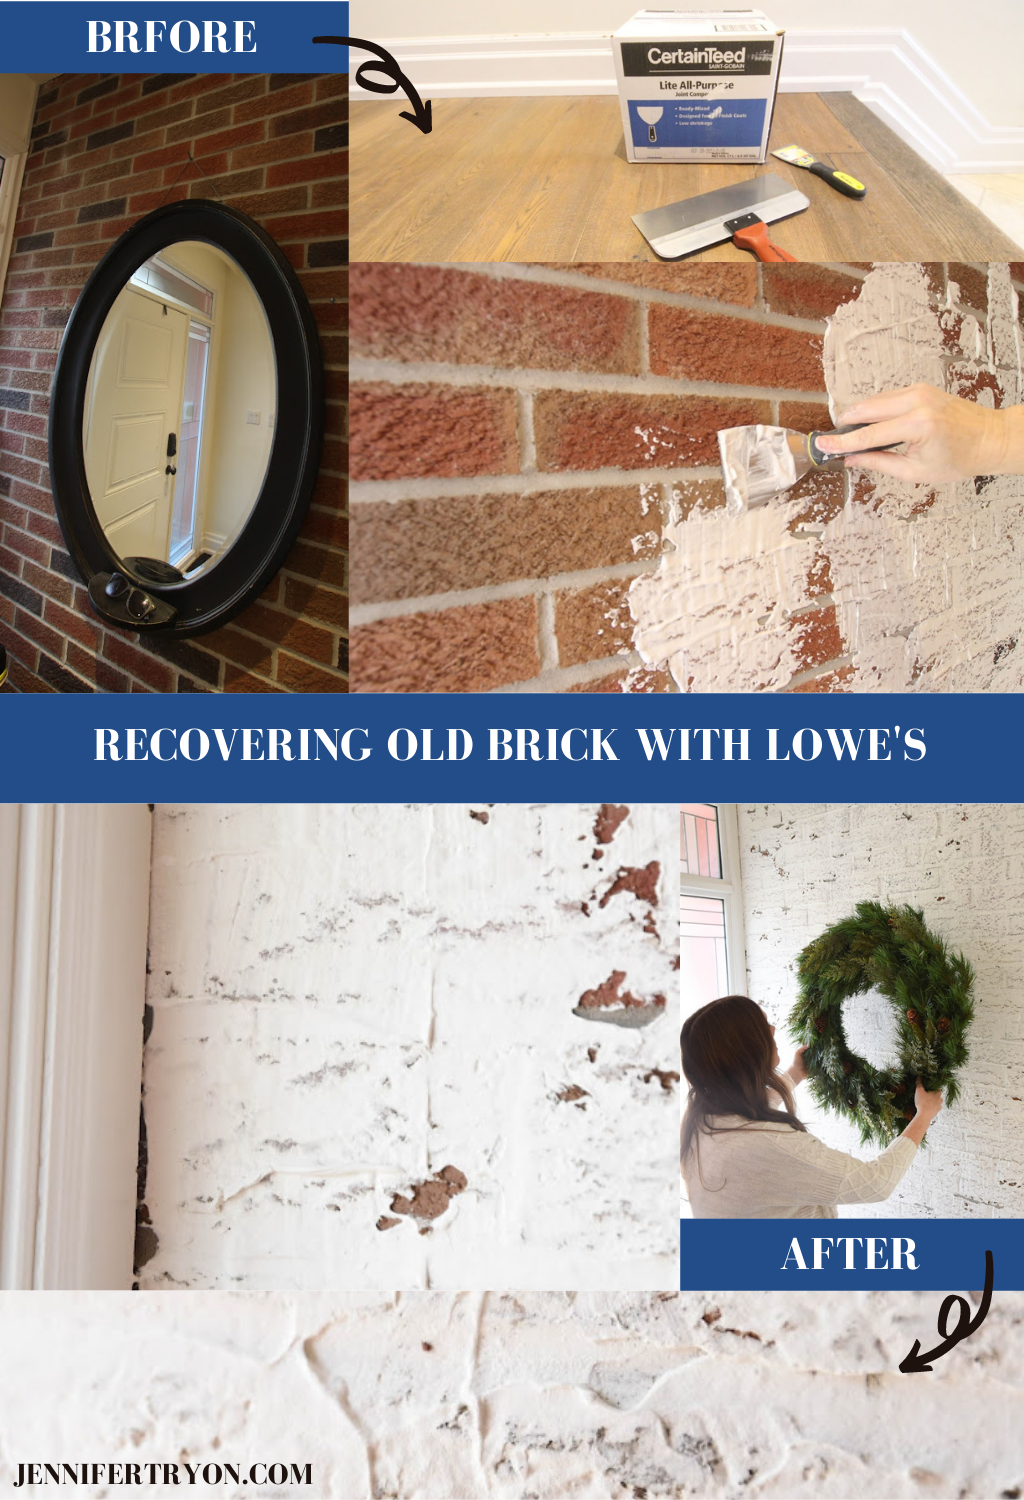
PROJECT 2: BRICK WALL UPDATE
If you’ve got a dated brick wall you can easily update it for under $50!
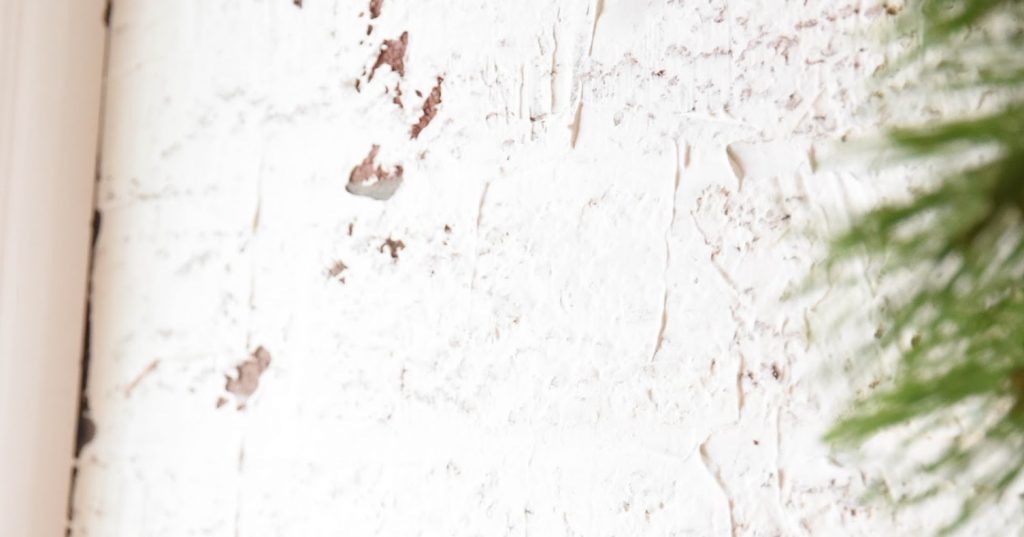
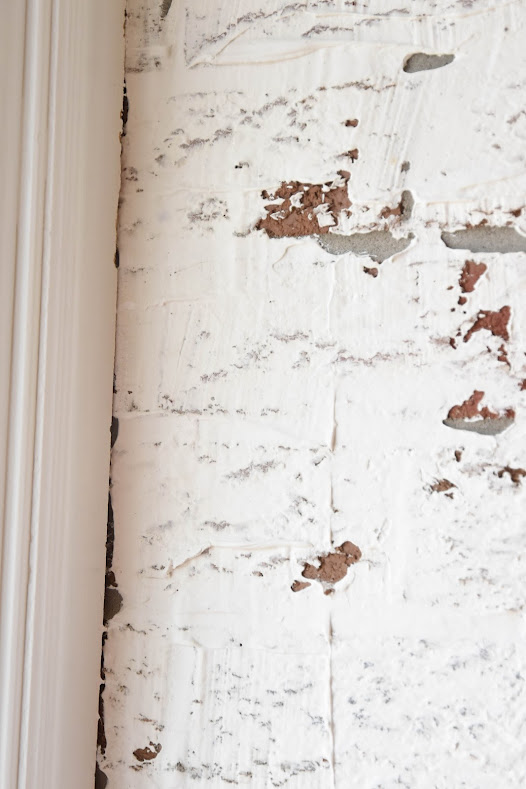
Using a metal scraper, spread joint compound or drywall compound over top of the brick, to give it that modern farmhouse look. However, be sure not to cover it completely, because you want the look of the brick to peek through.
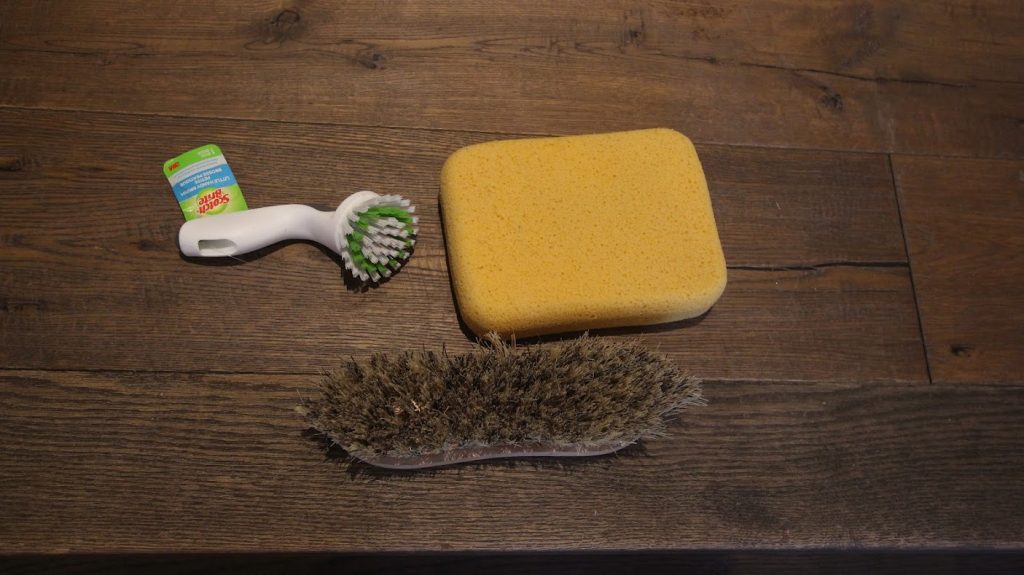
Supplies:
- CertainTeed Lightweight Drywall Joint Compound (21-lbs)
- Bucket, sponge, stir stick, rag.
Tools:
- Richard Tools 3-in Ergo-Grip Flexible Wall Scraper
- Marshalltown The Premier Line Stainless Steel Taping Knife (3-inx12in)
Tutorial:
Step 1 – Start with clean brick. Use a firm bristled brush to help clean it.
Step 2) In a separate bucket mix about a tablespoon of water for every scraper full of joint compound. Mix (and add more water) until compound is the consistency of “natural” peanut butter.
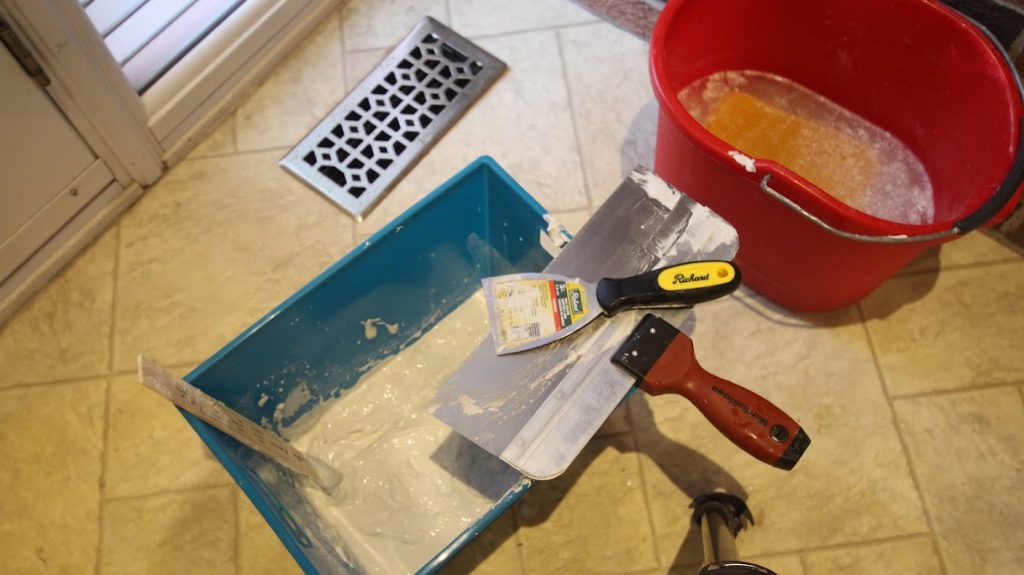
Step 3) Spread joint compound mixture onto wall. Be sure and leave a little brick exposed for a more authentic look. If too thick, remove some compound with a wet sponge.
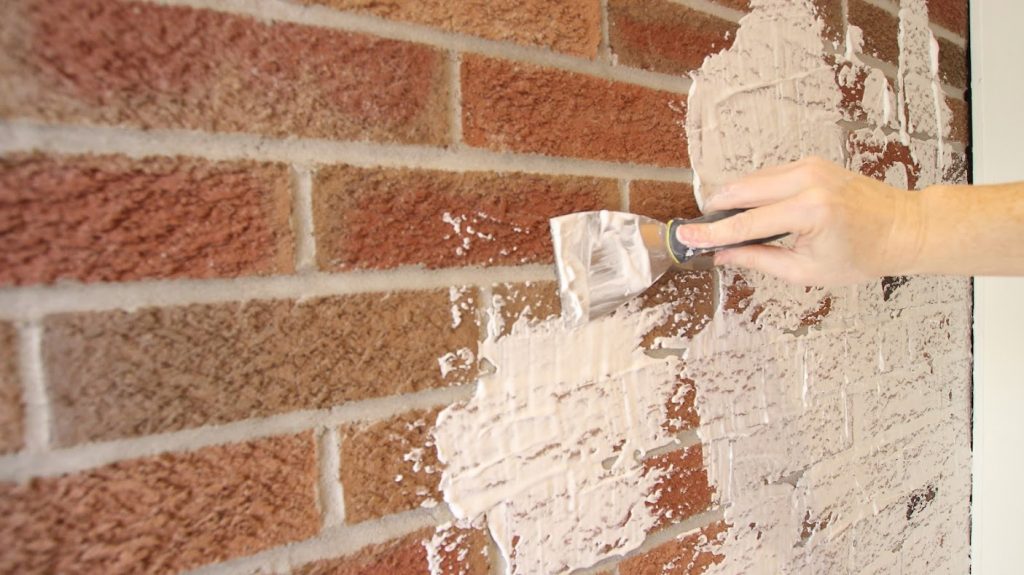
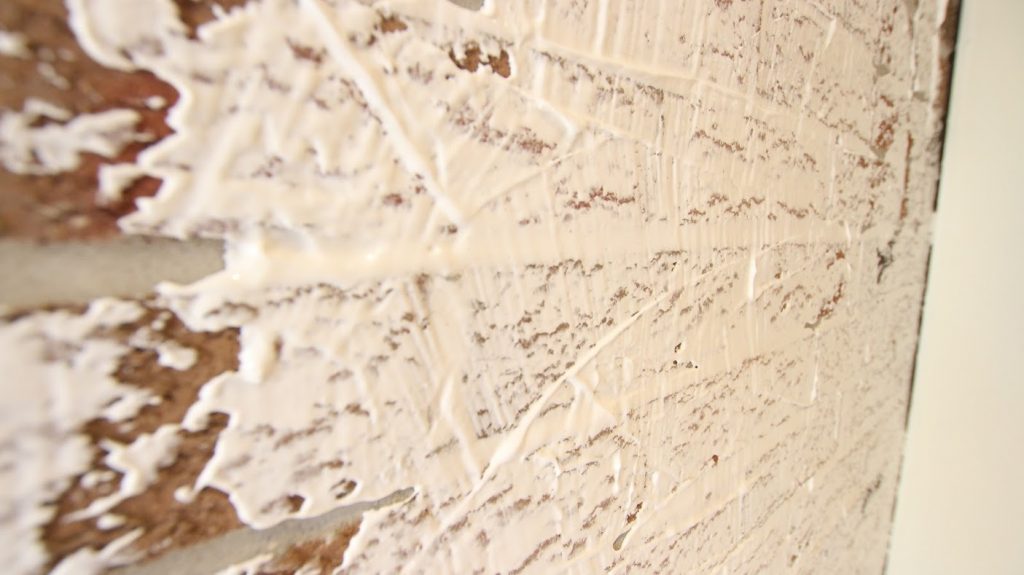
Tip: Leave some smear lines intact for a more authentic look.
Step 4) Cover your entire wall and let try for 24-48hours.
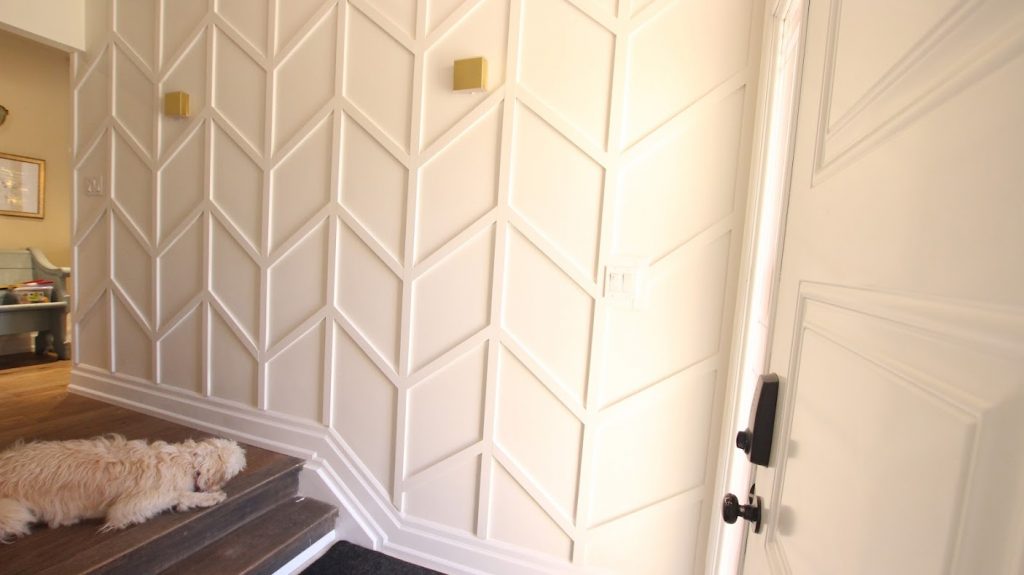
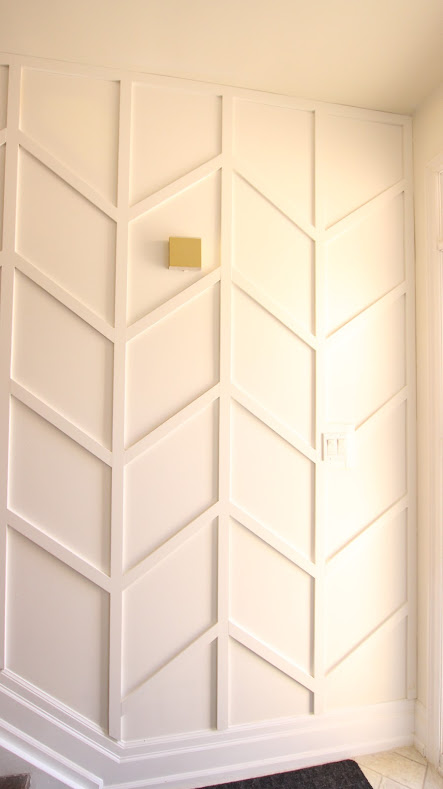
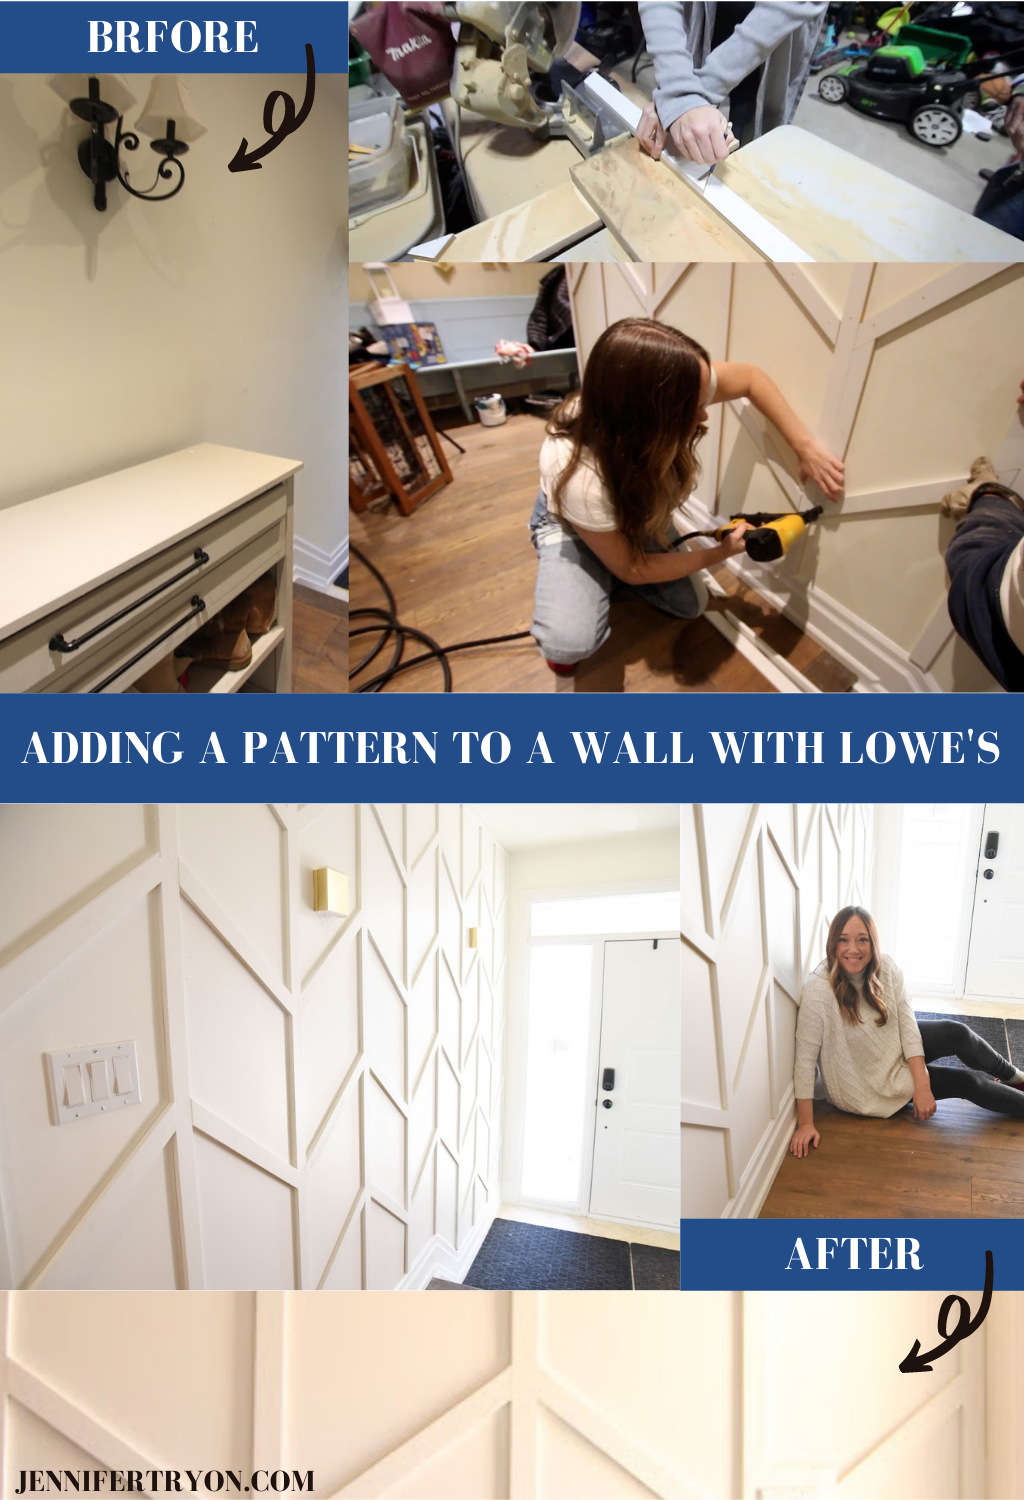
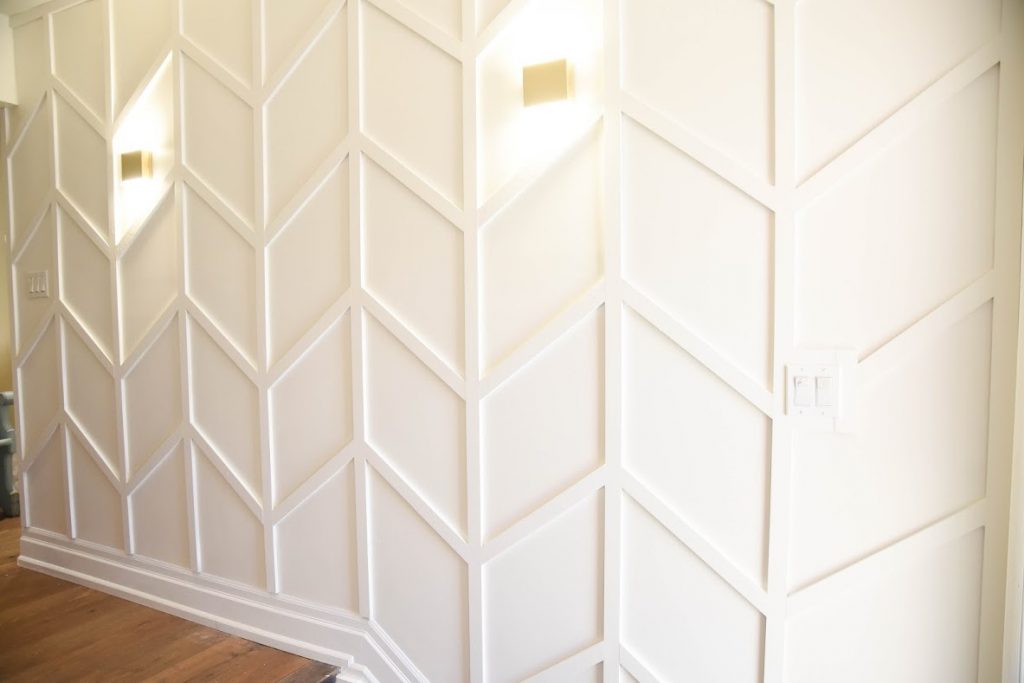
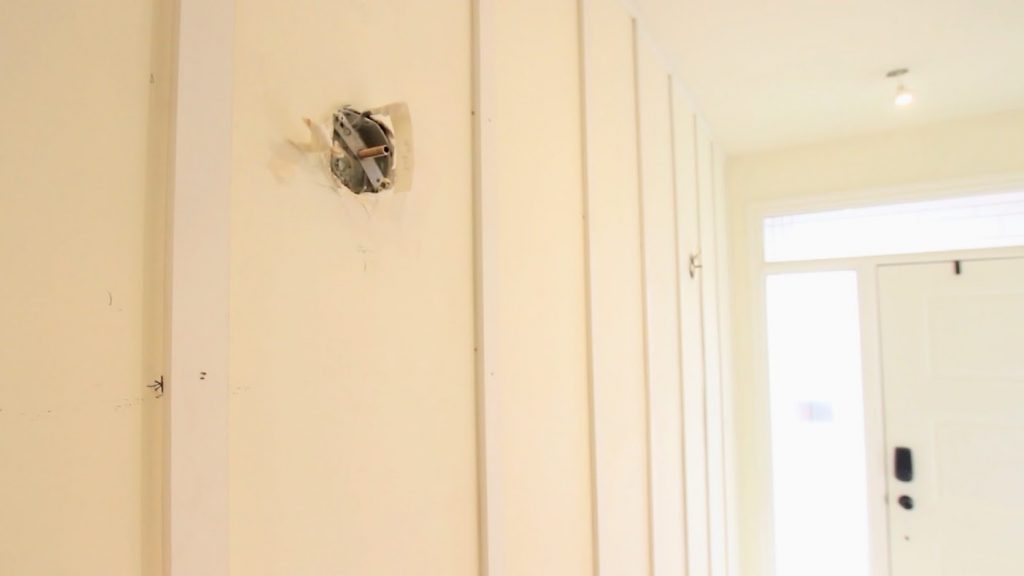
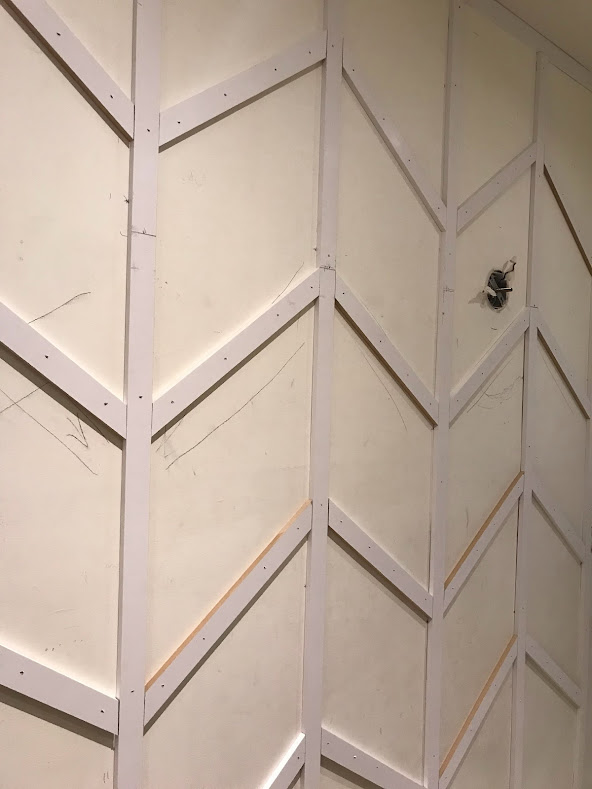
PROJECT 3: ADD A PATTERN
Using inexpensive MDF boards, you can add a pattern to your bathroom walls! Simply use ½ inch or less wood strips or MDF boards (if you want to save even more money), then paint the entire wall for a tone on tone pattern.
Supplies:
- Metrie Complete 5.5-in x 8.0-ft Pre-painted White MDF Wall Plank
- Paslode 2,000-Piece 18-Gauge Galvanized Smooth Finish Nails Multi-Pack
- 11/16-in x 3-1/2-in x 8-ft Primed MDF Board
- SICO Excellence Multi-Colour Eggshell Acrylic Interior Paint 3.78-L
Tools:
- Wagner Control Spray Handheld HVLP Paint Sprayer
- Bostitch 16-Gauge Smart Point Pneumatic Finish Nailer Kit
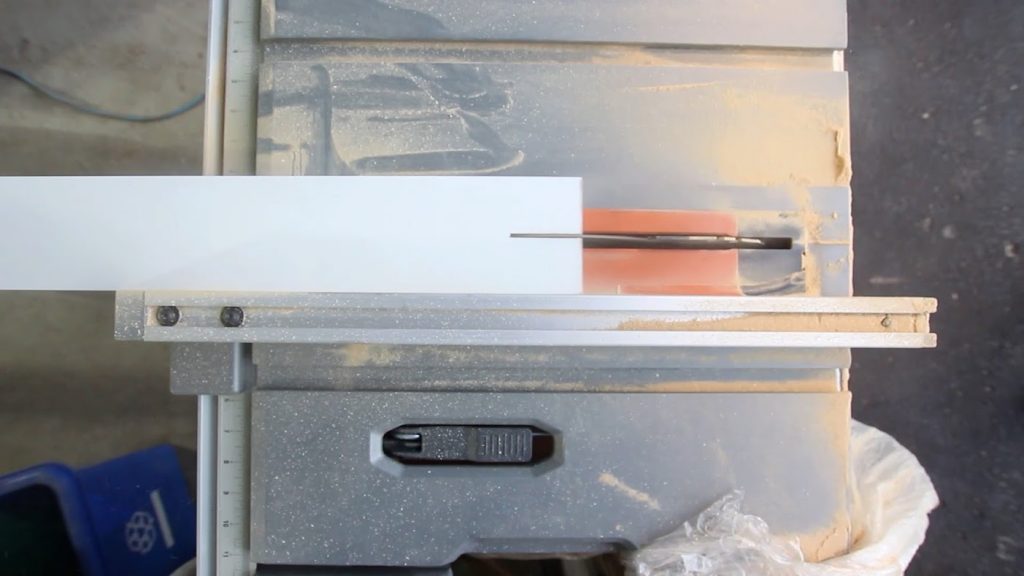
- CRAFTSMAN CFT 10-in SB Sliding Miter Saw
Tutorial:
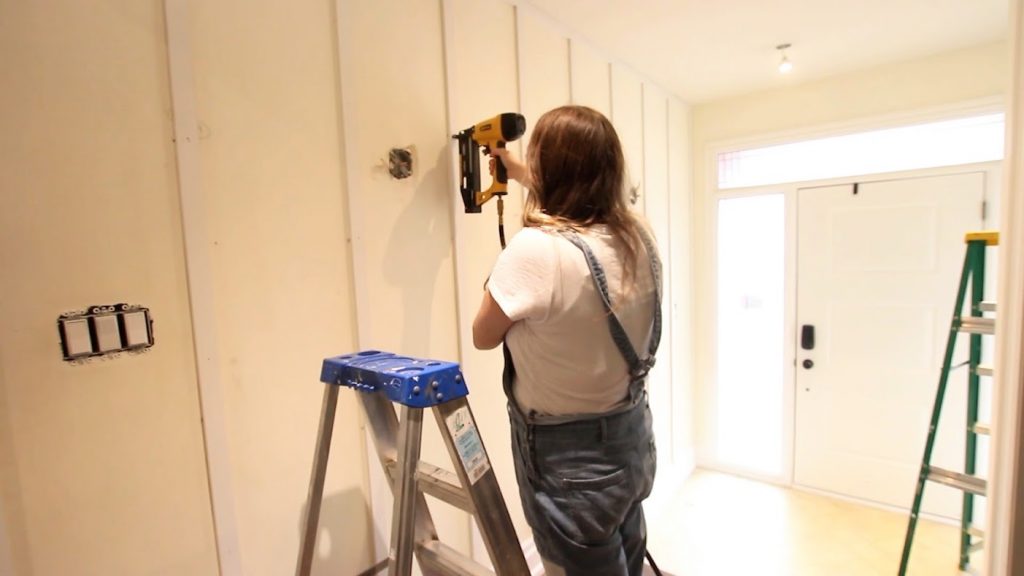
Step 1 – Measure the height and length of your wall. Mark your studs. Cut your the 3 ½ inch primed MDF in half lengthwise, so you have enough pieces to cover/match your studs.
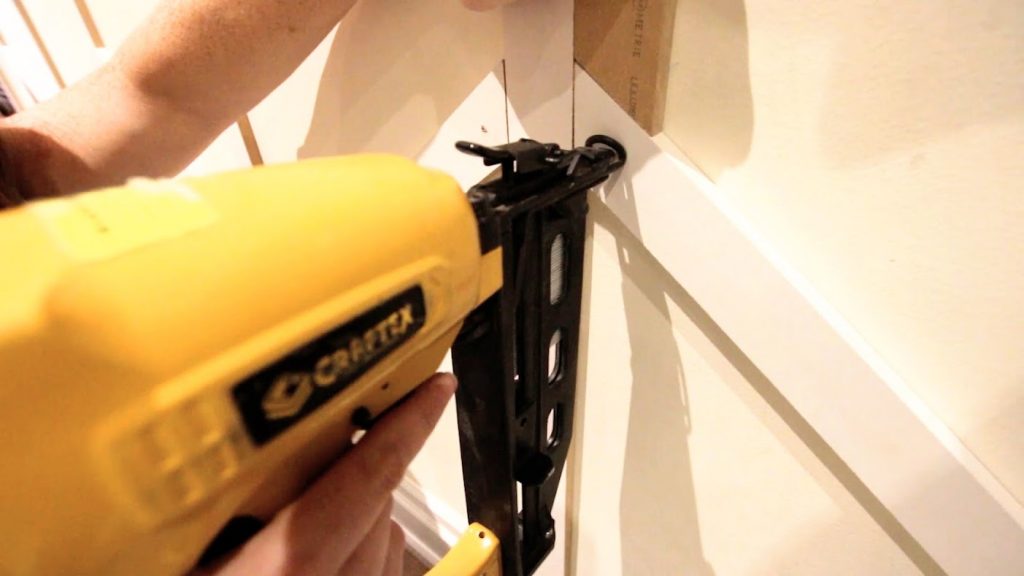
Step 2) Frame the wall edges and ceiling with MDF using nail gun in studs. Fasten a vertical board evenly across the wall on the studs.
Step 3) Determine spacing for your herringbone pattern. We chose 16” spacing and cut the middle slats at a 30 degree angle.
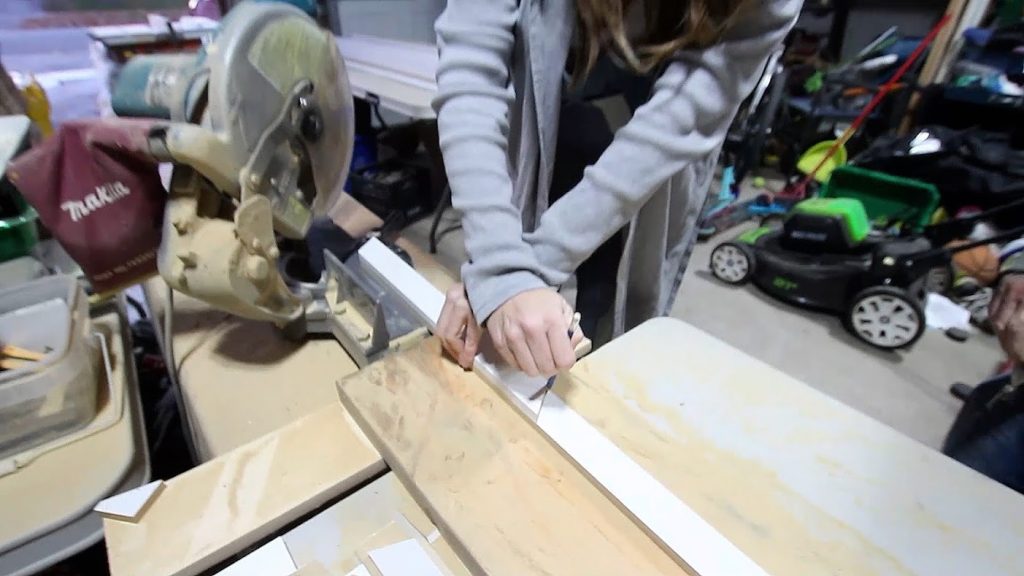
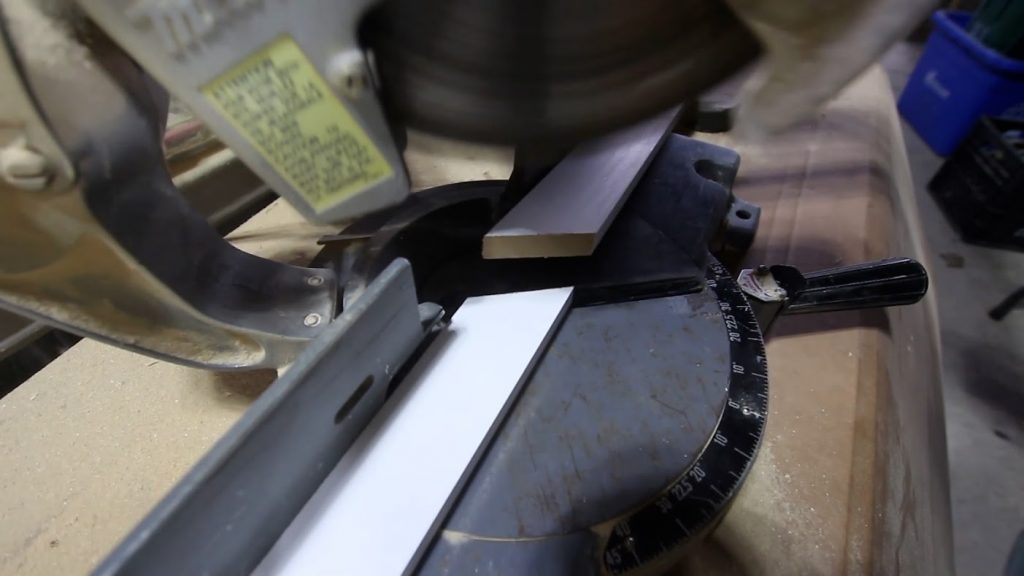
TIP – Make a spacer with mdf board and use that to determine the spacing between each chevron.
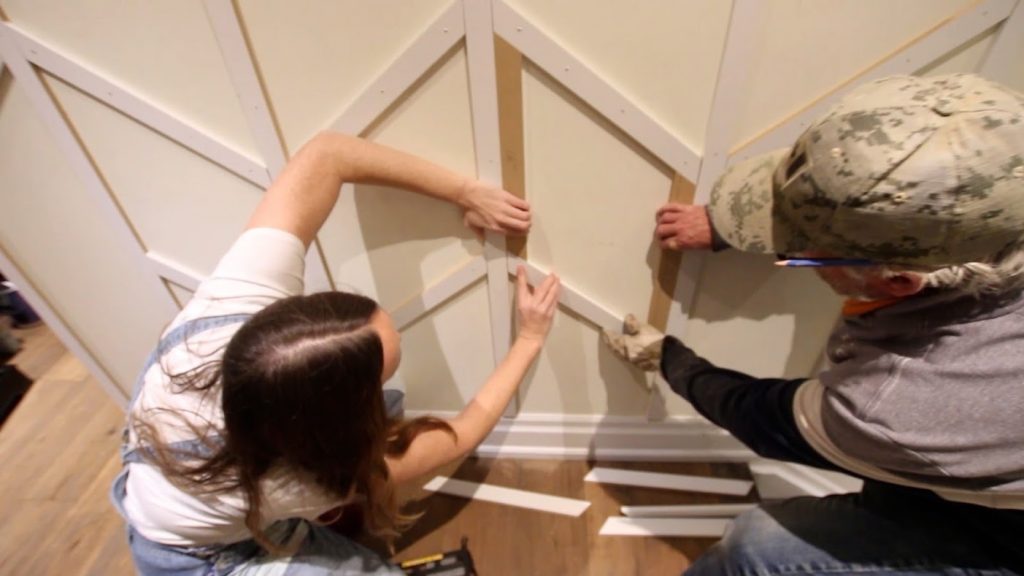
Step 4) When diagonal boards are evenly spaced, fasten them with nail gun.
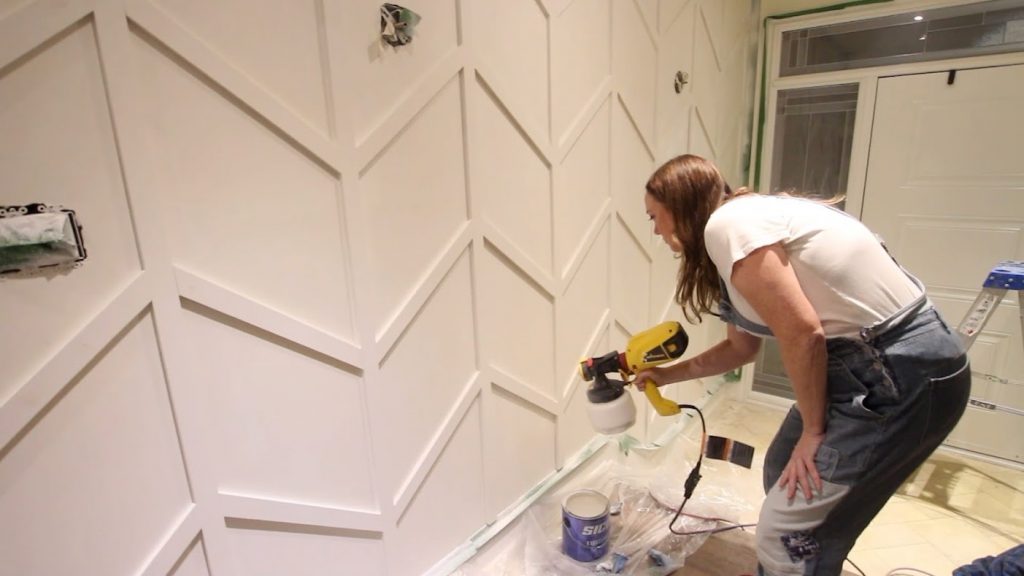
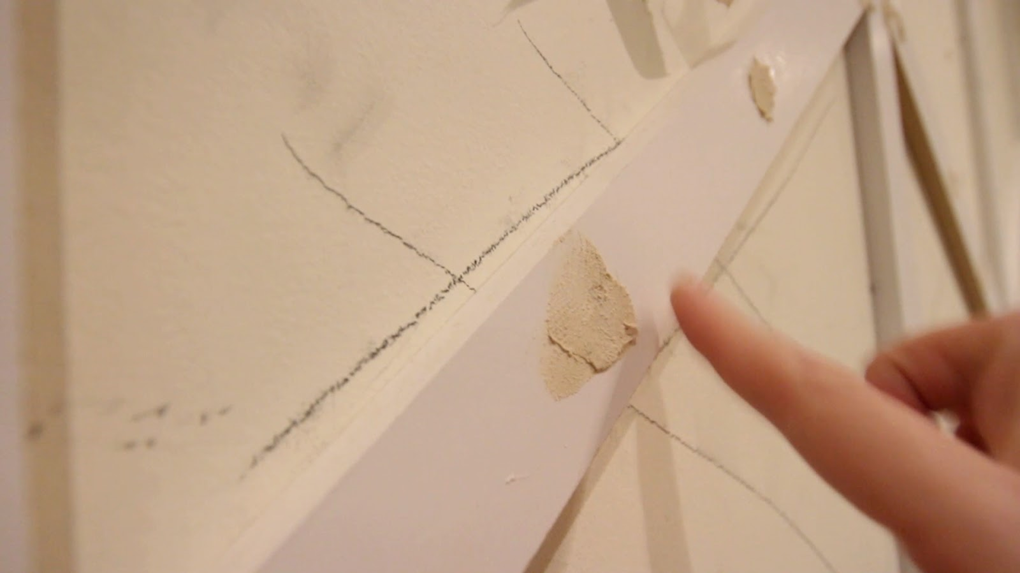
Step 5) Once pattern is finished, fill the nail holes with wood puddy and sand before painting.
Step 6) Paint wall one tone. A paint spryer will prevent seeing brush marks overtop of all of the wood slats.