Hand Warmers
I have spent a good chunk of change on hot pockets. You know, the little packets you put in your mitts to keep your hands warm. I’ve always wondered what concoction must be in them to heat them up. It wasn’t until the kids little hands began to freeze (and my desire grew for them to stay outside longer) that I thought to put these synthetic warmers in their mitts. But I stopped myself for fear they’d put these chemical packs in their mouth or they’d break them open. They’d likely be better off with cold hands. That’s when I had an idea.
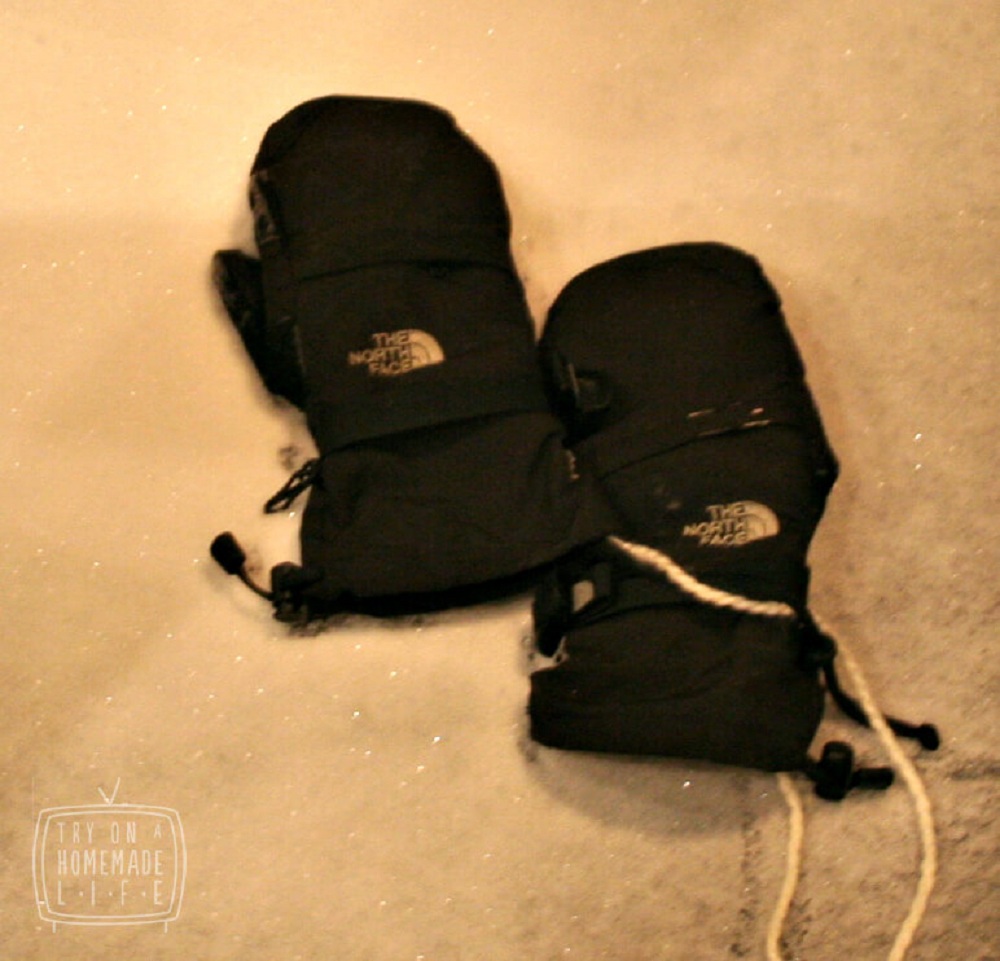
Hands will never be cold outside again.
The inspiration credit goes to my youngest sister. A few years back she made us barley filled heater bags. We love them, every night we microwave them and stick them in the kids beds. That’s when it occurred to me!! Small little bundles for mitts!!!
I thought these would take 5 minutes to make, and maybe they would have if I hadn’t tried to make so many at once. However, I was overcome by what a good idea this was, in my mind i was making them for every kid I’d ever met.
Supplies
16″x5″ piece of flannel
Beans/rice or barley – I used uncooked rice (cause that’s what we had)
Cardstock – for making the pattern
Fabric pen with disappearing ink or a pencil
Thread-corresponding colour
Accent colour thread
Scissors
Sewing machine.
(supplies listed are for 1 pair…just use more fabric & rice if making multiple pairs.)
Here’s how I did it.
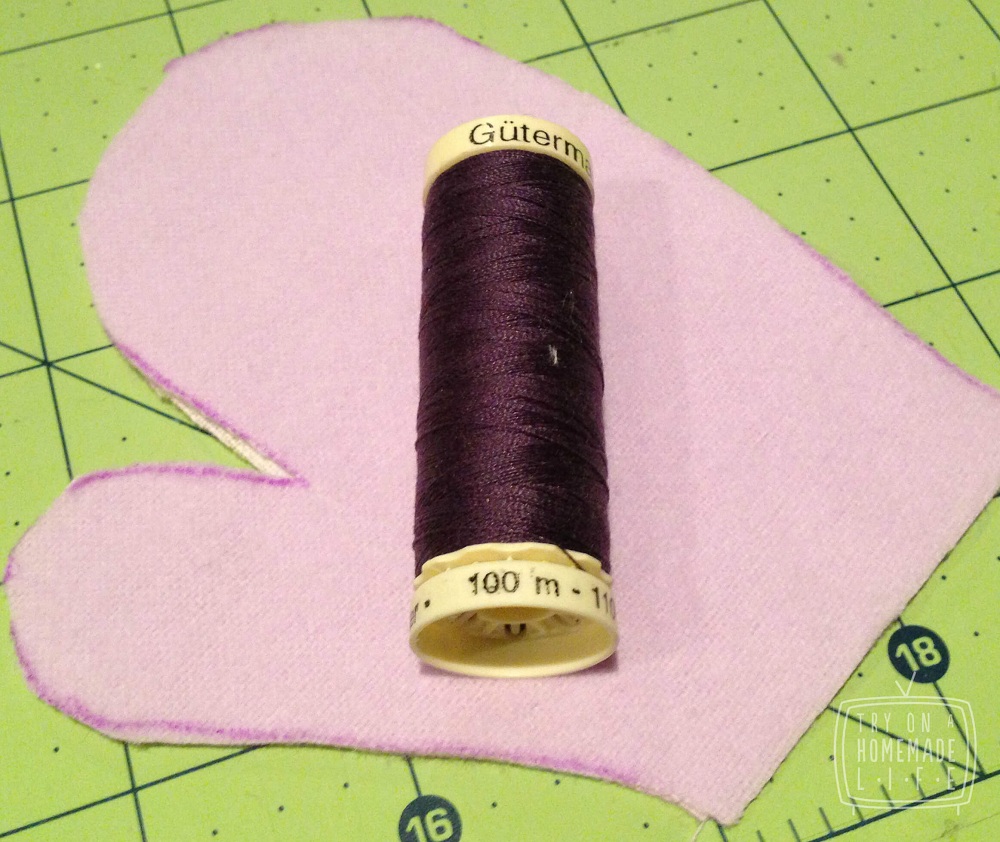
first cut a 5×16″ piece of fabric, then fold it in half. Draw a 4.5inch mitt on a piece of paper. (I used card stock because it’s easier to trace on the fabric)
Trace your mitt on the folded piece of fabric and cut it out, this way both sides of your mitts are exactly the same. Remember, there are two mitts, but each mitt has two pieces.
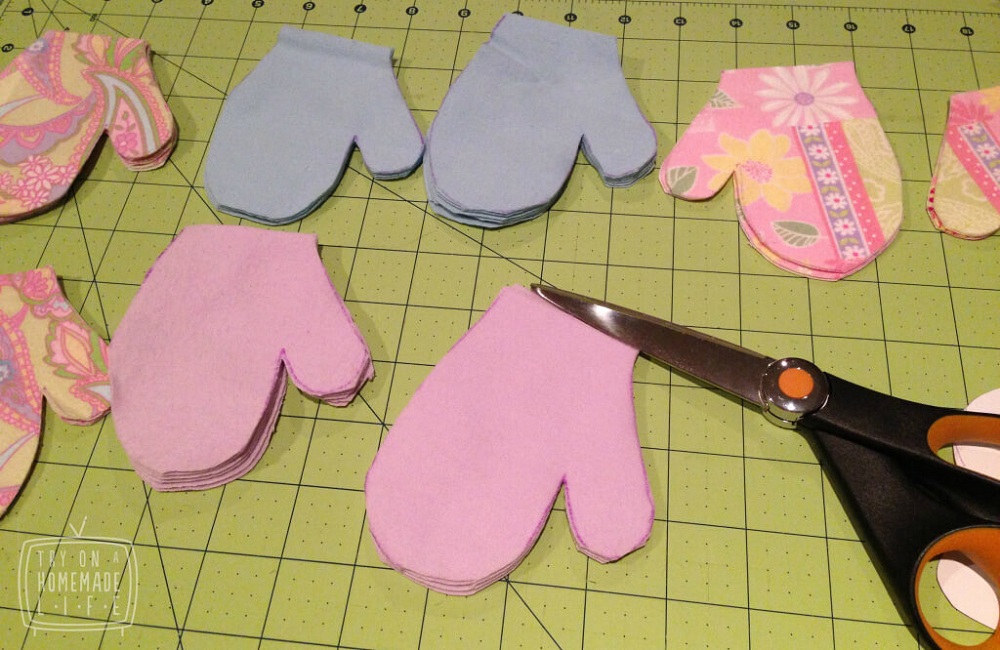
Cut pieces with fabric folded together, so both sides end up exactly the same.
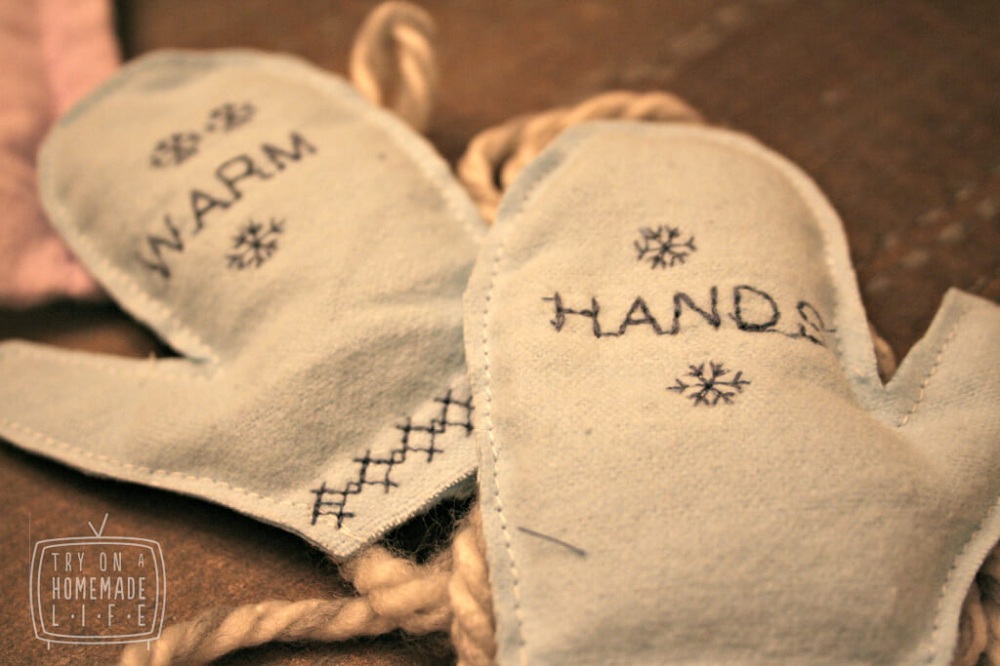
Embellish the mitts however you like BEFORE sewing them together. Much easier this way.
I decided to embroider “Warm” “Hands” and some snowflakes. I also decided to mis-match the fabrics on some of the pairs. *note* don’t decorate too close to the edge. The mitts will be sewn either inside out or around the perimeter so 1/2 will be lost. When you’re happy with the look place the mitts wrong sides together. Match as perfectly as possible. You have a choice, sew the mitts right sides together if you’d prefer not to see the stitches, then turn right side out. Or sew wrong sides together if you like seeing the stitches.
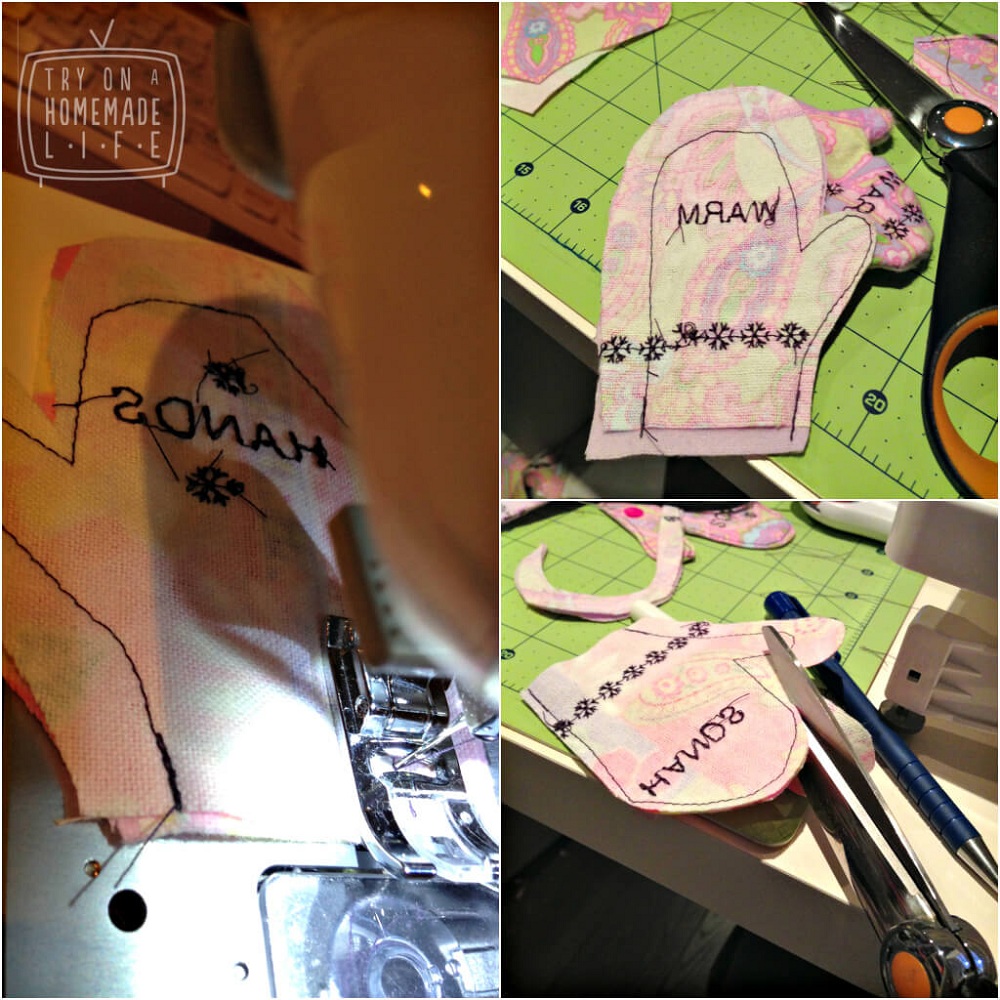
Sew either inside or out, depending on if you like to see the stitching.
Next sew them up. Using a 1/2 seam, (this means 1/2 an inch away from the outer edge) sew all the way sound the mitt, leaving an opening when a hand would normally go in. This is for the rice.
Cut off the access fabric.
Turn right sides out. Make sure you get the little thumb all the way out.
Here comes the mess. Fill about 2/3rds full of rice. Don’t over fill, it should feel loose and easily move around. (no matter how hard i tried to keep the rice in the cup…I’m still sweeping it up.)
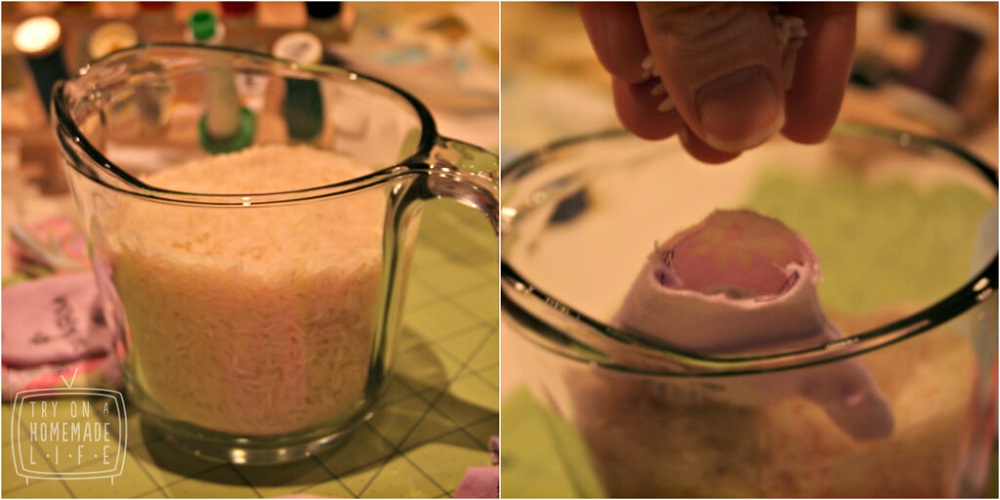
Good luck keep the extra rice in the cup.
Then hand sew the bottom closed, so you can hide the seam. Or use your machine if you don’t care about seeing a seam.
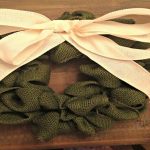
I added this string, to be cut off after, because I thought they’d make the perfect way to wrap up a gift.
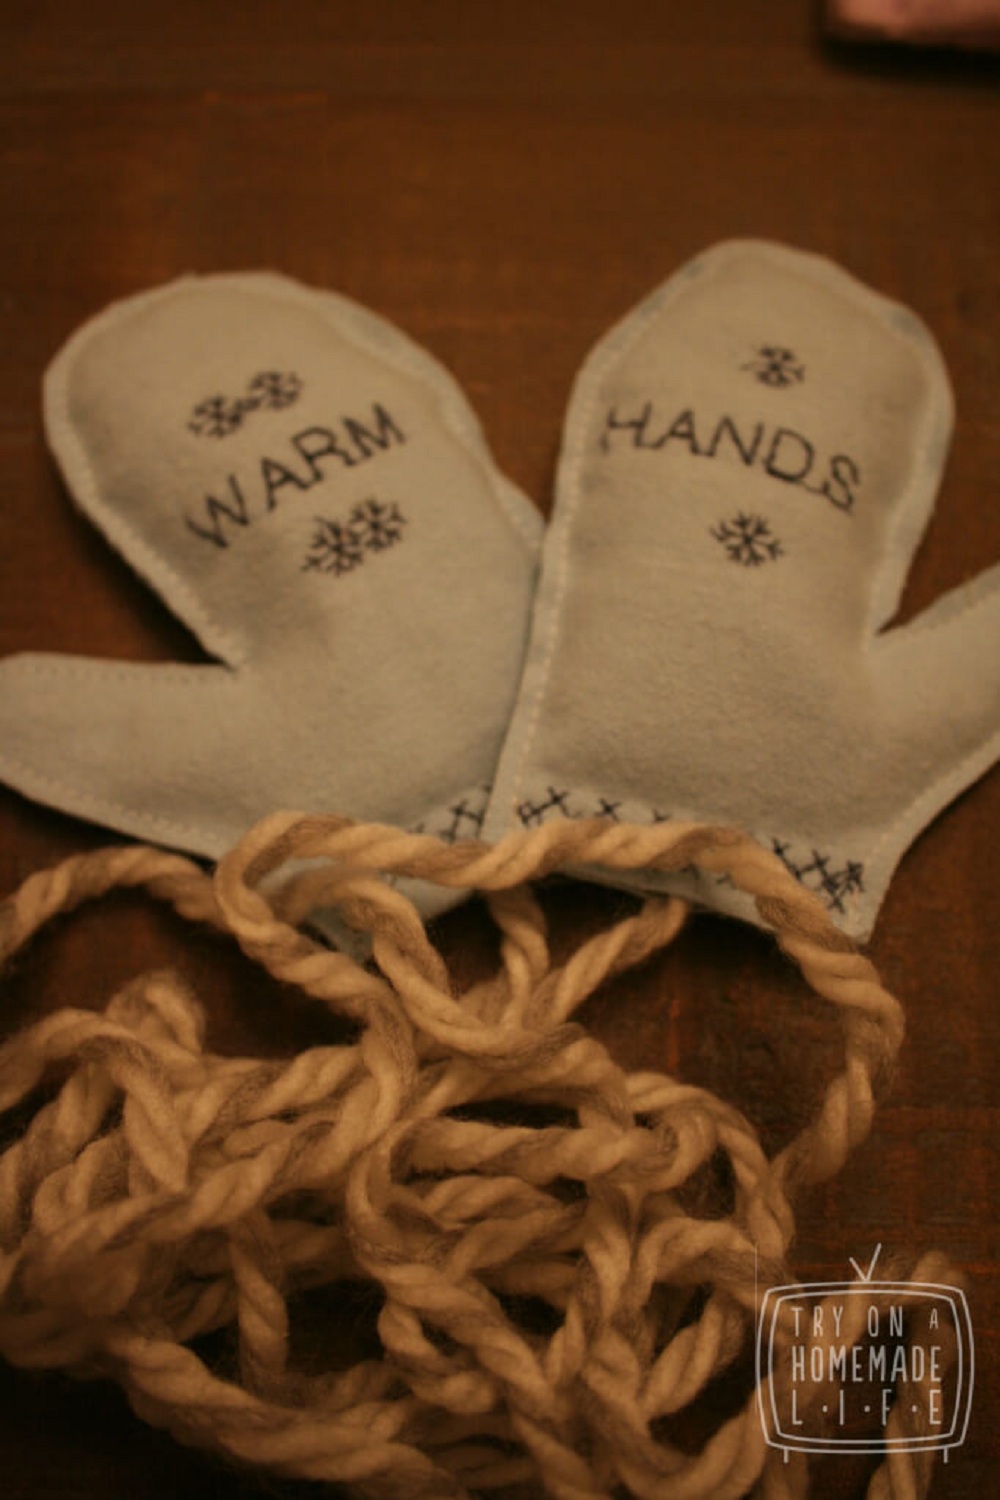
Add a string so they stay in jackets, or use it instead of a bow on a present….and snip it afterward.
Microwave for approx 30 sec and enjoy some toasty hands.
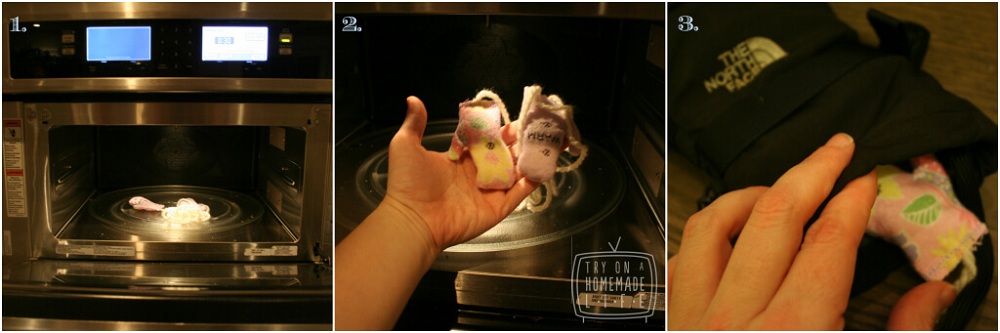

Tested and Approved!
After microwaving for 30 seconds, I tested them outside in the cold and snow. After an hour, even without hands in them they were still warm. Not as hot as the beginning, but still warm.
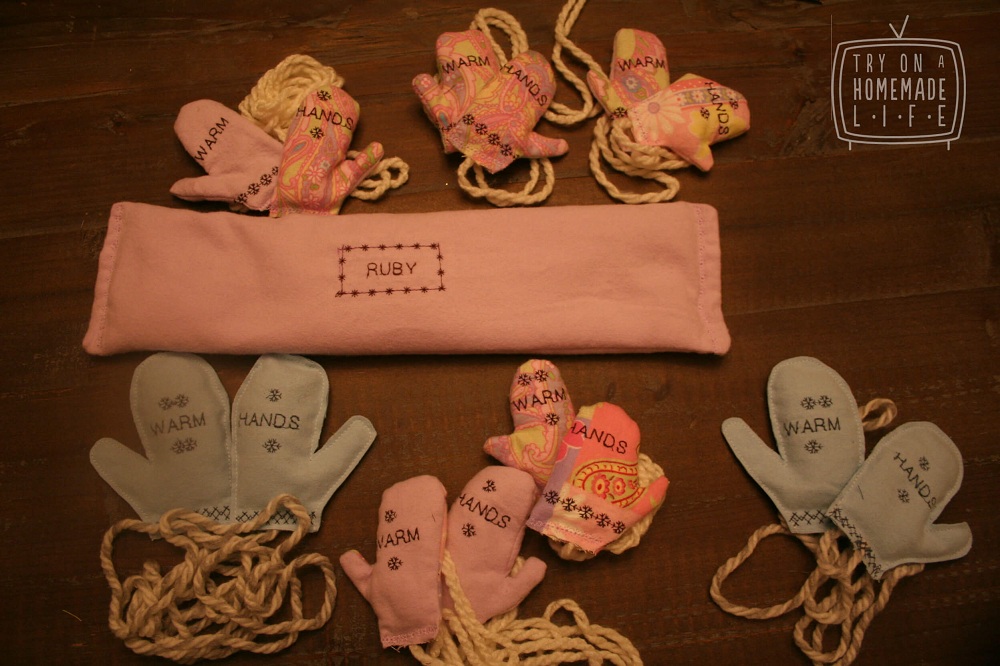
Make lots while you’re at it.
So I made lots. Including another heater bag. Maybe now they’ll stay outside a little longer.