The Amanda Apron
Ruffled Apron. Follow the tutorial and make your own for less than $8.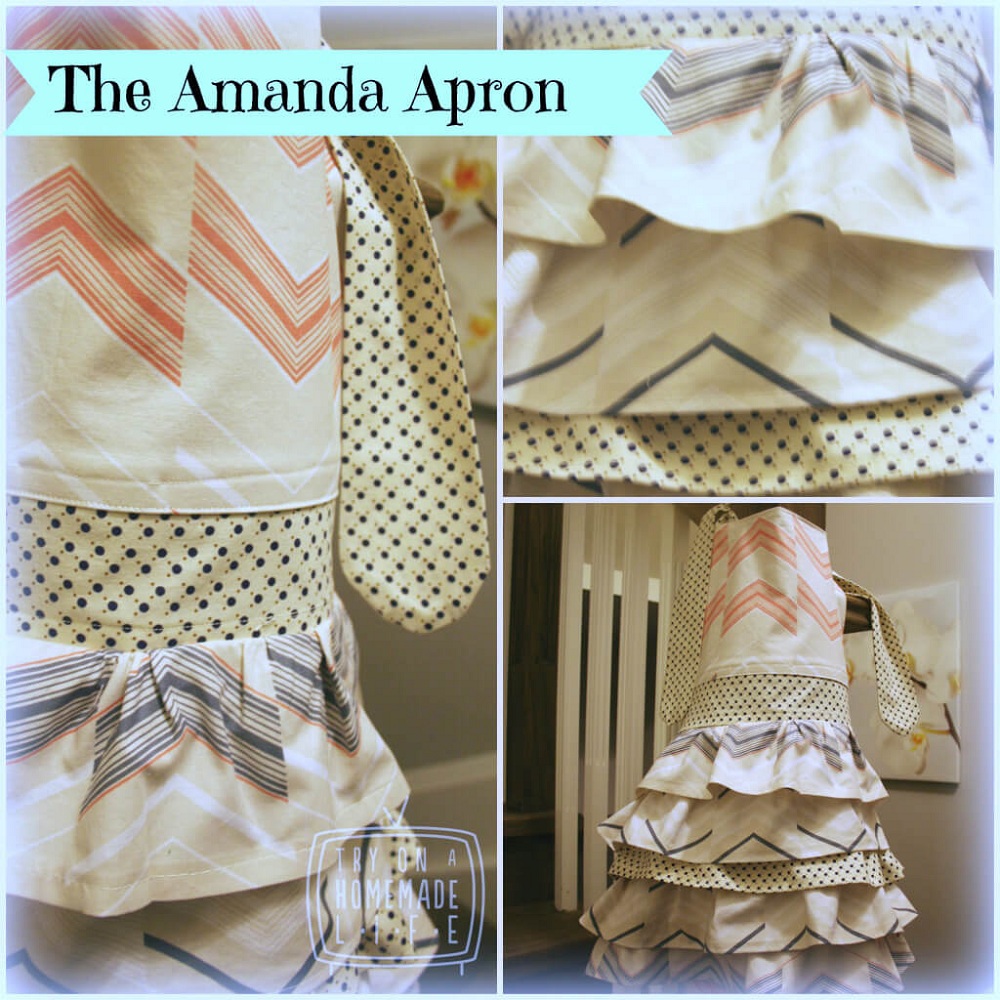
A frilly fancy apron that’s quick and easy. Read the tutorial to see how to make it. A fancy and frilly apron, made for Amanda.
How about an apron, nicer than the outfit you’re cooking in? Â Stylish aprons have made a huge comeback. Â If you’ve been to any trendy cooking shops or even clothing stores lately you’ve likely seen them, often with sexy curves, cute materials and often close to $100 a piece. Yikes! Â Part of you has to wonder why you’d be wearing a $100 garment to save your pyjama bottoms from muffin mix? Â Most of us don’t cook in our Sunday best. Â If it is a special occasion we quickly run and change in the minutes after the cooking is done and the company arrives. Â But all practicality aside, I love these fancy aprons and I’m guilty of forking over whopping price to Anthropology, only to get it home and say (what I always say) I could have made this myself.
So when my sister, Amanda asked for a new apron, I knew I had to make her a fancy one. Â Not that she isn’t worth the $100-bucks, but this one was made for about $8 in material. Â And it couldn’t be cuter. So it shall be named: Â The Amanda Apron.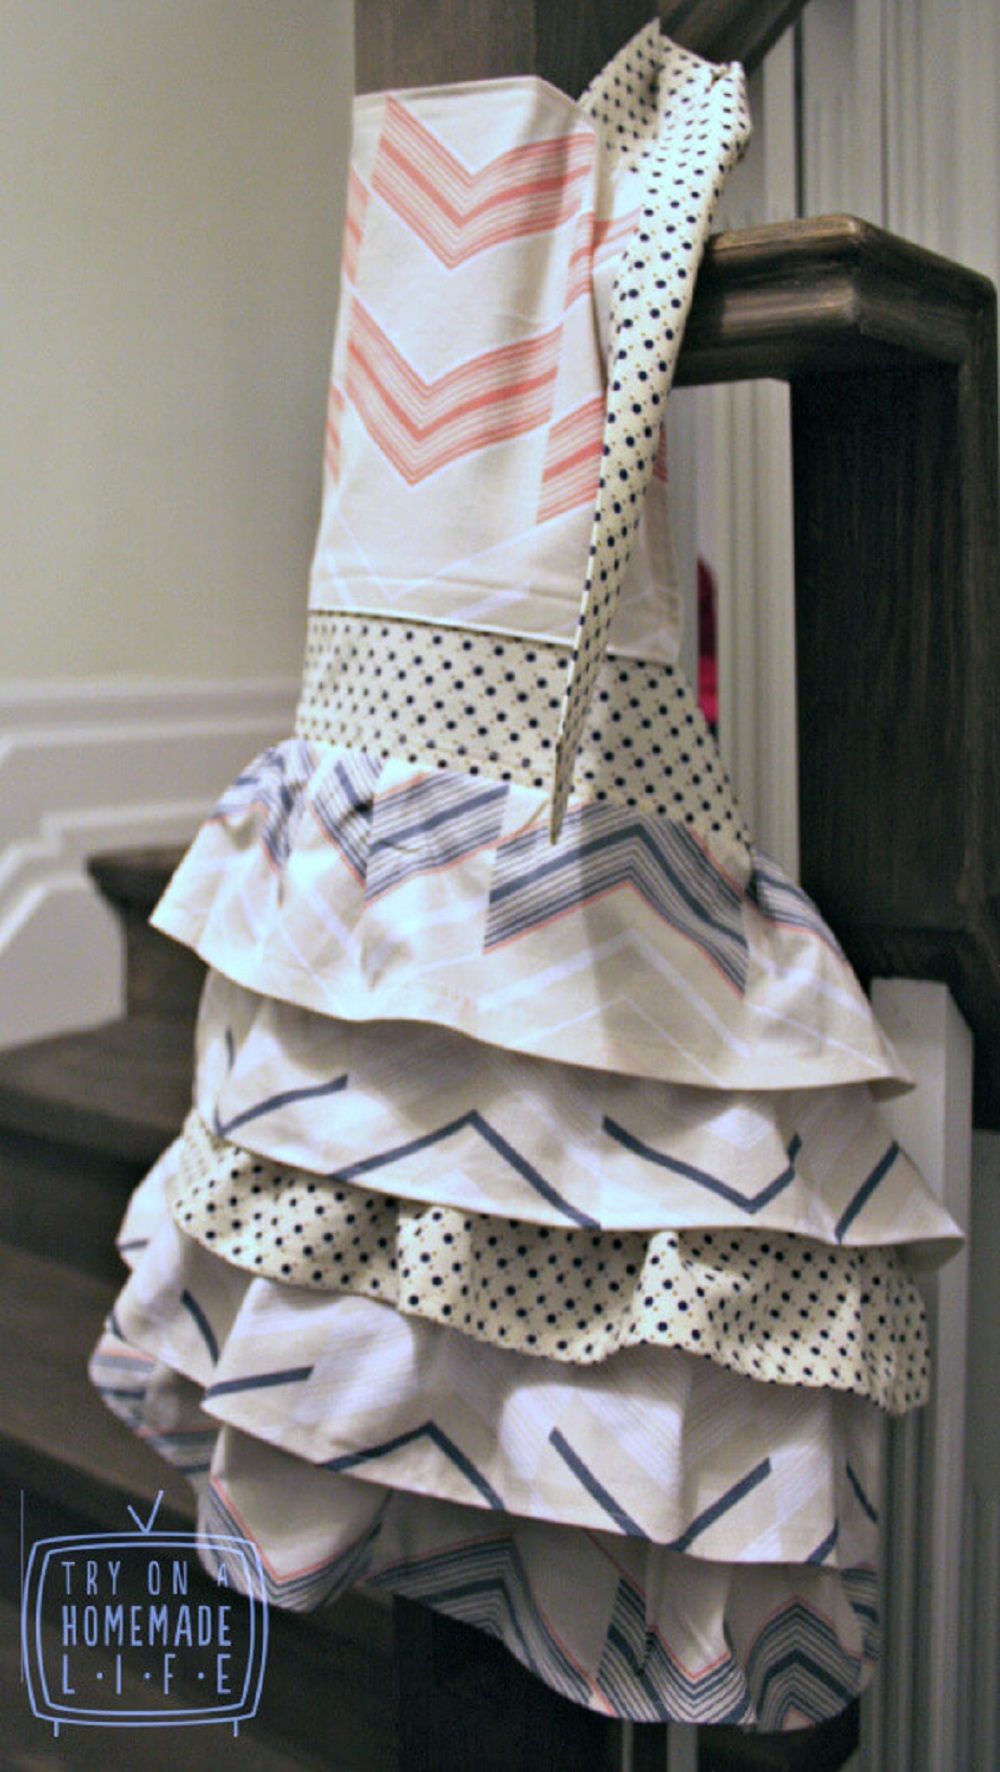
It looks more complicated to make than it really is…(kinda like Amanda :), because of the ruffles, but they’re easy. So don’t be scared. Jump in. Â The key is (as with most sewing projects) take time to iron. Iron, Iron, Iron before you sew, sew, sew.
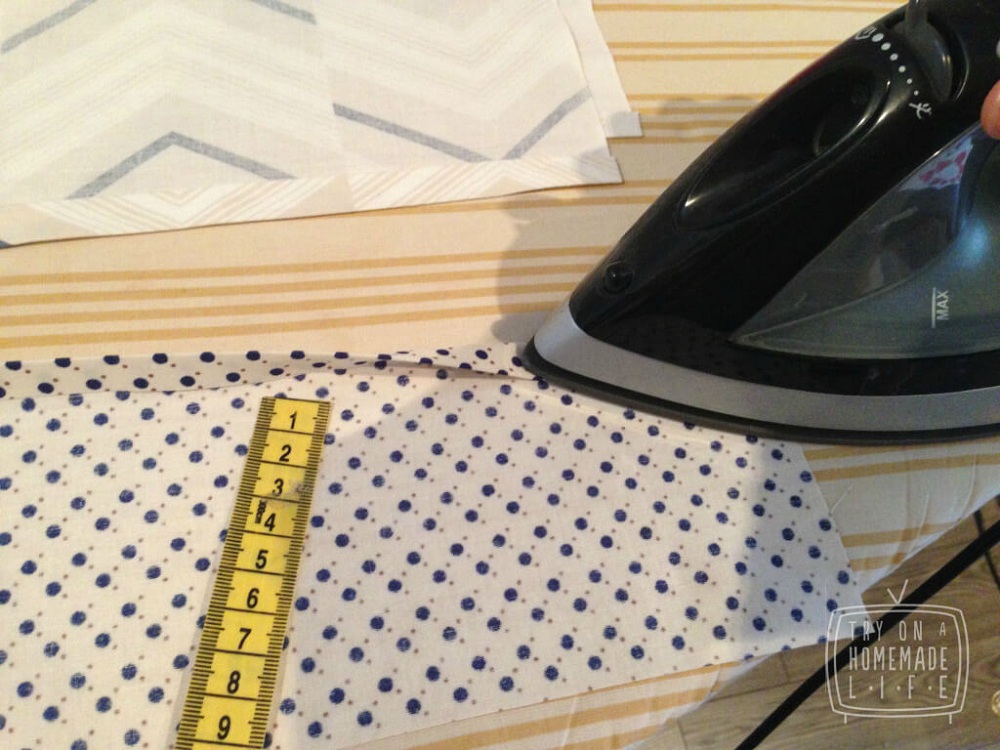
TIP: If you iron a good seam, you can often avoid using pins.
SUPPLIES
- 1 yard main fabric
- 1/2 year accent fabric – fat quarters won’t work because you need width of fabric for strap length.
- Corresponding thread
- Sewing Machine
- Rotary Cutter/Mat/Measuring tape/Cutting Ruler
- Hot Iron
- A cook with pyjamas that need saving.
*NOTE* all seams are 1/2 inch unless otherwise stated.
INSTRUCTIONS
Start by choosing a great fabric, the star-of-the-show-fabric and a smaller amount of an accent fabric. I chose this  chevron pattern, for the main event. I knew I’d be cutting it horizontally, taking good advantaged of the alternating coloured chevrons. Doing this makes it look like I’ve used a few coordinating fabrics. I also chose a cream a navy polka-dot fabric for the accent.
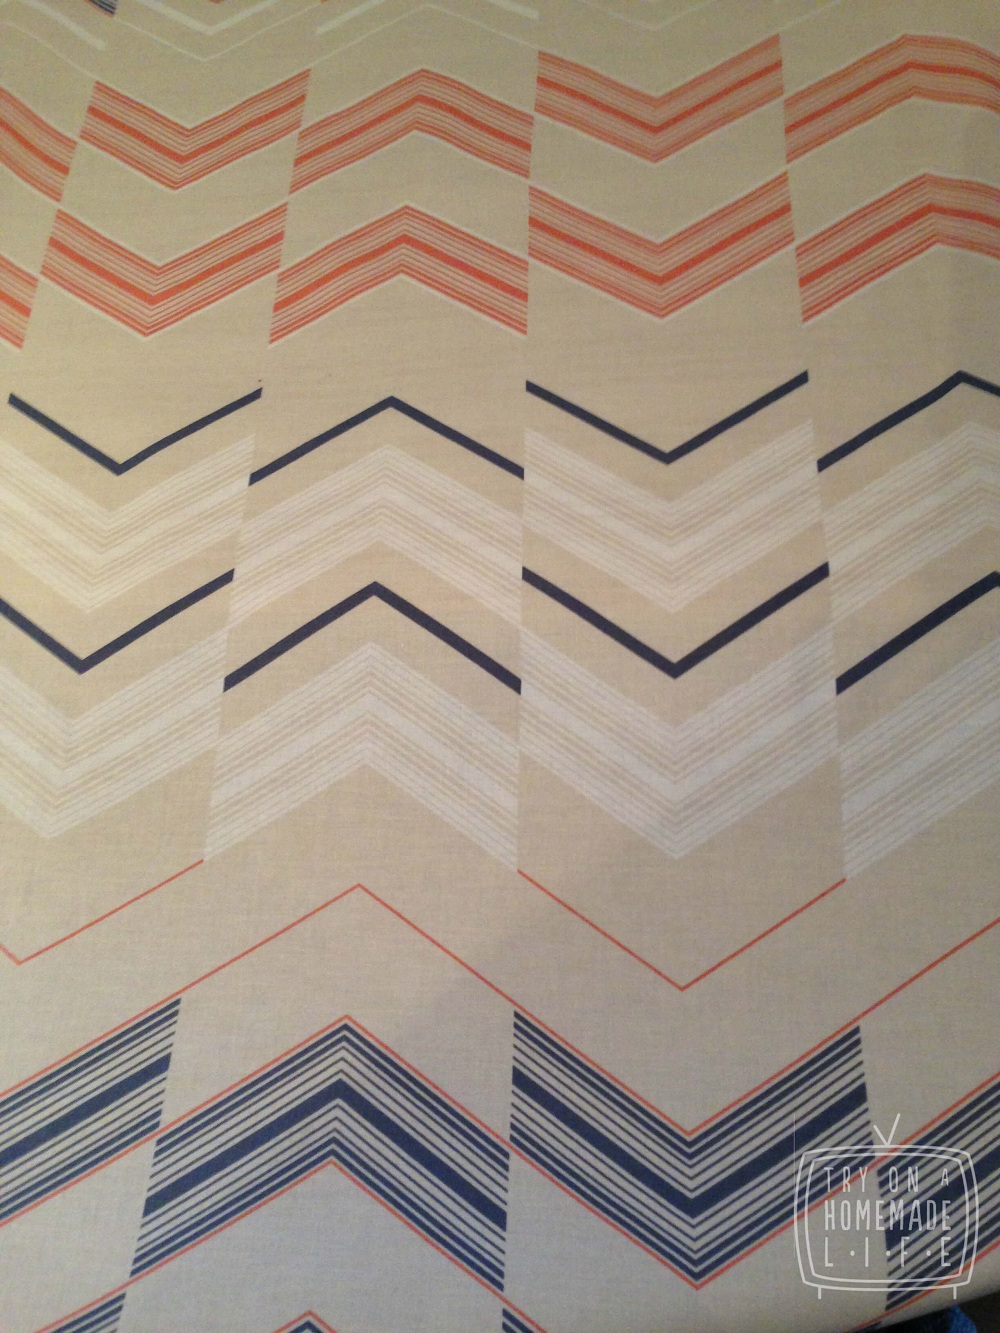
By cutting this fabric horizontally it will appear as though I’m using multiple coordinating fabrics.
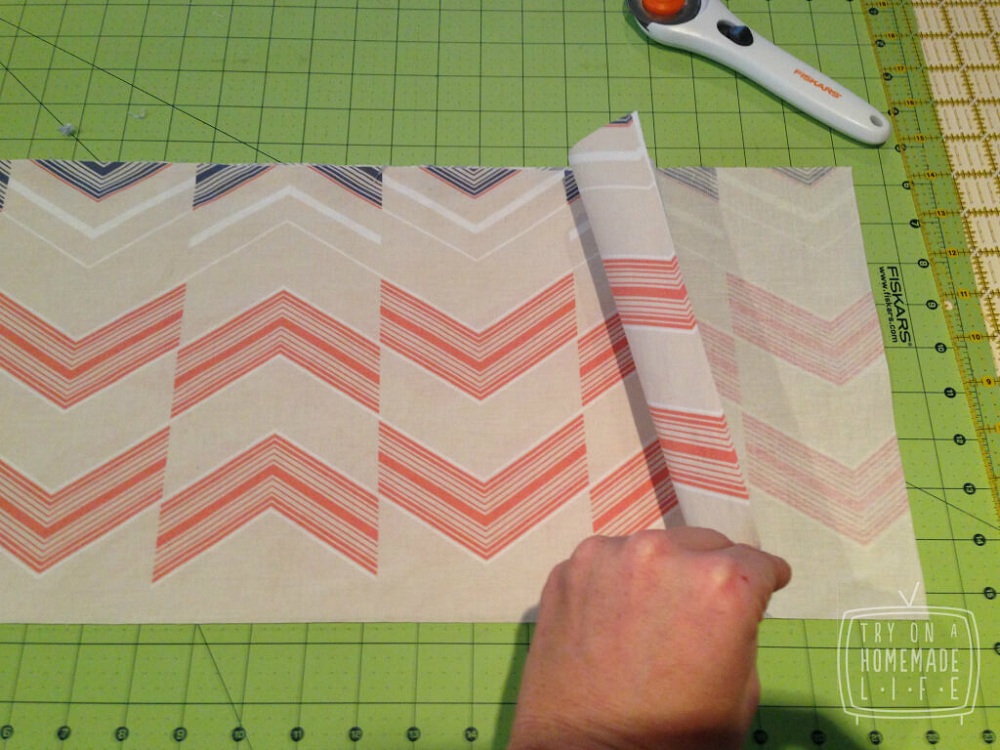
From Main Fabric CUT:Â
- Bib= cut 2 – 10″x 14″
- Skirt=cut 1 -10″ x 40″ (or width of fabric) Depending on how wide you want to be.
- Cut 5 ruffle strips – 6″x width of fabric.
From Accent Fabric CUT:
- Waistband 5″x 30″
- Belt Straps  5″ x width of fabric – and then cut in half. (you can adjust this length bigger or smaller depending on the size of the person wearing it. Neck straps cut  2 -4″ x 16Â
- Cut 1 accent ruffle strip -6″ x width of fabric
Once everything is cut, sew the bib. Â Right sides together sew around the perimeter of the square bib leaving one side open. Leave it inside out and set it aside.
Flip the fabric so right sides face each other and then sew around the perimeter, leaving a 1inch opening so you can turn the bib right-side out.
Now, the skirt and all of the ruffle strips need hemming. Fold over each side 1cm and press,  then fold over another 1cm and press again. Remember all 4 sides of the ruffles and skirt need to be hemmed, otherwise the ends will fray.Â
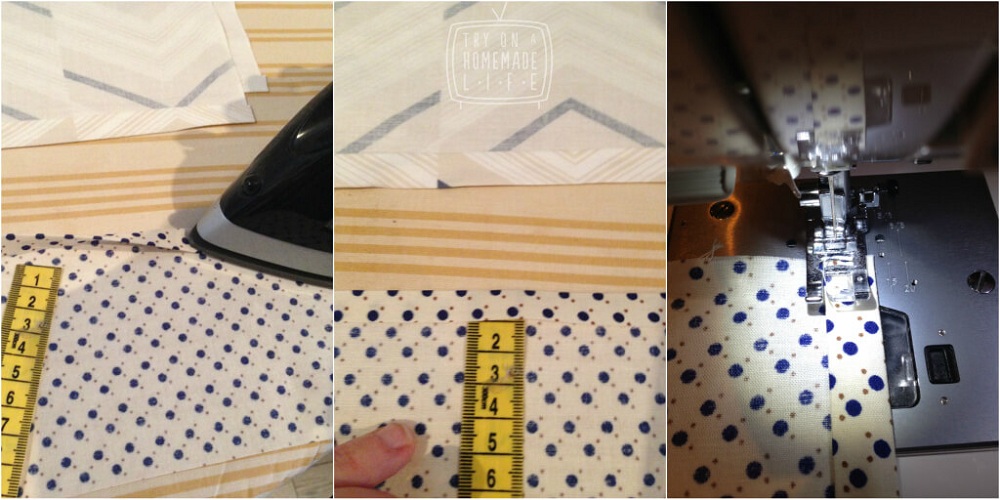
Measure, Press and Sew.
Once everything is hemmed, the fun begins! Time to ruffle.
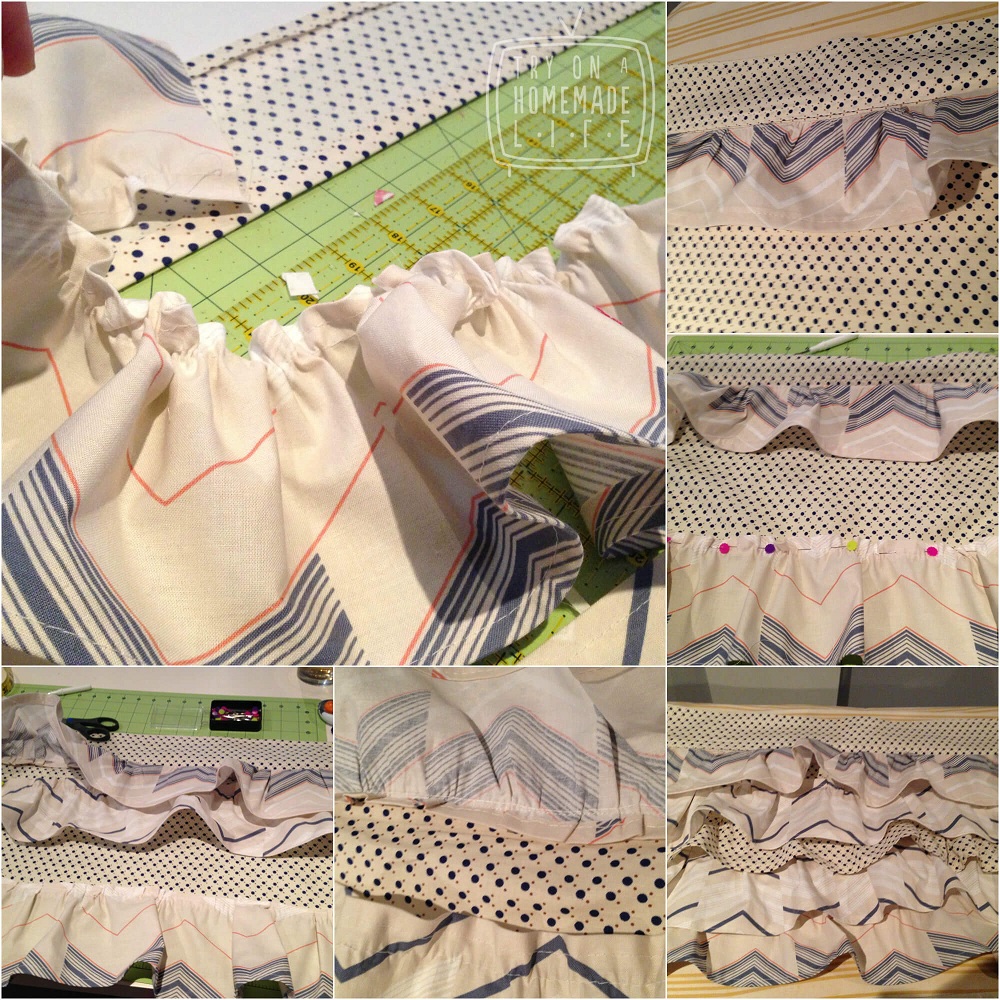
Ruffling
Change the stitch length on your sewing machine to the longest stitch it has, (a basting stitch). Â Sew about 1/4″ underneath your hem along the entire strip. DO NOT back stitch at the beginning or end, you don’t want it to be knotted in place, in fact….leave a 4-5 inch tail of thread at the end that you can pull.
Because there is no knot at the beginning or end pulling the thread you’ve just sewn will create a ruffle. Do this for all six ruffle strips.
Play with the ruffles size until the strips measure the exact width of your skirt and pin the first strip, (the one you want to be at the top) flush with the top of your skirt. Â Right sides facing up and pin.
Change the stitch length on your sewing machine back to a smaller stitch and sew across the ruffles. Remembering to back stitch this time.  Once your first ruffle is sewn in place, take your hemmed waistband and match it flush, right-sides together, with the first ruffle/skirt top, and sew one seam along the top. Press open and it should look like this:
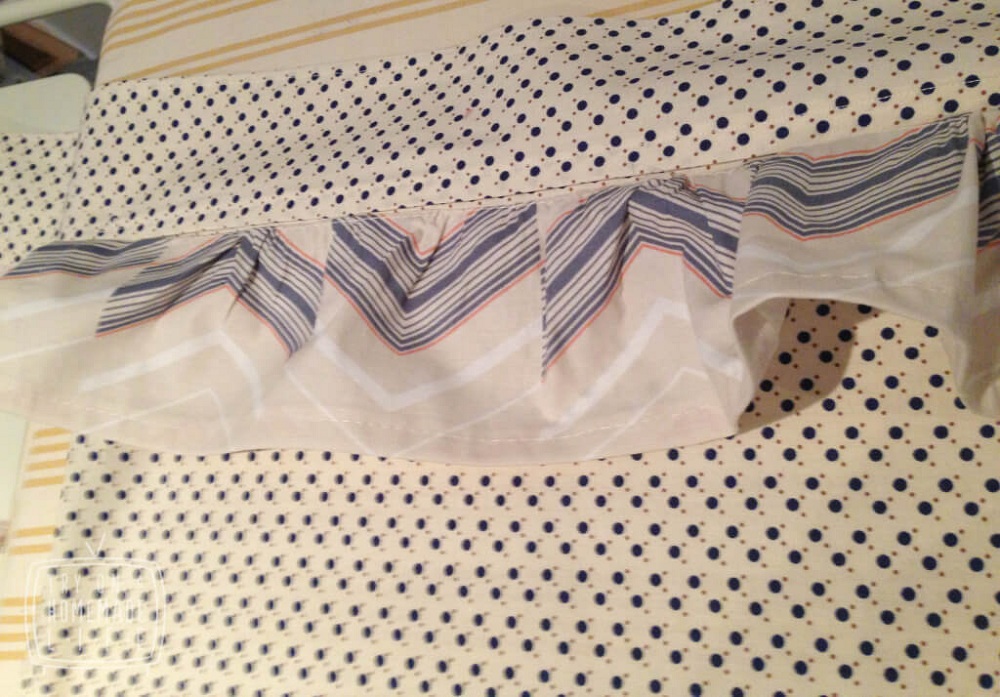
Now the waistband is hiding the seam of the first ruffle.
Next do the bottom ruffle. Follow the same steps above, but sew your ruffled strip, 1/2 above your bottom hem. By doing the top and bottom ruffles first, you’ll be able to most accurately space the middle ruffles so everything will be even on your skirt.
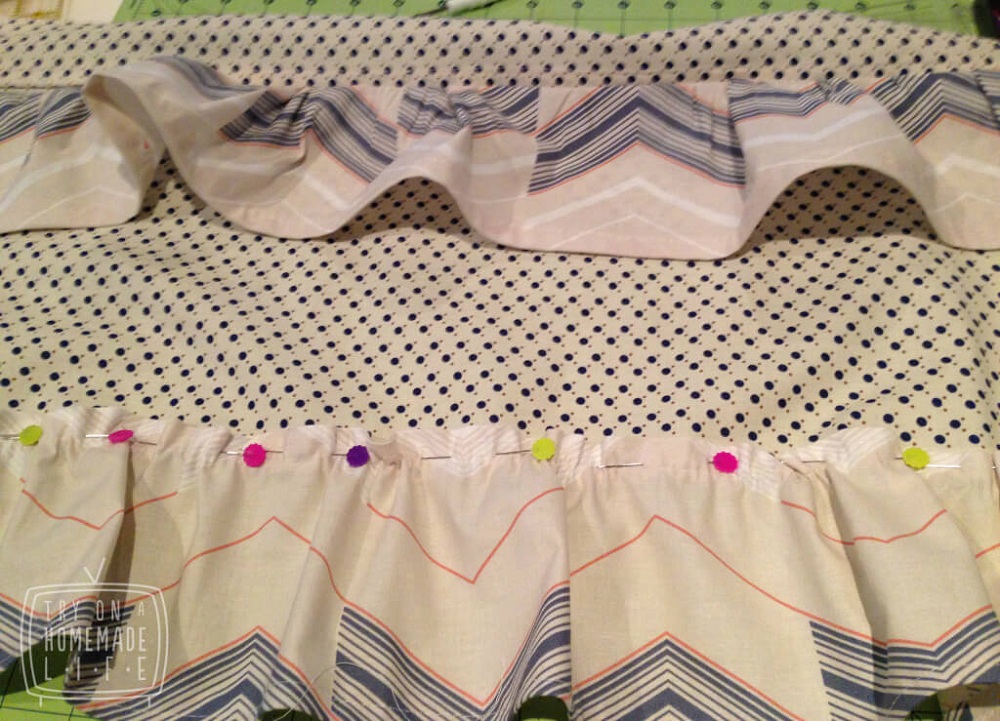
TIP: By sewing the top and bottom ruffles first, you’ll be able to most accurately space out your middle ruffles.
Place the rest of your ruffles, and you’ll see the skirt starting to take shape.
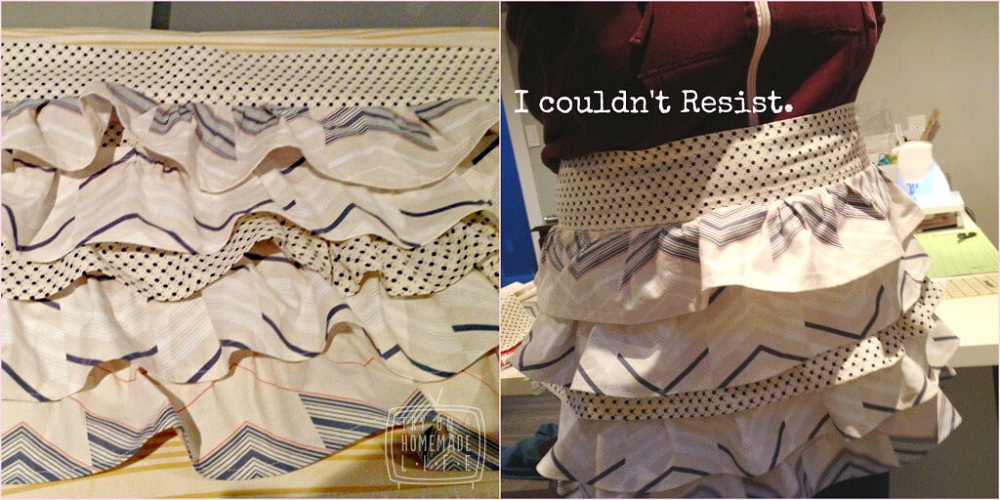
It looks cute as a half apron too.
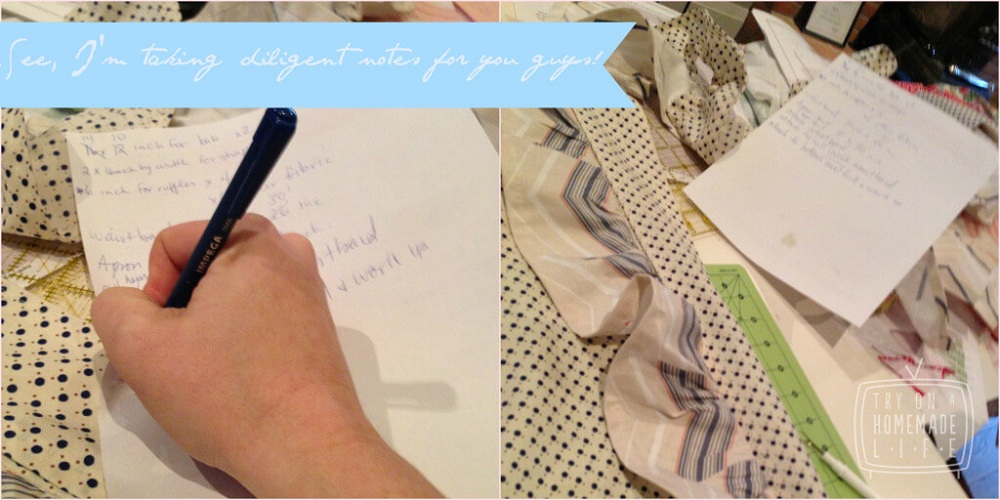 Just jotting down the measurements and notes so I can write the tutorial.
Just jotting down the measurements here so I can write the tutorial. 🙂
Now, on to the top:
Fold the neck straps in half length wise and press right sides together, so it looks inside out. Sew a 1/2 inch seam down the length and across one end. Â Turn right-sides out. Â Do this for both straps.Â
Get your bib and with your seam ripper, unstitch just enough on either side of your top bib for your straps to fit in.
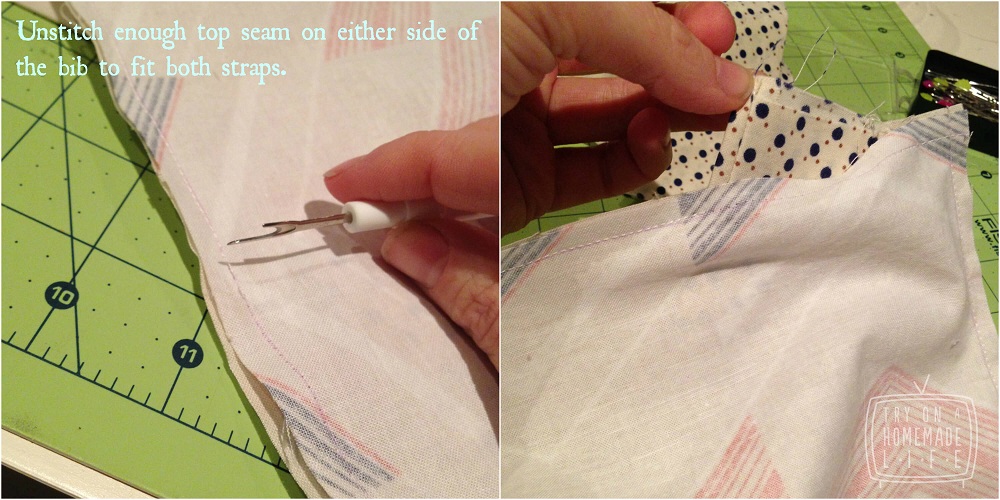
With about 1/2inch of strap sticking out, sew along your previous seam, securing the straps in place. Next sew up the side of the bib you left open. Sew all but an inch so you can turn the bib right side out, with the straps now in place.
 Almost there.
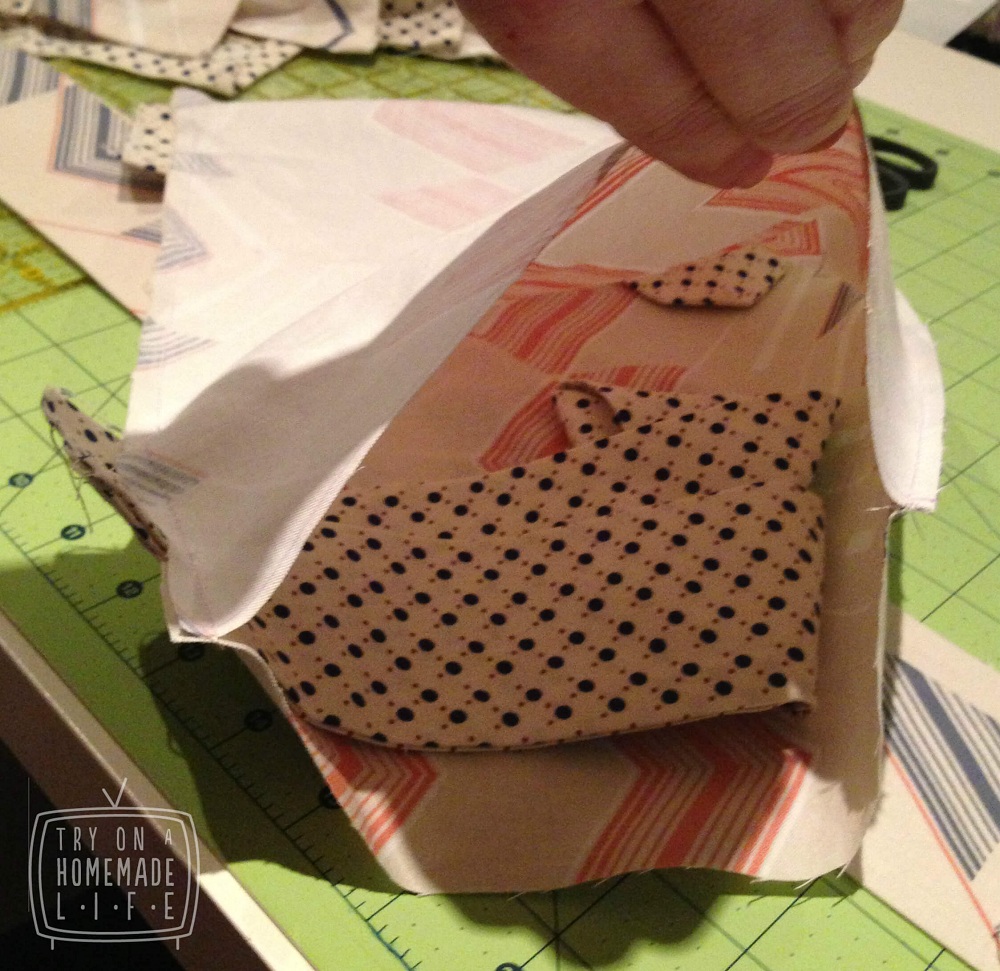
Next line up the bottom part of your bib with the top part of your waistband, and flip the bib down into the skirt, so right sides are touching. Sew the bottom of the bib onto the top of the waistband, so the seam between the top and bottom are hidden.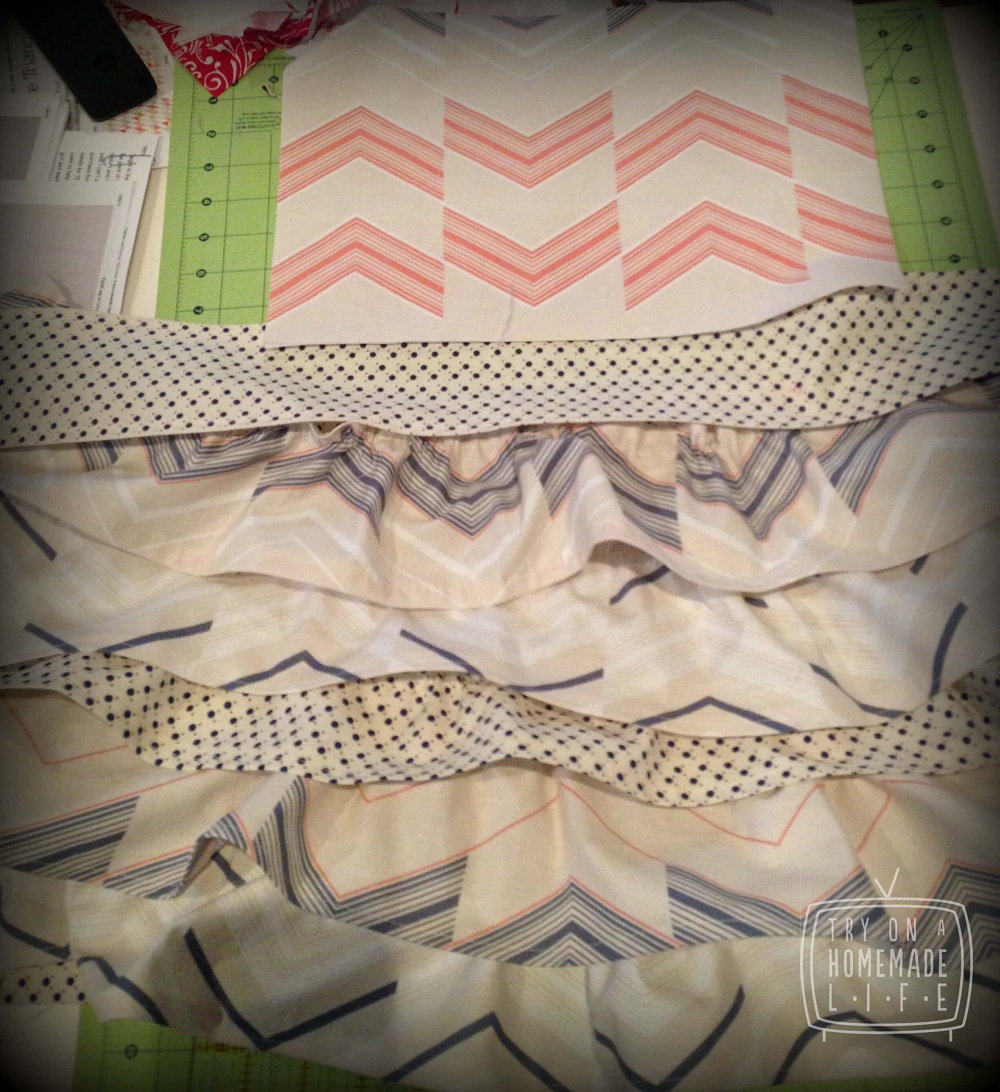
Now take your Belt straps, fold them in half lengthwise and press, right sides together, like you did with the neck straps. Sew along the length and sew across one end, and turn right side out.  Do this for both belt straps. Once right sides are out, you’ll have two unfinished ends. You’ll need to fold in the seams at the end of each strap and either hand sew an invisible seam, or if you’re not bothered by the stitches, machine stitch the belt ends shut.
You might be wondering why you didn’t just make the waistband longer so that you don’t have to attach extra straps to lengthen it at the end, but I do it like this to avoid a seam in the front. Plus the fabric width I had wasn’t long enough to do it all in one piece. Really it’s your choice.
So, simply overlap the belt straps with the tails of the waistband on either side and sew together. Â You may want to sew a square with an “X” in in for extra durability.
And that’s it!
A frilly fancy apron that’s easy to make.

A frilly fancy apron that’s quick and easy. Read the tutorial to see how to make it.