Mermaid Tail Quilt
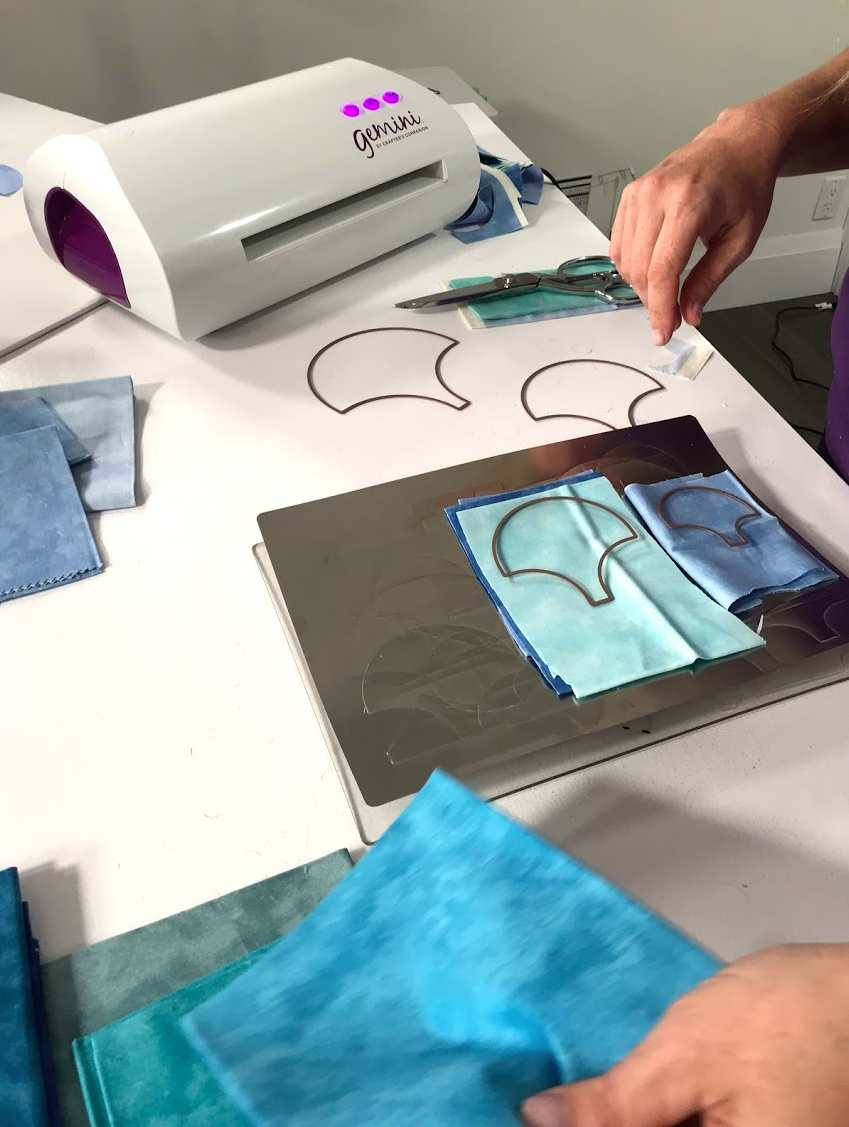
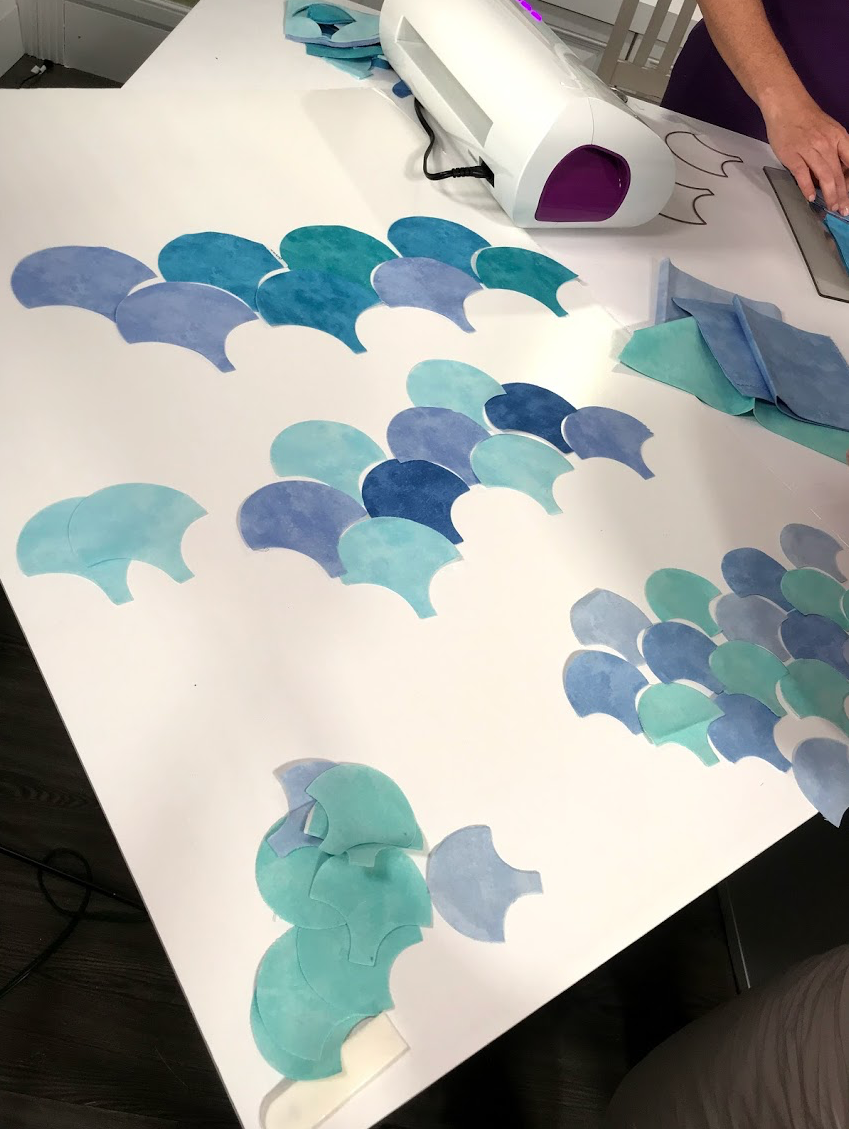
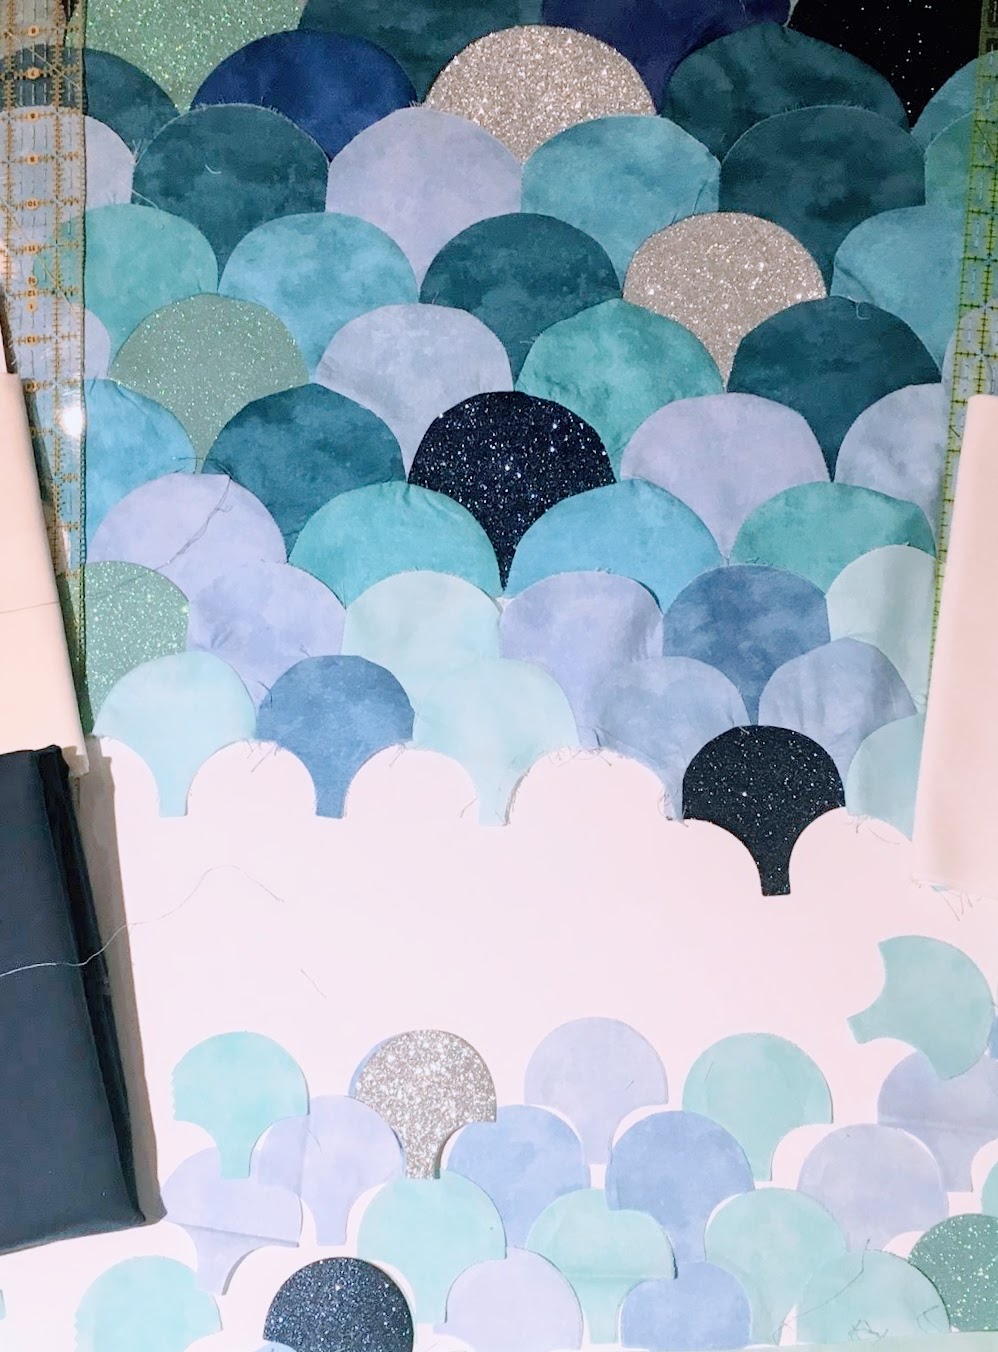
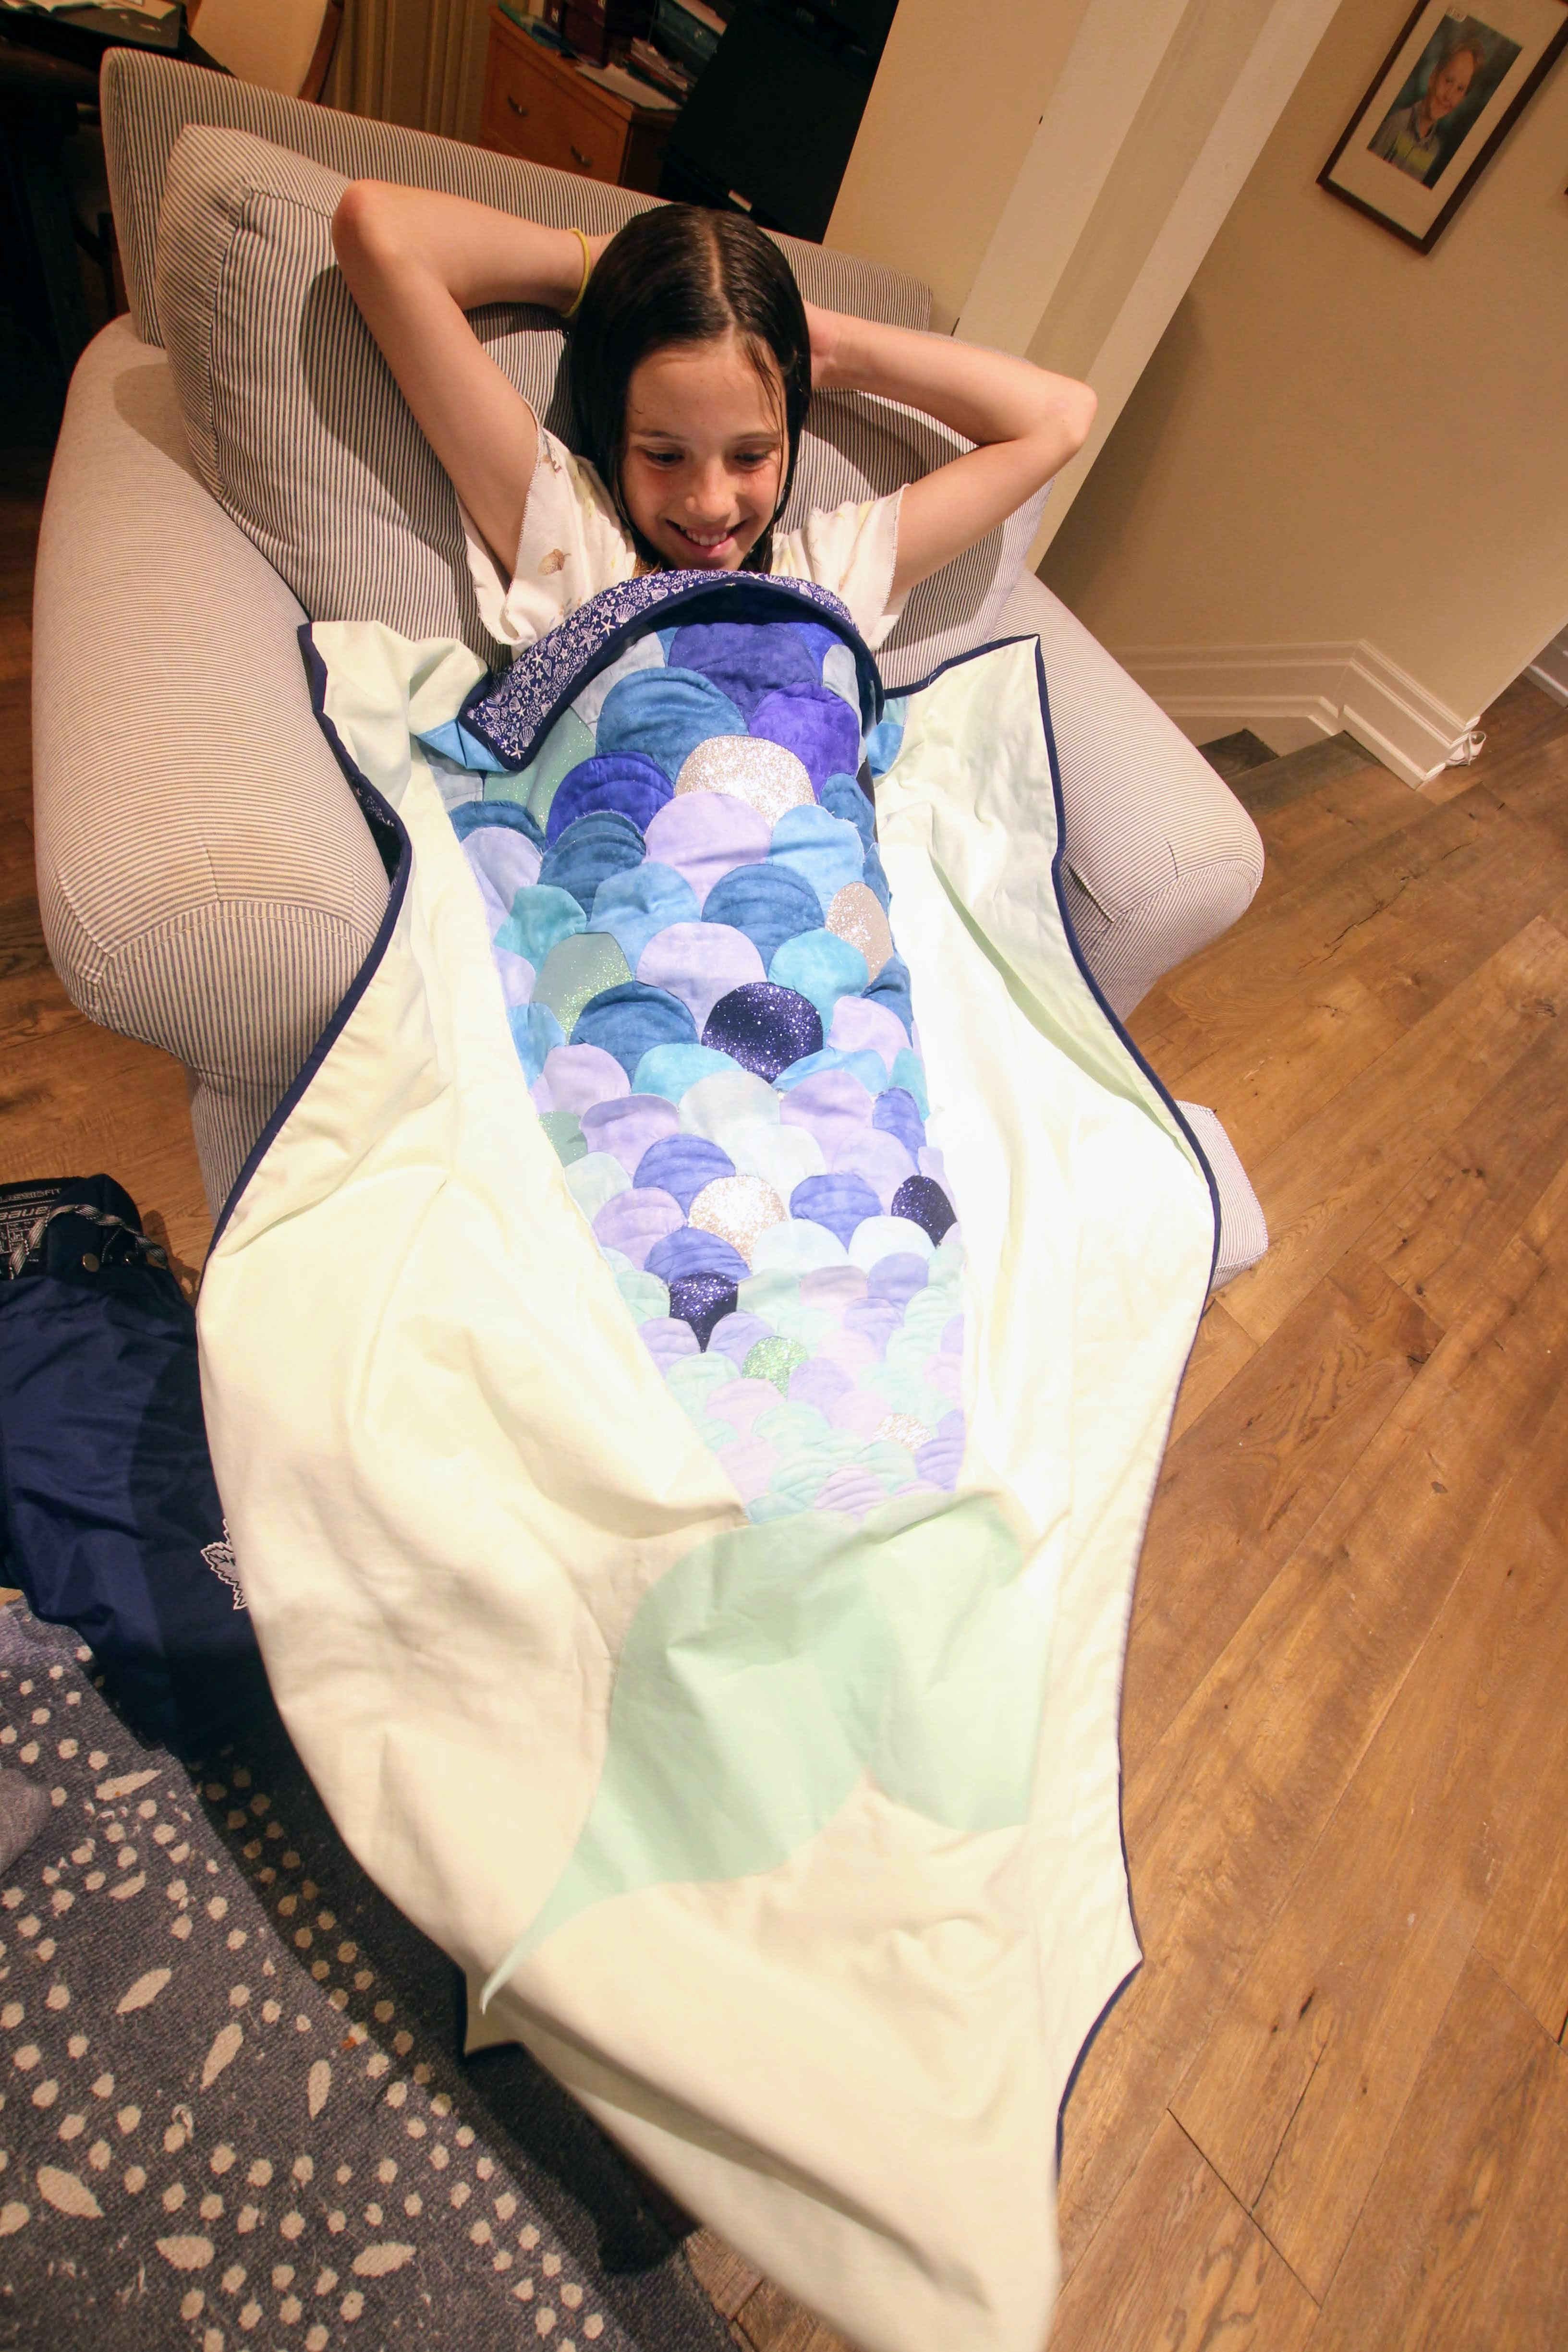
We’ve all seen the sleeping bag style mermaid blankets, they’ve been the go-to tween girl birthday gift for a few years running. (Trust me). So when I saw the new Patchwork Dies in Clam Shell I couldn’t help but think Mermaid Tail. But these thin metal dies are for quilting and they can cut out about 8 perfect clam shell shapes out of quilting cotton, so I was thinking, Mermaid Tail Quilt? Could I be so Bold!?! Lol. Sure why not. Since the cutting was made super easy with the Gemini, I cut out all 3 sizes of clam shells and got to sewing.
I used a variety of blues from a Northcott fat quarter bundle I’ve had lingering around for a few years. This polished off that stash nicely.
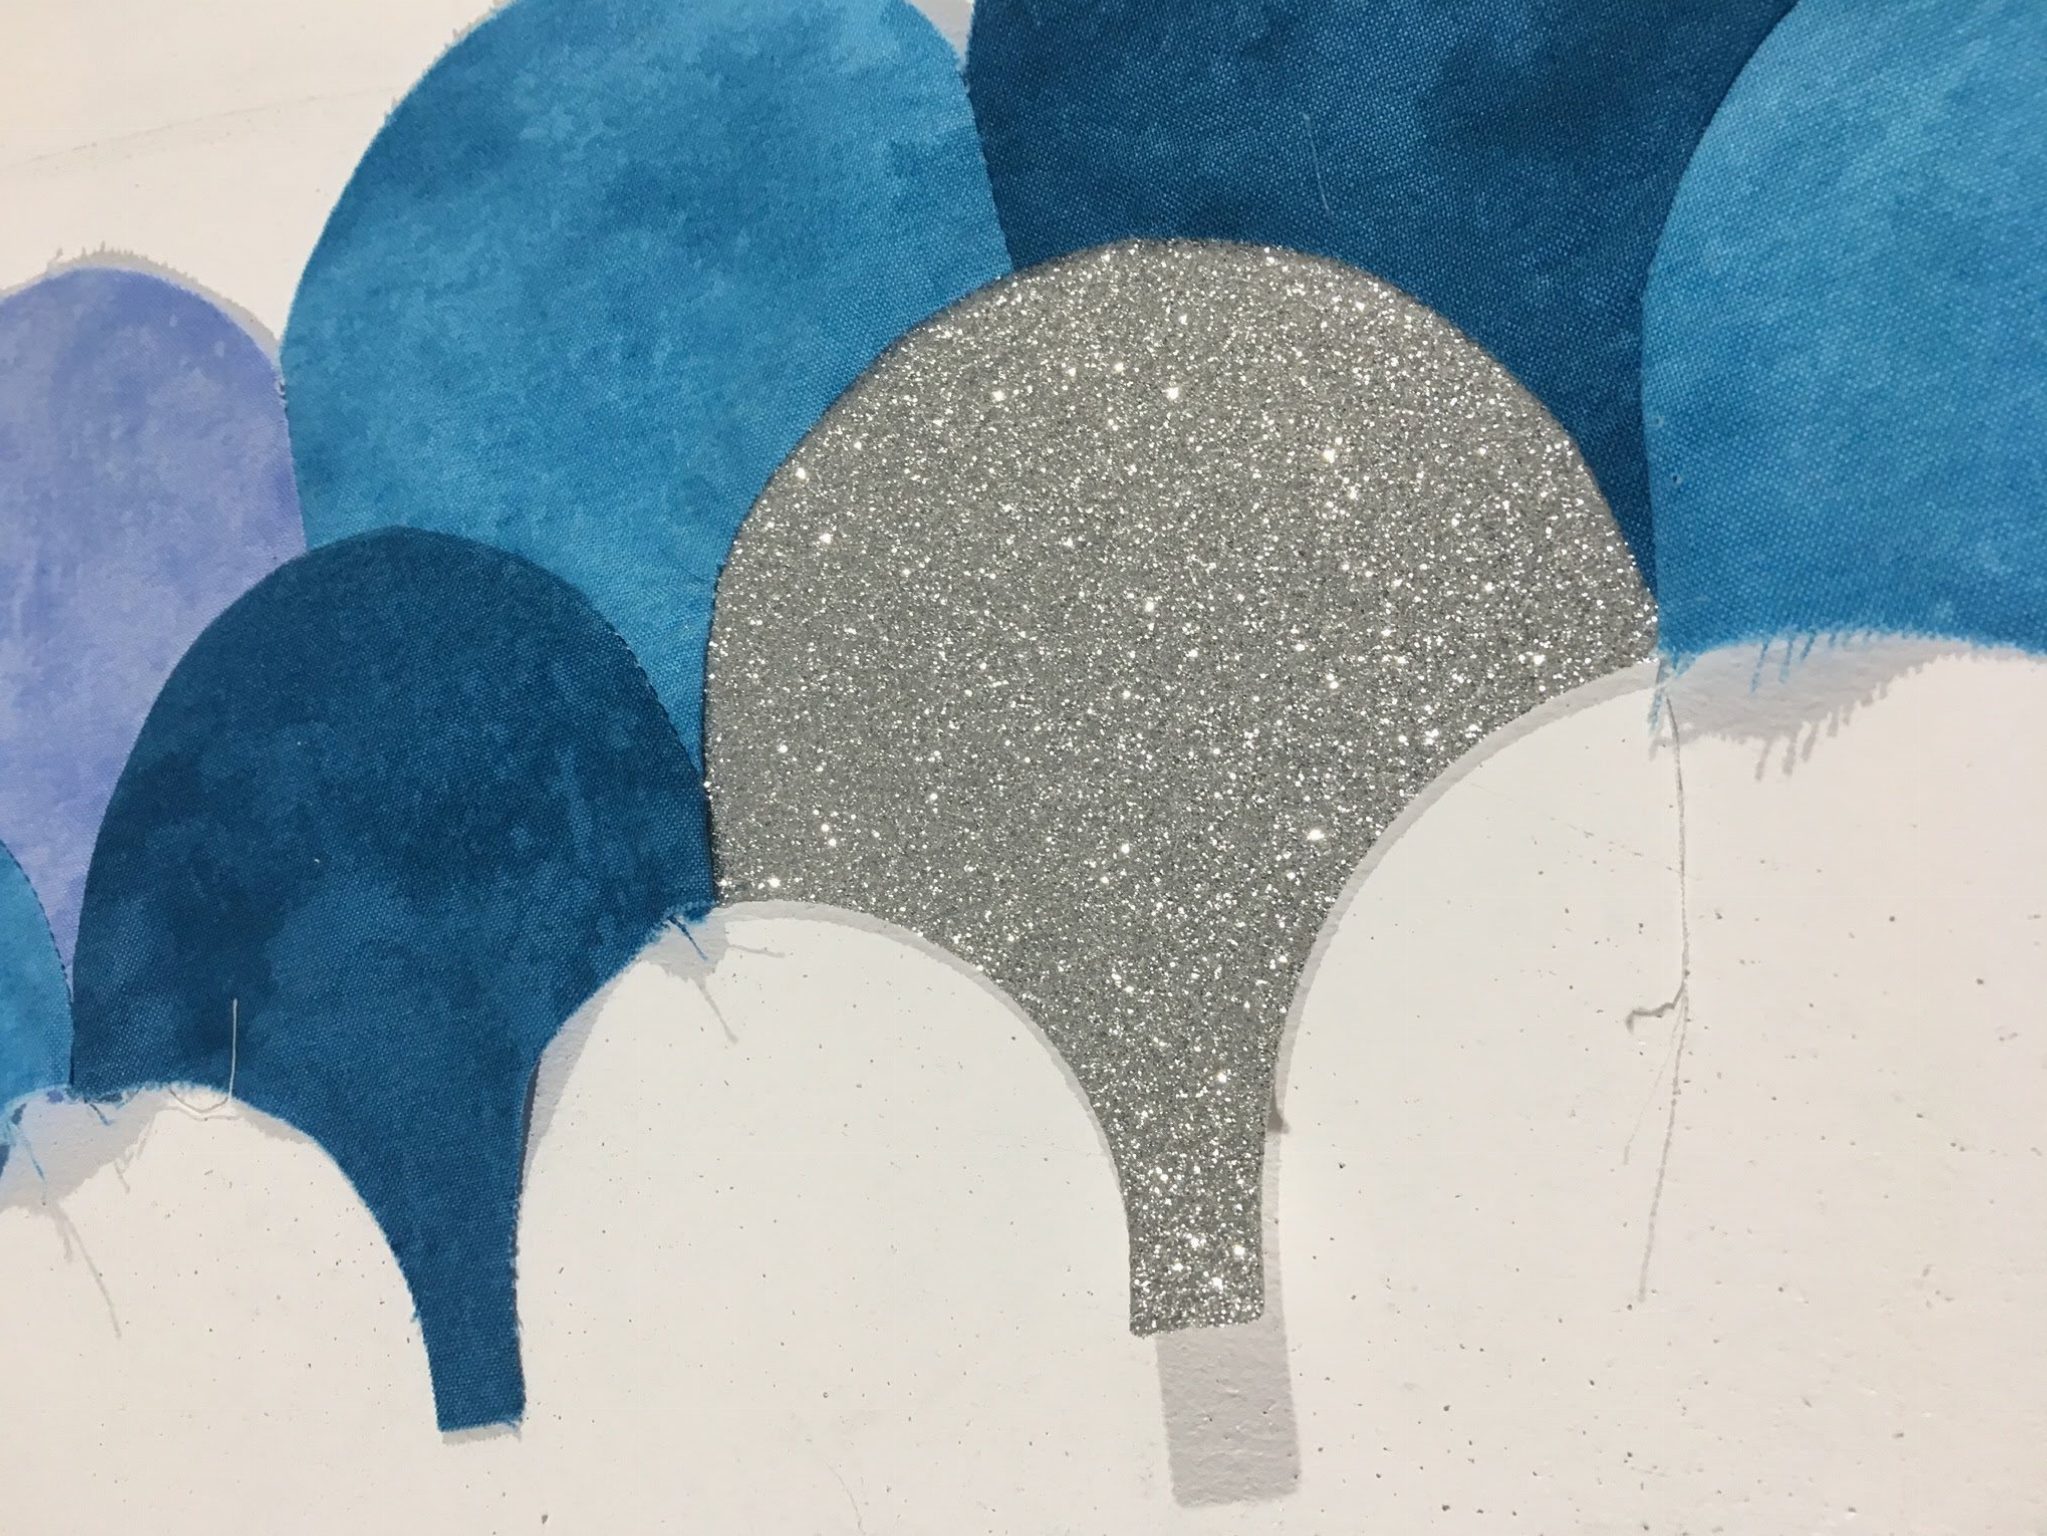
I also cut a variety of claim shells out of the Theaders Glitter Fabric, which is so gorgeous and easy to cut. I was on the fence about the look until I added the glitter. It really popped after that.
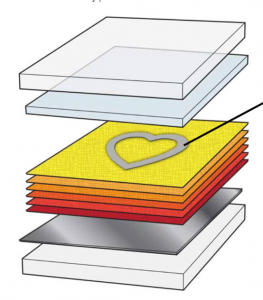
The fabric cut sin the same configuration as the Build-a-Block System. Base plate, Metal Shim, fabric, Clamshell Die, Plastic Shim and Top Plastic Plate. You may be able to omit the metal shim if you’re cutting the only 1 or 2 layers of the glitter fabric.
Now, I must warn you, curves are tough to sew, go slow and don’t expect perfection. You’ll be much more skilled by the end. My advice is to start with the larger sizes, as they’re easier than the smaller.
Now there’s a very specific way you’re going to need START sewing these to get them to all lay flat. You’ll see my sewing is far from perfect… but like they say, if you can’t see the error from a moving horse…it’s fine. So onward.
Here’s what you need to do.
Lay out your first row of clam shells, and with right sides together, sew a 1/4 inch seam just along one side. Until the whole row is together like paper dolls. Then you’ll be left with perfect arches at the bottom, ready for the the subsequent clam shells.
Note: There are 4 different sizes of clam shells in the set, however, you must sew similar sizes together. You can’t sew a large to a medium, and medium to a small etc. However, I did use all the sizes for the tail.
To accomplish this, I sewed four rows of large, four rows of mediums & smalls and then just layered them about an inch over the end of the previous size and sewed them on during the quilting. You’d never know. You can put a bit of iron-on adhesive on the back so that the layered rows don’t fray.
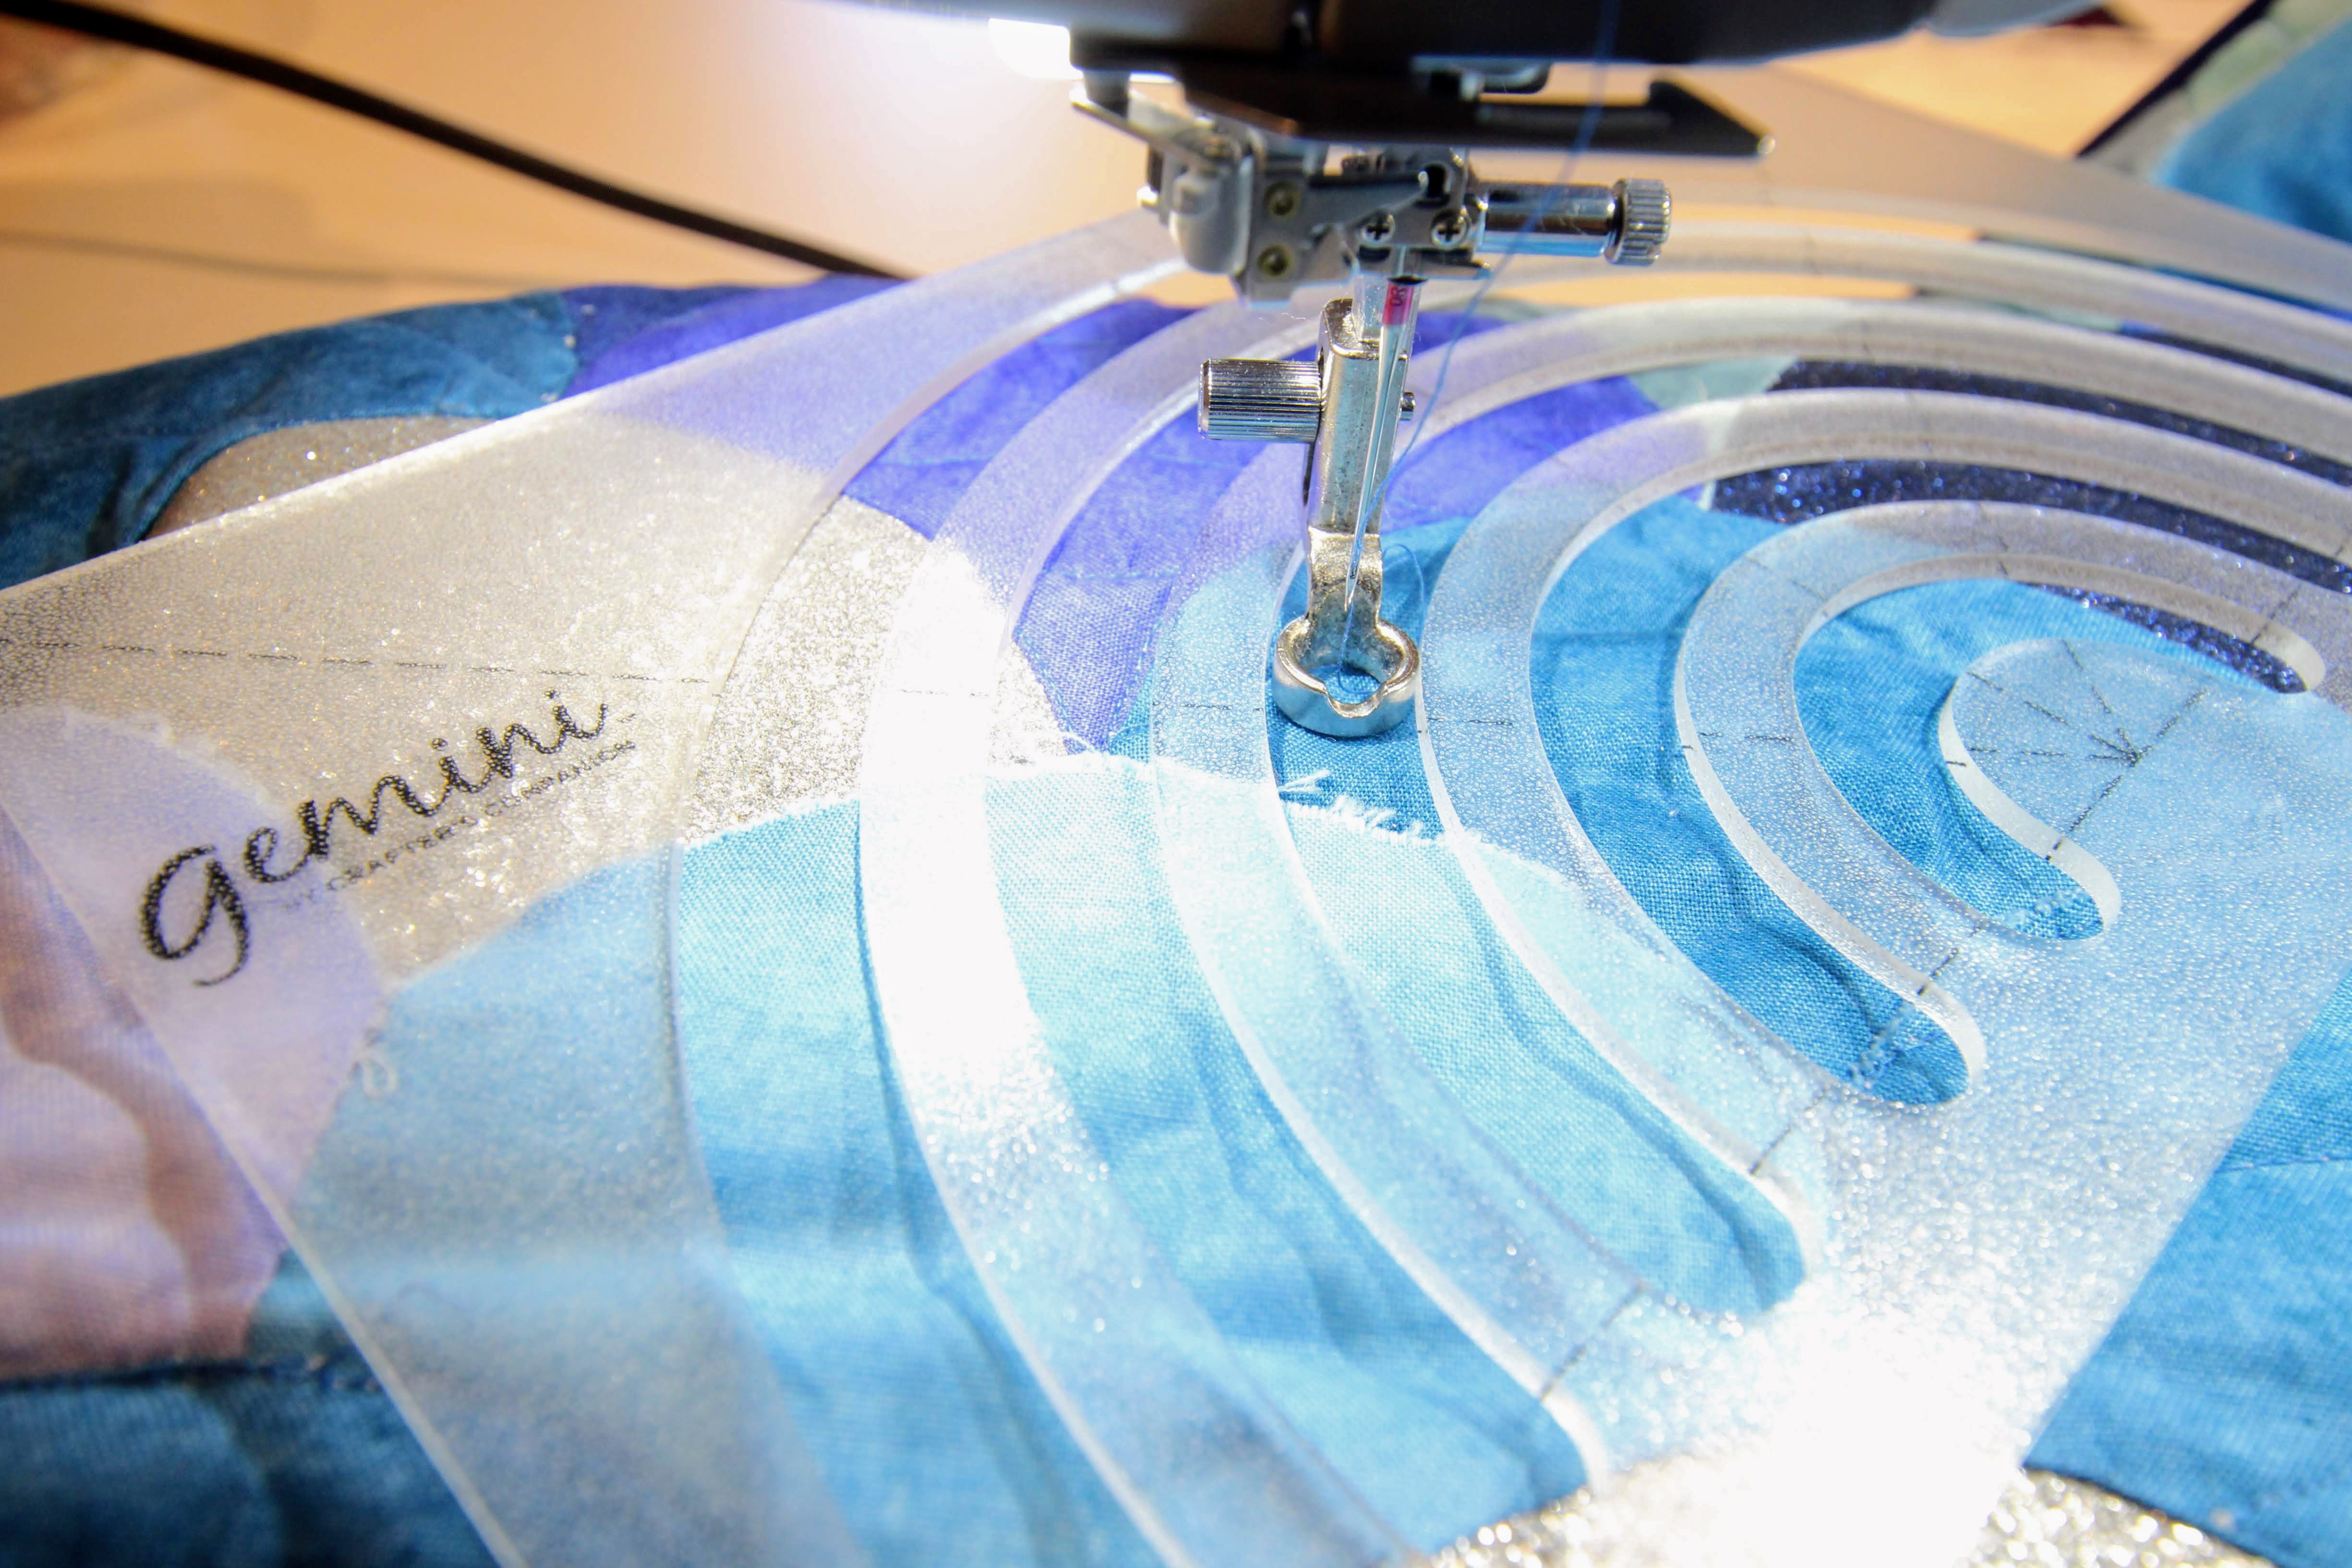
I quilted the claim shell pattern using the Gemini Pattern Guide Half Circle. Worked perfectly to tack down the overlapped sizes and quilt down the rest of the clam shells.
The Gemini Pattern Guides are also available on HSN Sept 10th, 2019.
I sewed and quilted everything on the Janome 6650. Coming to TSC Sept 12th. and available at Sewing Machine’s Plus.com in the US.
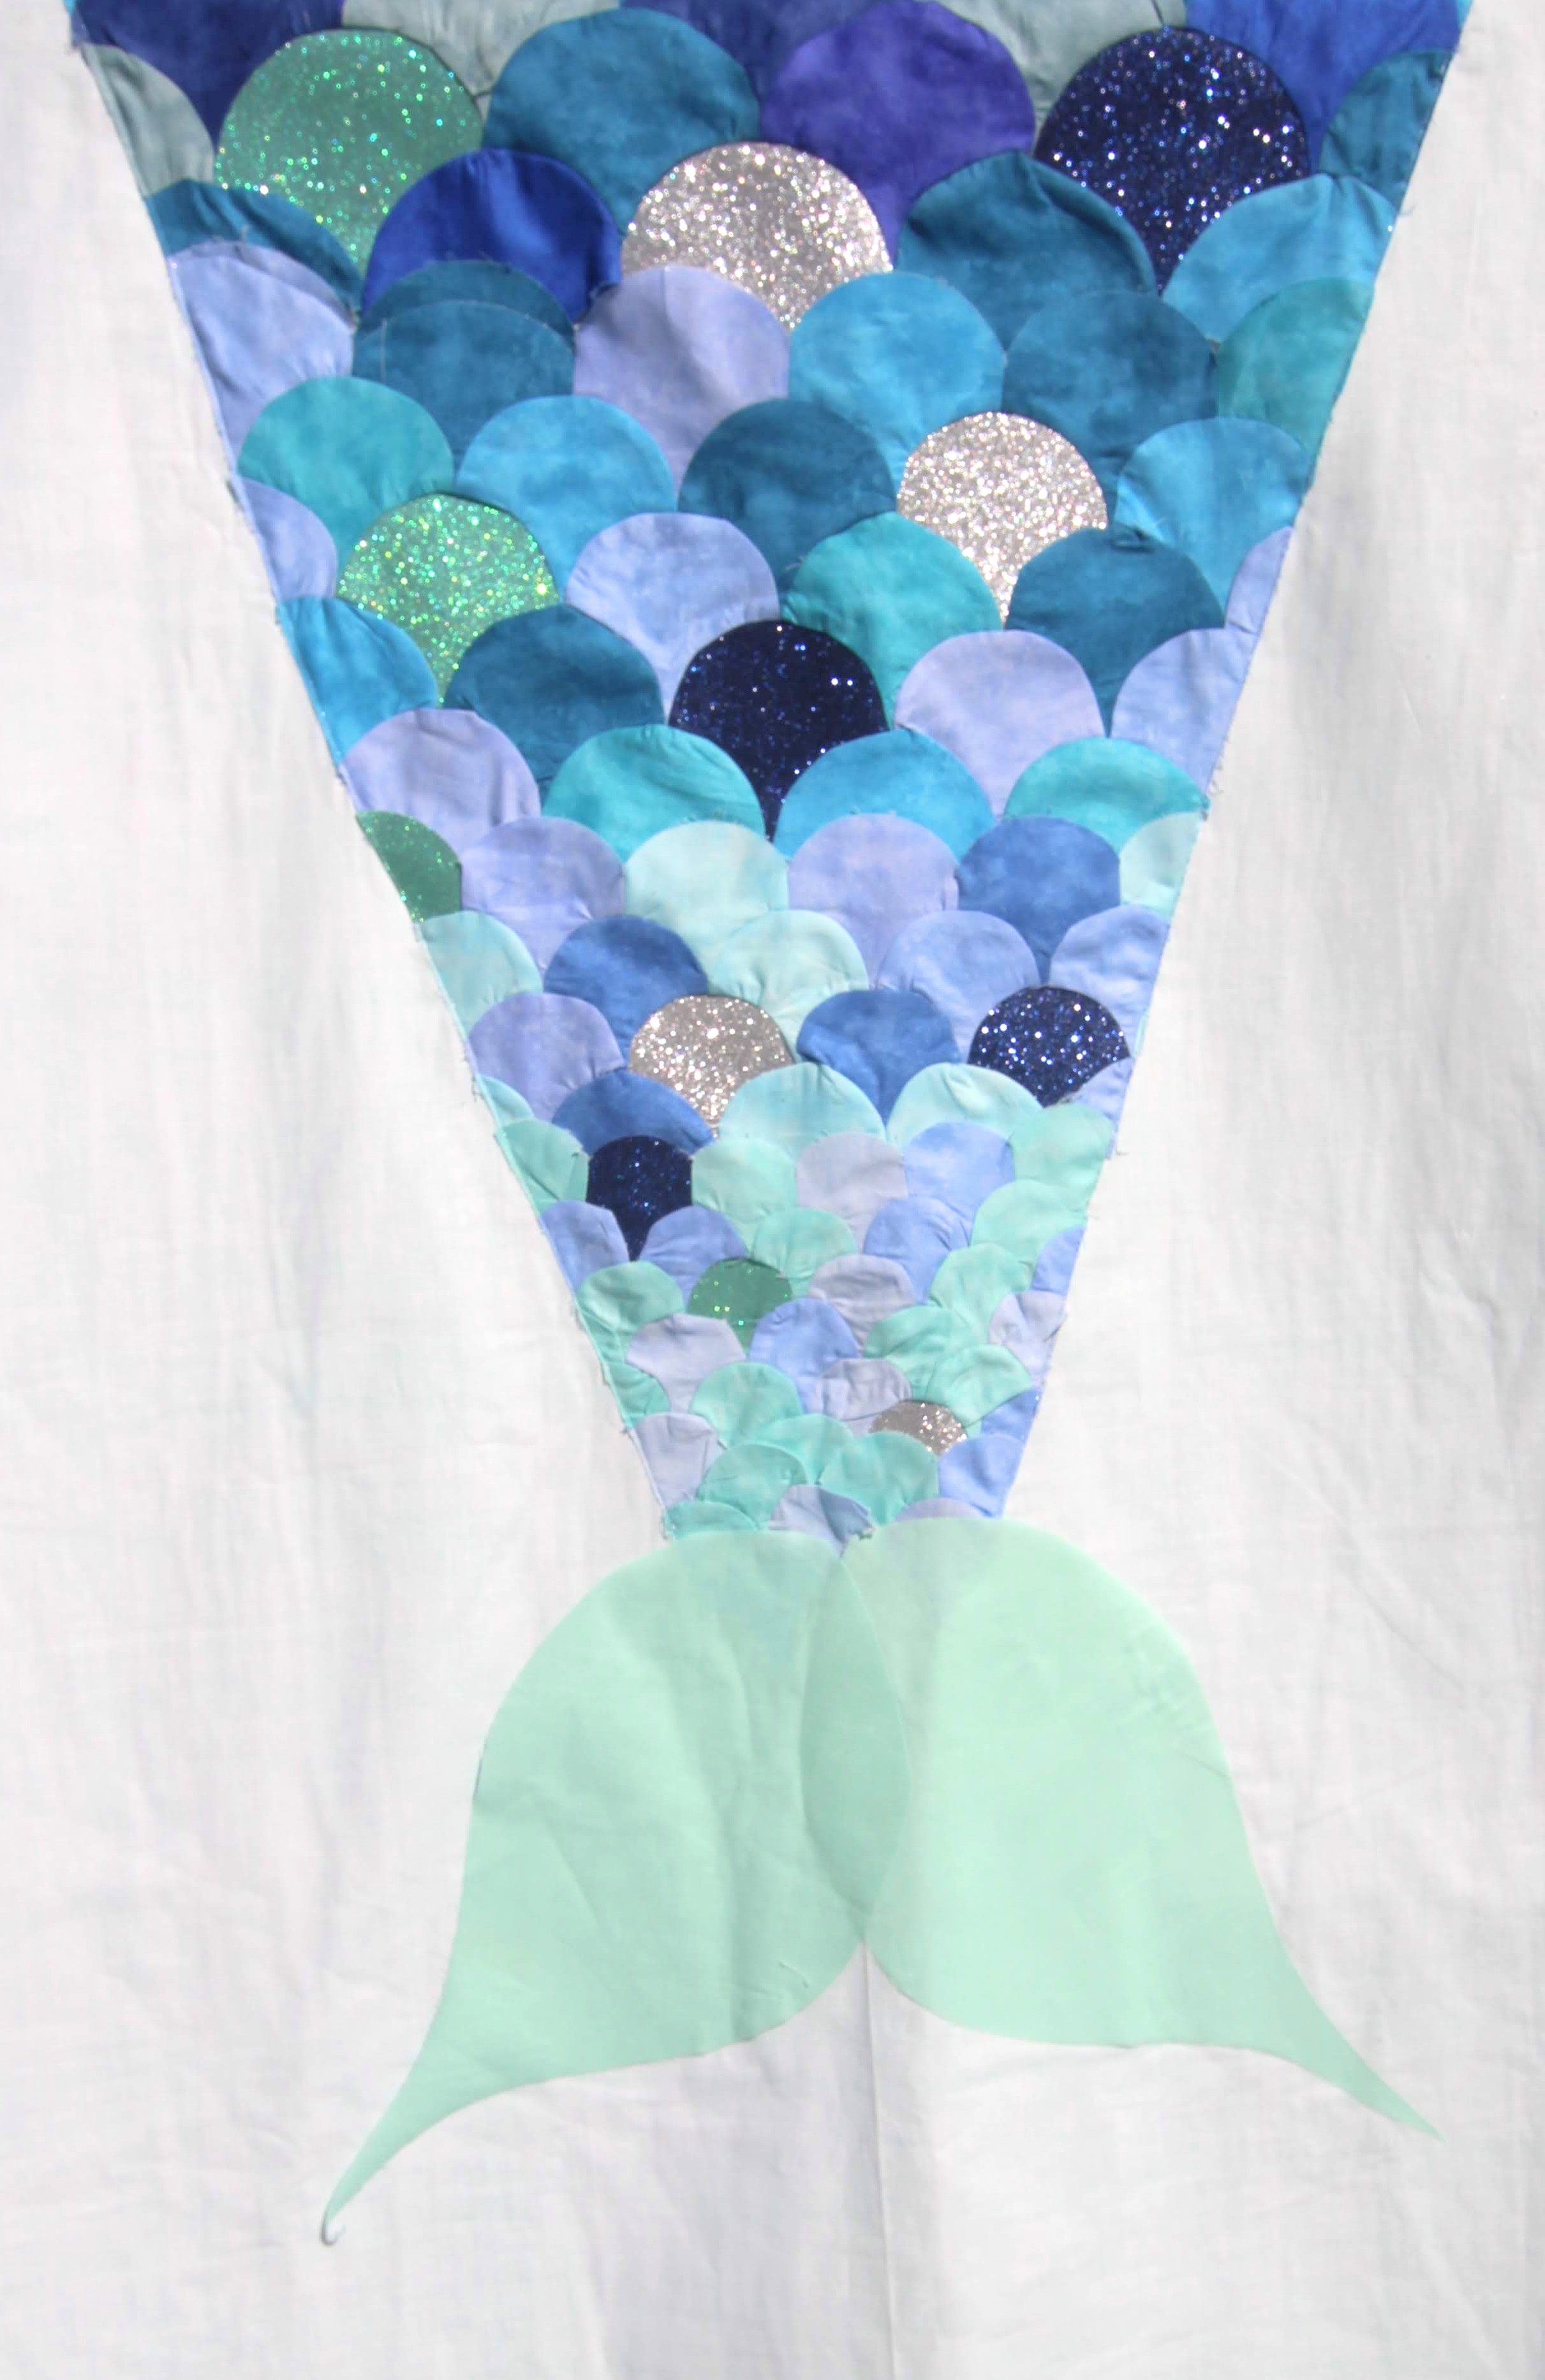
For the tail, I used Heat-n-Bond and cut out a fin shape and just ironed it on, and top stitched.
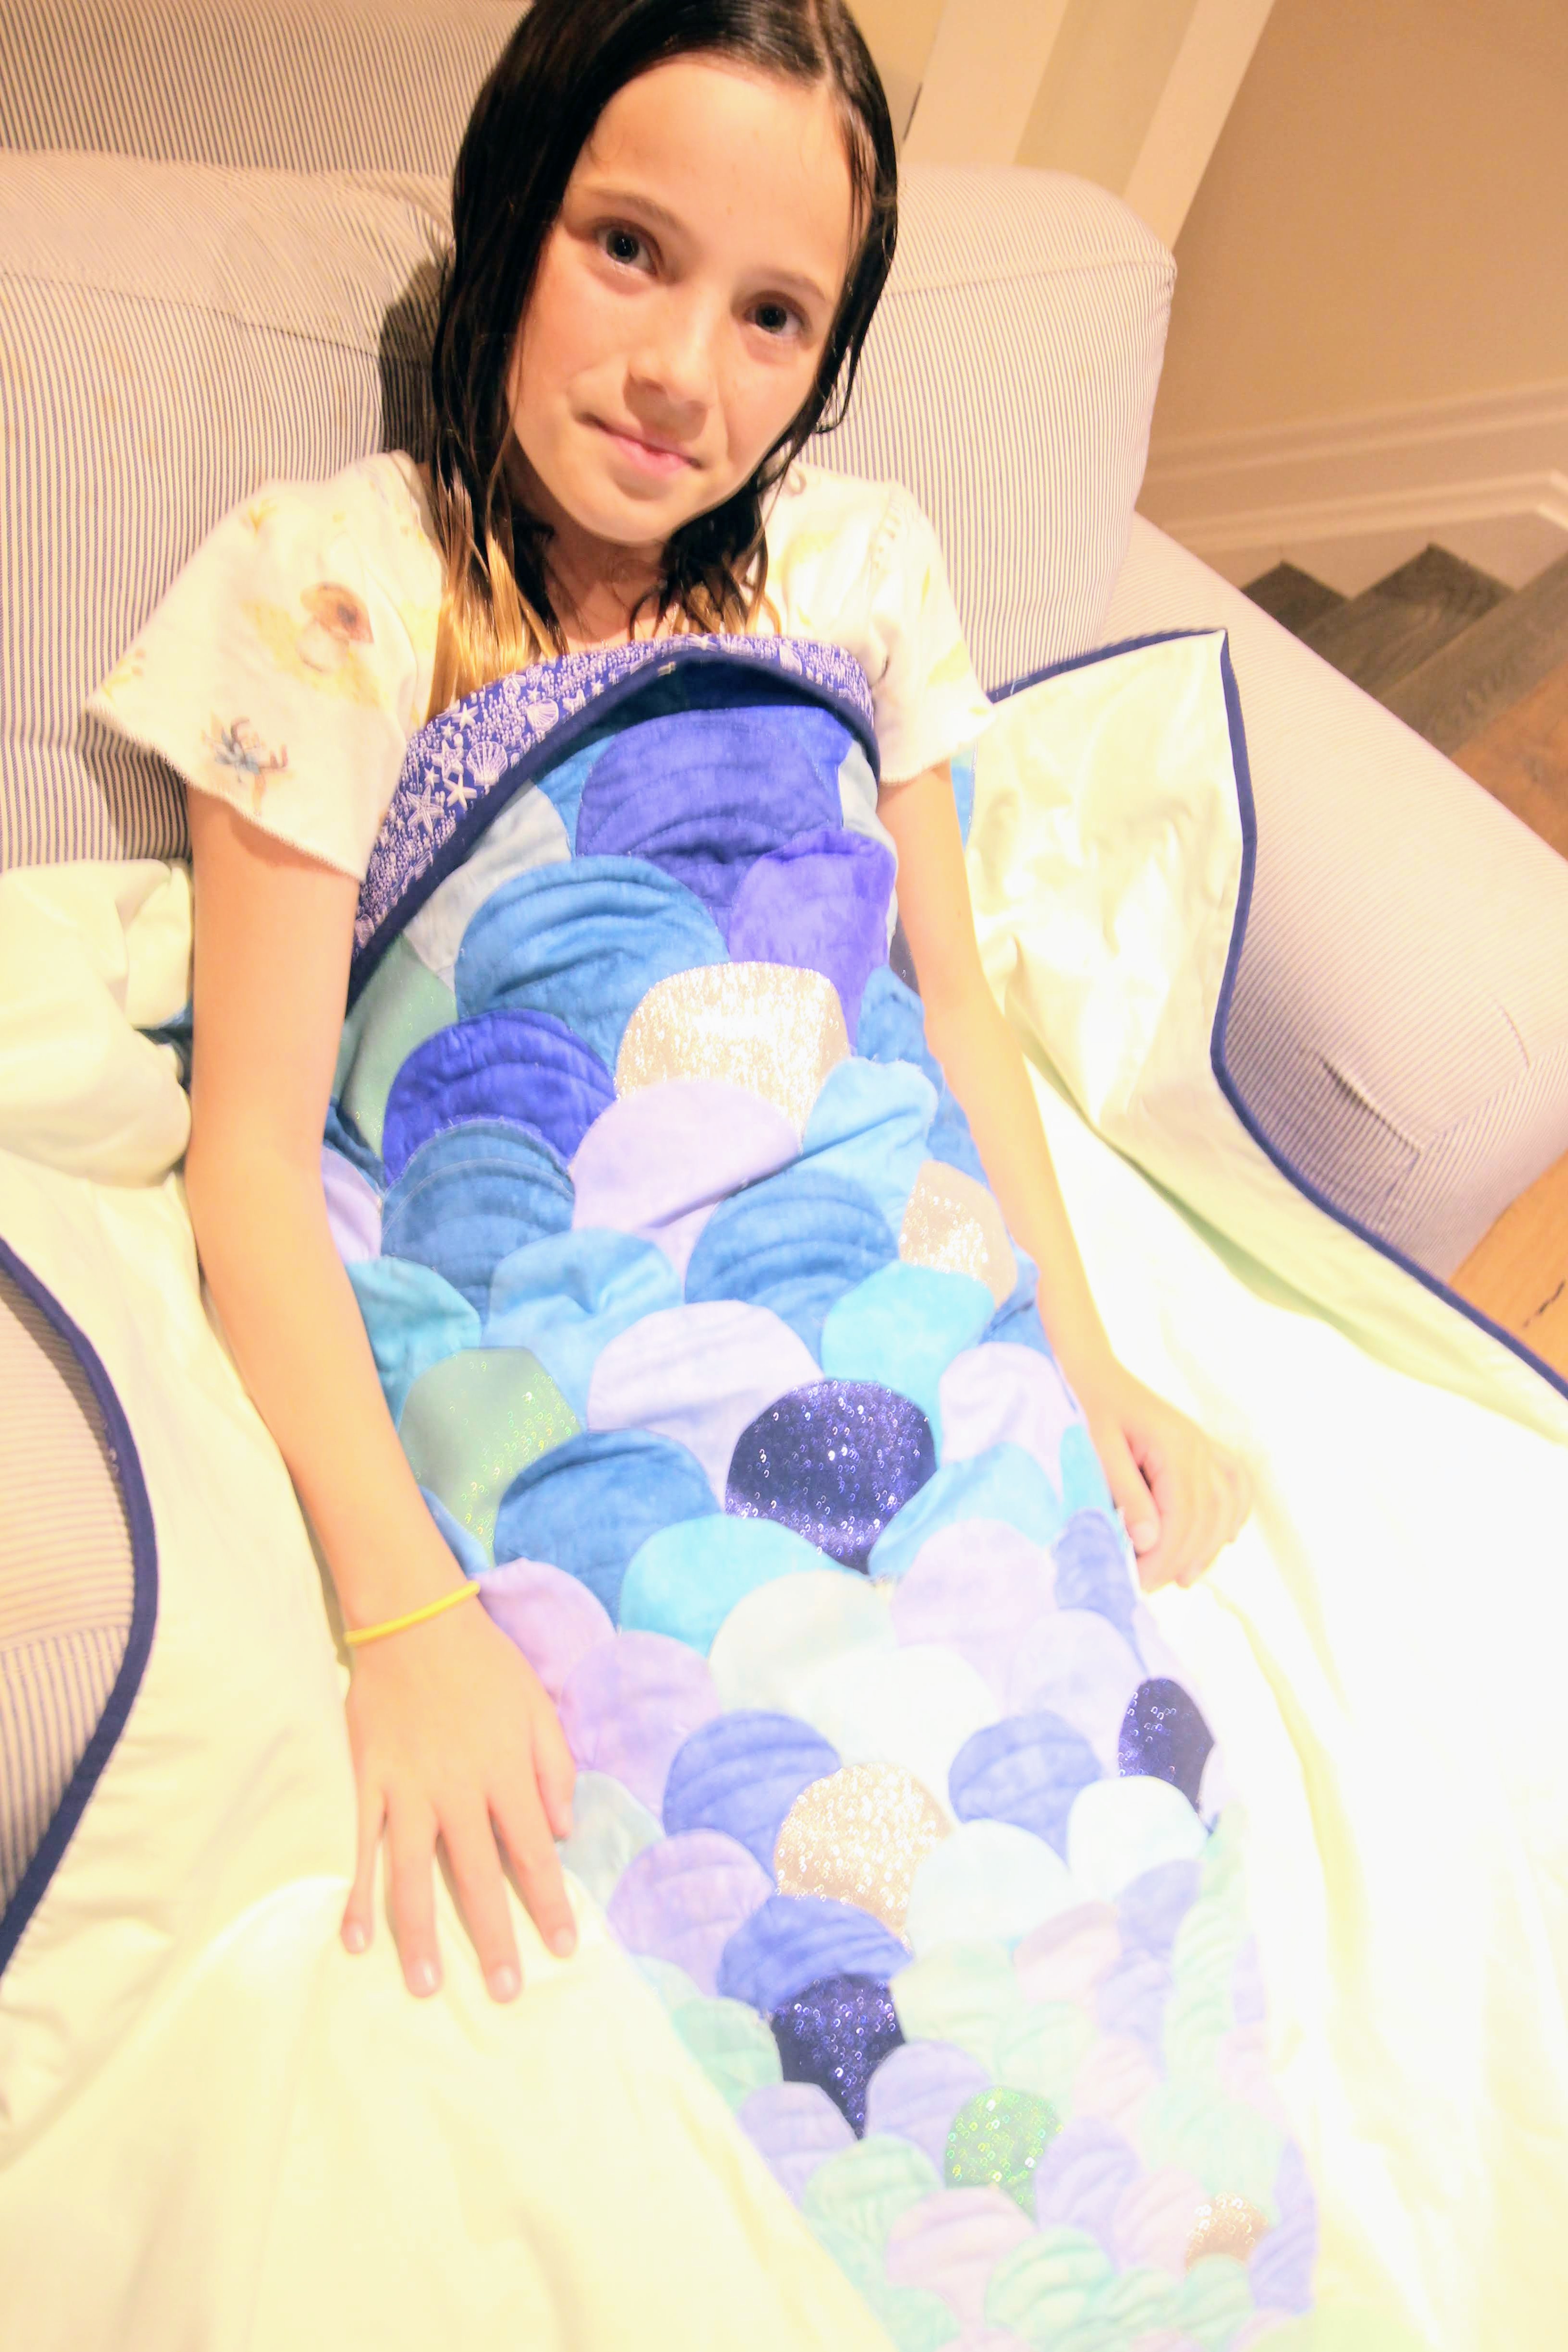
I love that the tail comes right up to the binding so that when my daughters pull it up, it looks as though their bottom half is a mermaid.
These dies, along with the other Patchwork Dies in the series – Jewel and Elongated Hexagon are available on HSN Sept 10, 2019.
Patchwork Die Mermaid Tale
Stitching the clam shells right to the top of the quilt, snug against the binding, makes it looks like she’s got a tail of her own. The girls love that part!.
Happy Sewing!
jt
Here’s a list of products I used for this project:
Crafter’s Companion Clamshell Patchwork Dies
Crafter’s Companion Gemini Machine
Crafter’s Companion Gemini Cutting Plate
Crafter’s Companion Gemini Plastic Shim
Crafter’s Companion Gemini Magnetic Shim
Janome Memory Craft 6600 Professional Sewing & Quilting Machine

