Outdoor Project: 2 Ways To Update Your Patio Chair Cushions
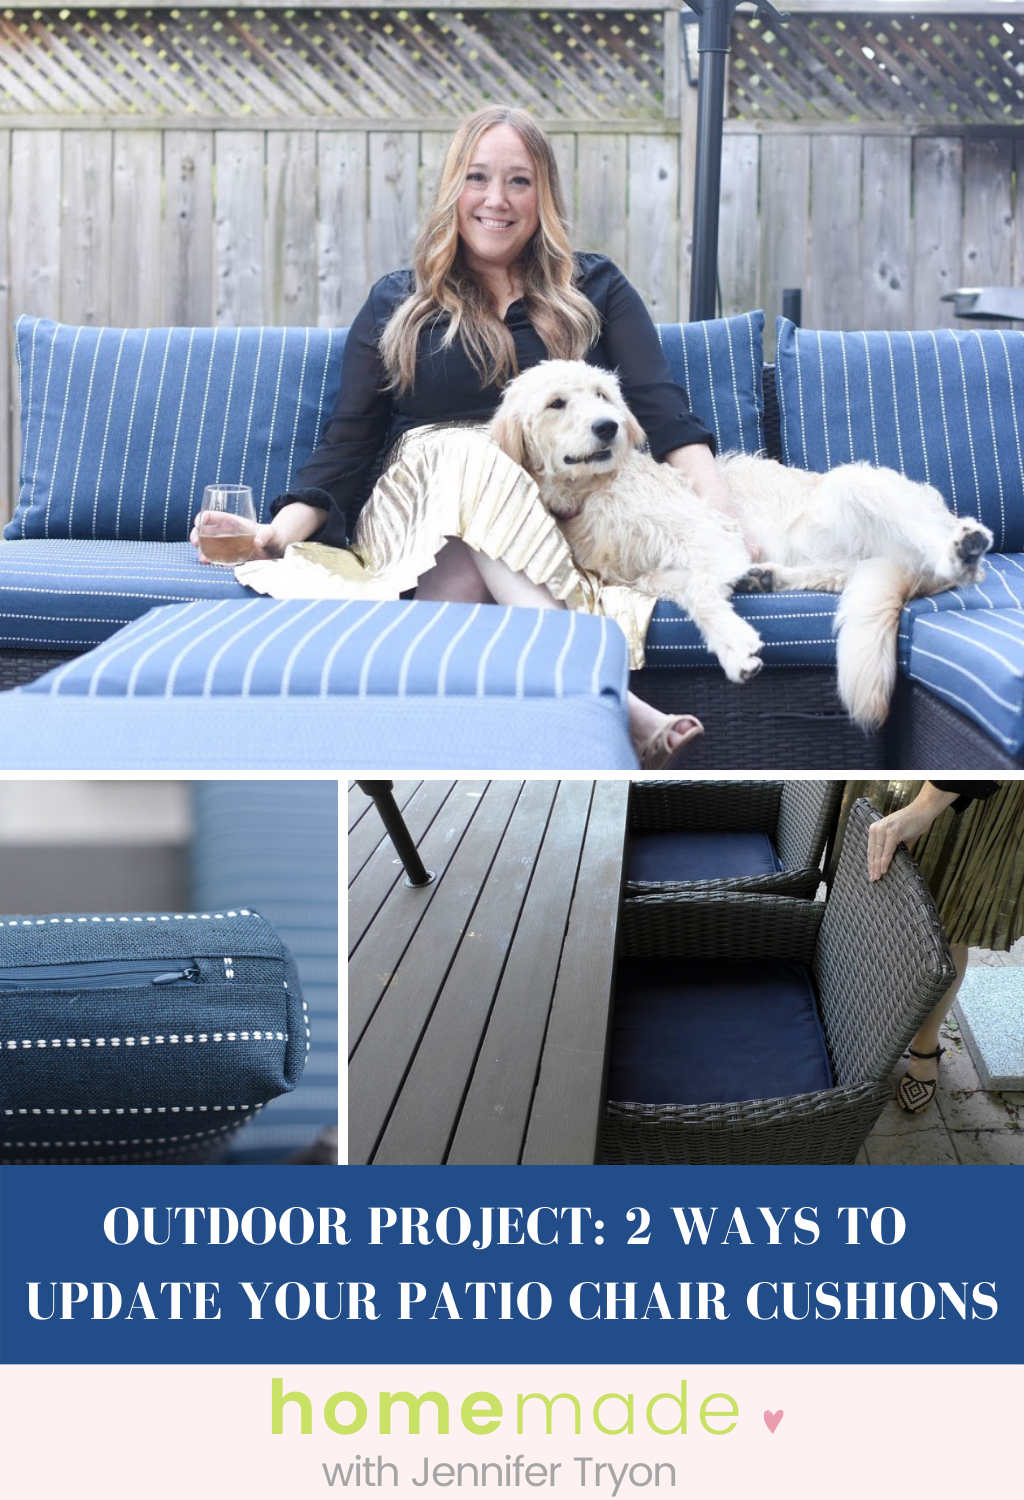
If you are looking for an easy and cheap way to spruce up your existing patio furniture, then you will love today’s blog post!
Today I will be showing you 2 methods that you can use to update your patio chair cushions for the summer season! The great thing about these 2 methods is that they are simple to replicate, can be customized to fit your own ”patio furniture style”, and can be used to update your cushions within a weekend.
Keep reading below to see both methods!
Spray paint old patio chair cushions
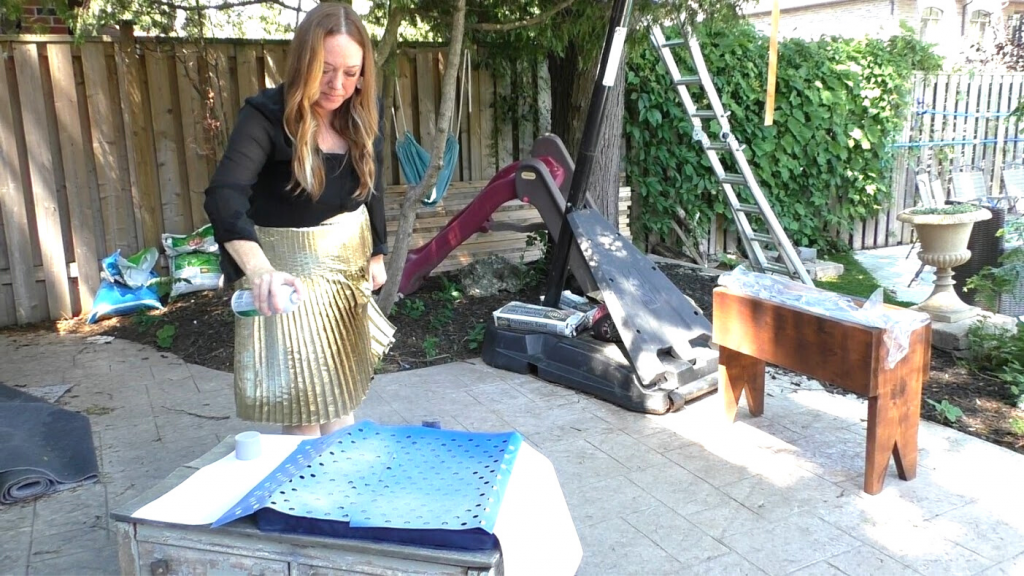
If you are looking for a quick way to update your patio cushions, which doesn’t involve sewing, then grab your favorite color of fabric spray paint! This is because you can spray paint your patio cushions.
Don’t believe me? Then let me show you how easy, addictive, and fun this method is!
Supplies:
- Old patio chair cushions
- Outdoor Fabric spray paint
- Cricut Machine
- Permanent Vinyl
Steps for spray painting patio chair cushions:
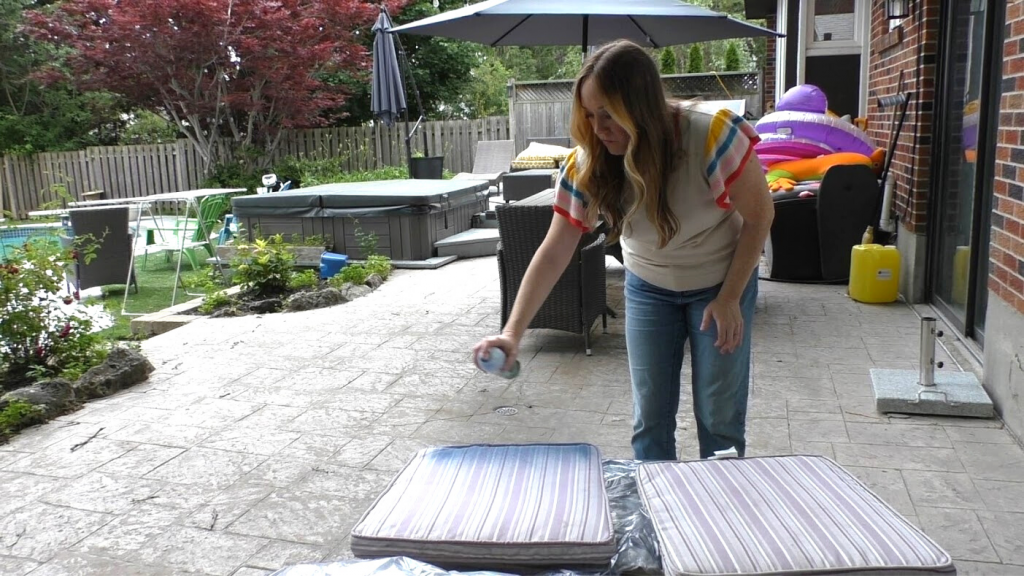
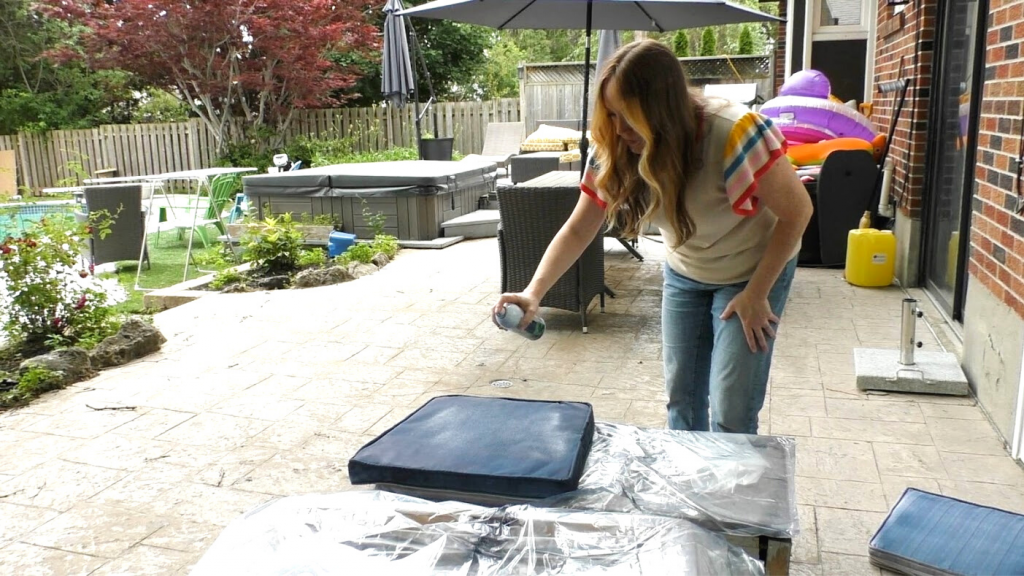
1 – Before you start, shake the spray paint can for a good 1 minute before spraying. Spray your old patio chair cushions, be sure to spray outside or in a well-ventilated area. If you are covering a dark pattern you may need to use 3-4 coats. You can choose to spray both sides of the cushion or just the top.
Let dry between each coat.
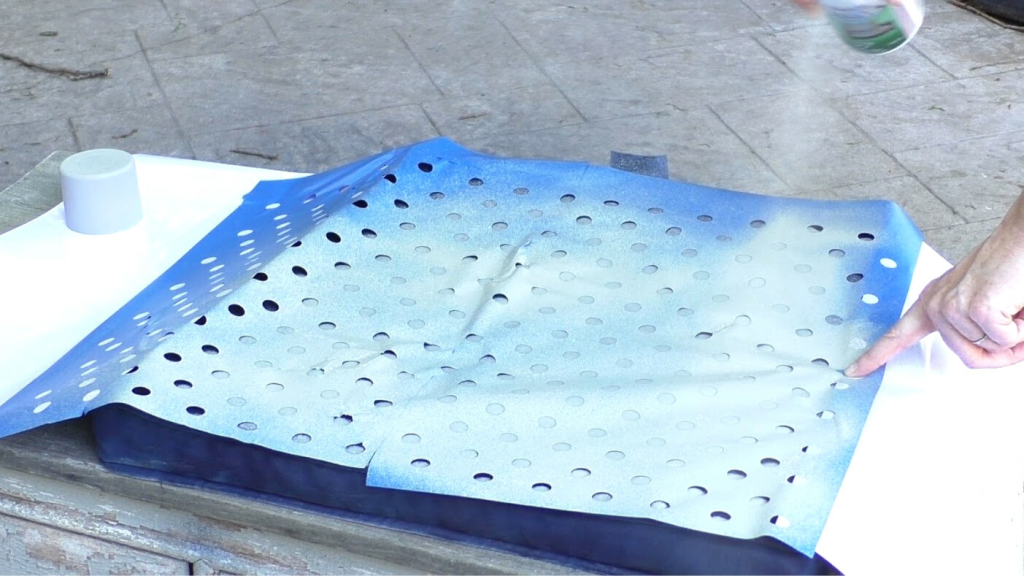
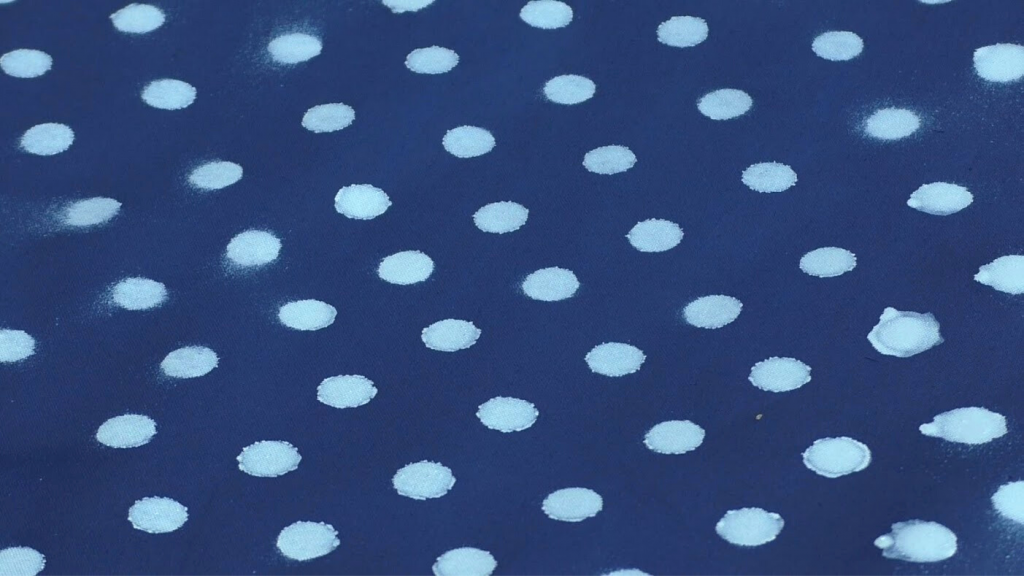
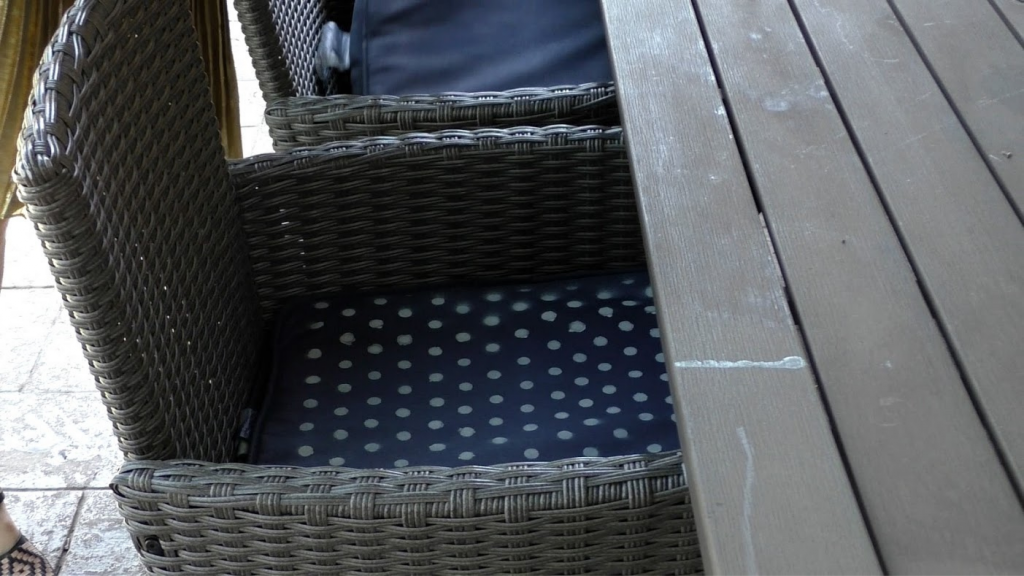
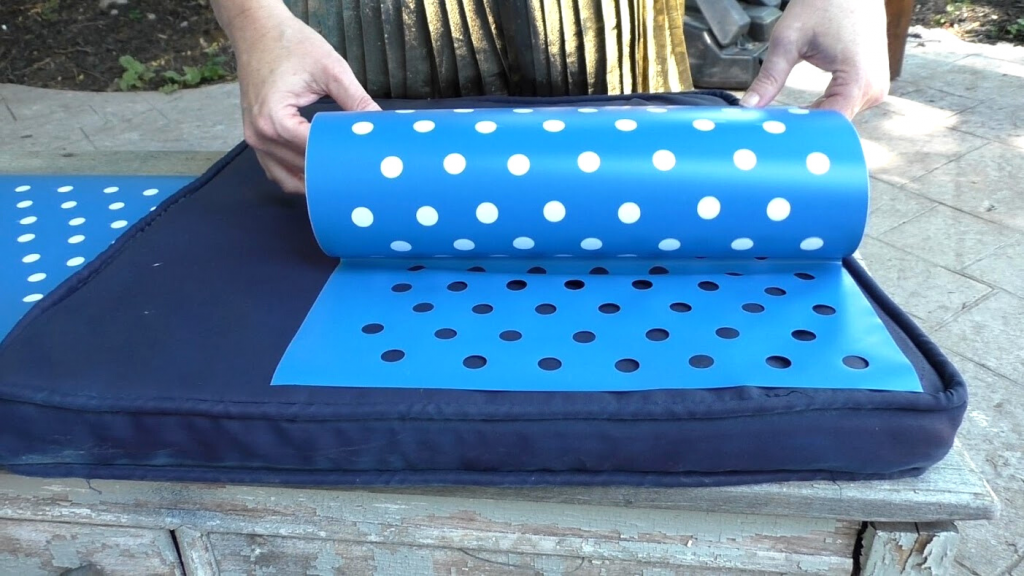
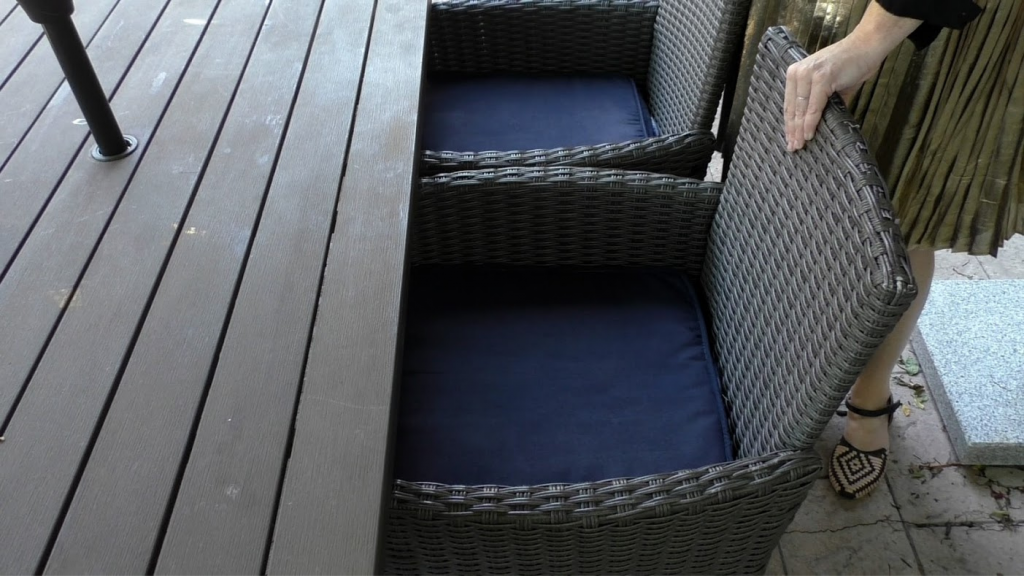
2 – If you want to have some fun with them, you can cut out a stencil using your Cricut machine and some vinyl. I made a polka dot pattern using Cricut Design space. I used the negative cut as the stencil and a lighter colour spray paint for the dots. This part will only require one coat.
Recover outdoor patio cushions:
If sewing is more your speed, then grab your sewing machine and your favorite outdoor fabric, and let me show you how to sew some covers for your patio cushions!
Supplies:
- Sewing machine
- General sewing supplies (ie. pins, snips, thread, rotary cutter, etc.)
- Outdoor fabric
- Zipper
- Old patio cushions
Steps for recovering outdoor patio cushions:
1 – To measure the amount of fabric you will need for your cushion cover, wrap the fabric around the entire cushion. When the ends meet, subtract an inch (the zipper will add about an inch to the cover).
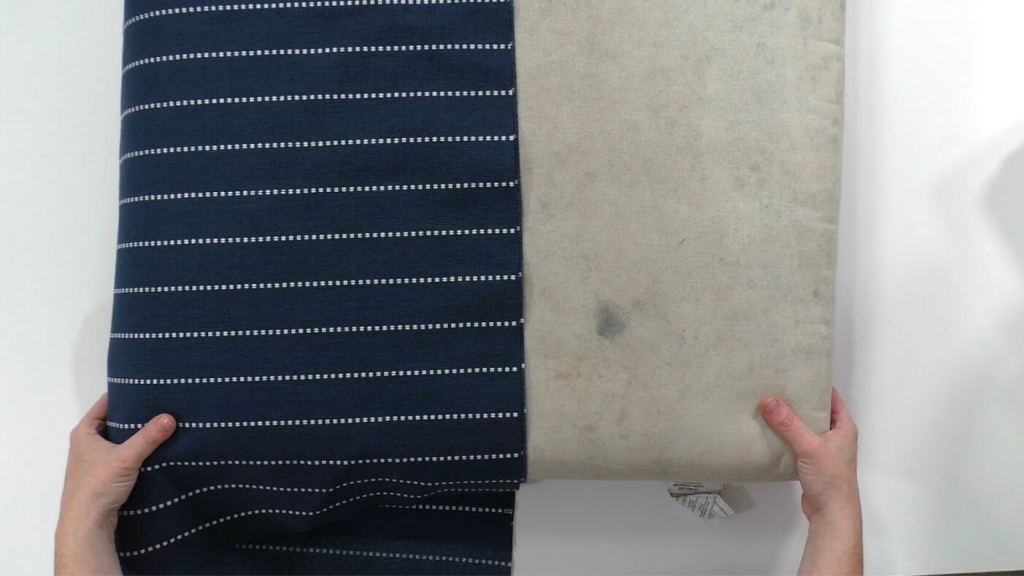
2 – Cut your fabric to your measurements.
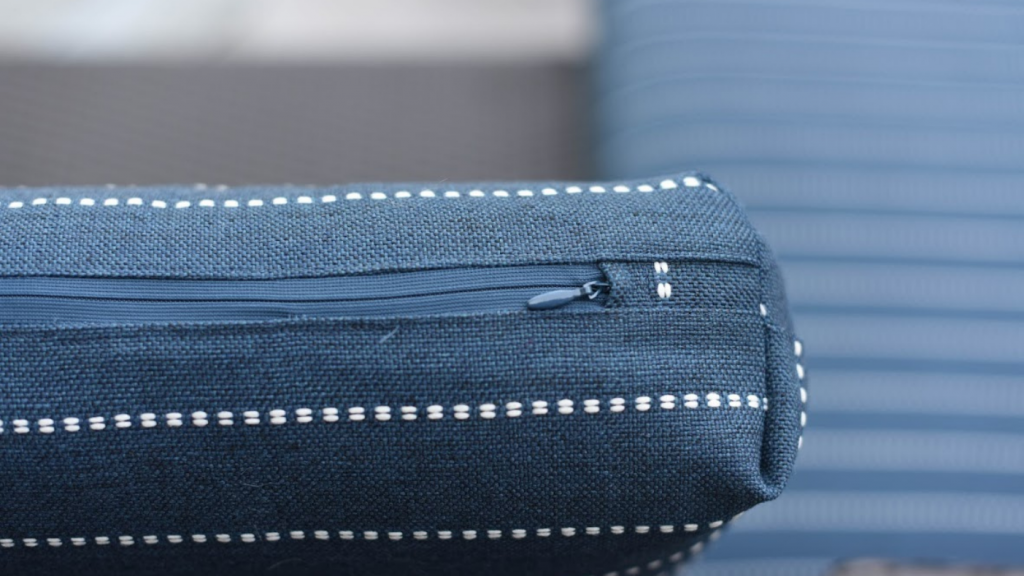
3 – Before installing your zipper, add tabs of matching fabric the width of the zipper to the ends of both sides of the zipper, so there is at least 2-3 inches of non-zipped edge on the side of the pillow. This is to allow your corners to be boxed without interfering with the zipper. Be sure and lay the zipper tabs down flush with the end of the zipper, RST (Right sides together) sew, and backstitch. Then flip the tab over so it’s Right Side Facing up, and topstitch down the tab, so it lays flat. Repeat on both ends of the zipper.
4 – To install the zipper, lay it raw edge to raw zipper edge, RST., and use your zipper foot. Fold back the fabric and topstitch down the zipper. Attach the other side of the zipper to the other side of the fabric, making sure RST. Once it’s sewn, you’ll have to topstitch through the cylinder you’ve made by sewing the two sides together. It’s a little more cumbersome, but you can do it!
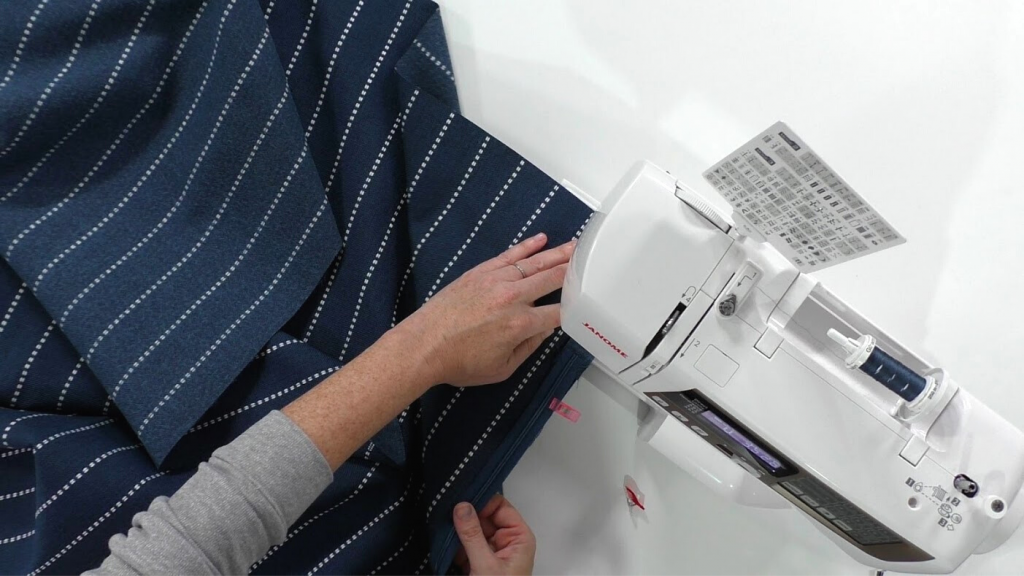
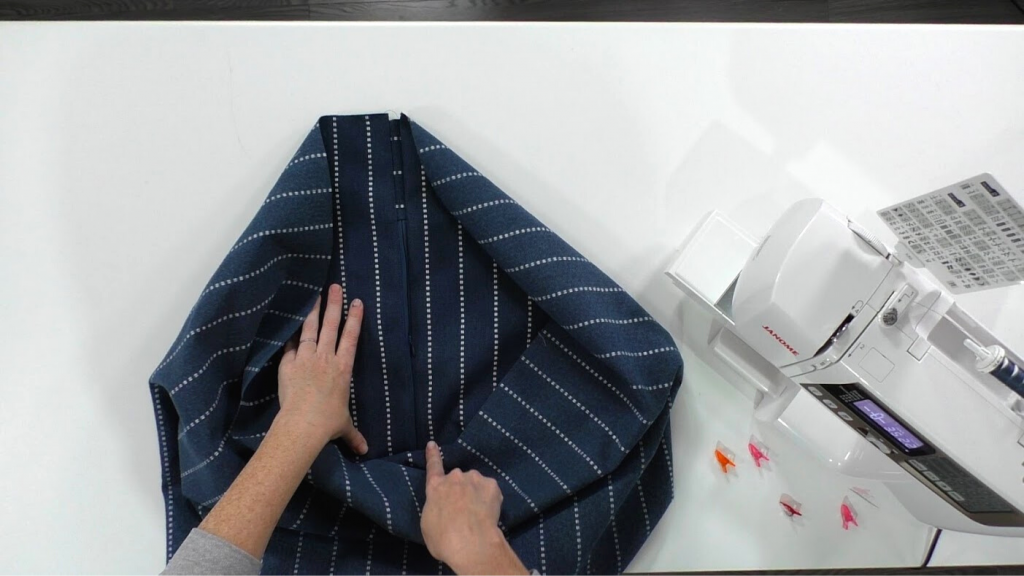
5 – Insert the cushion into the tube inside out and pin along both raw edges of the cushion. This will give you a nice crisp, snug fit.
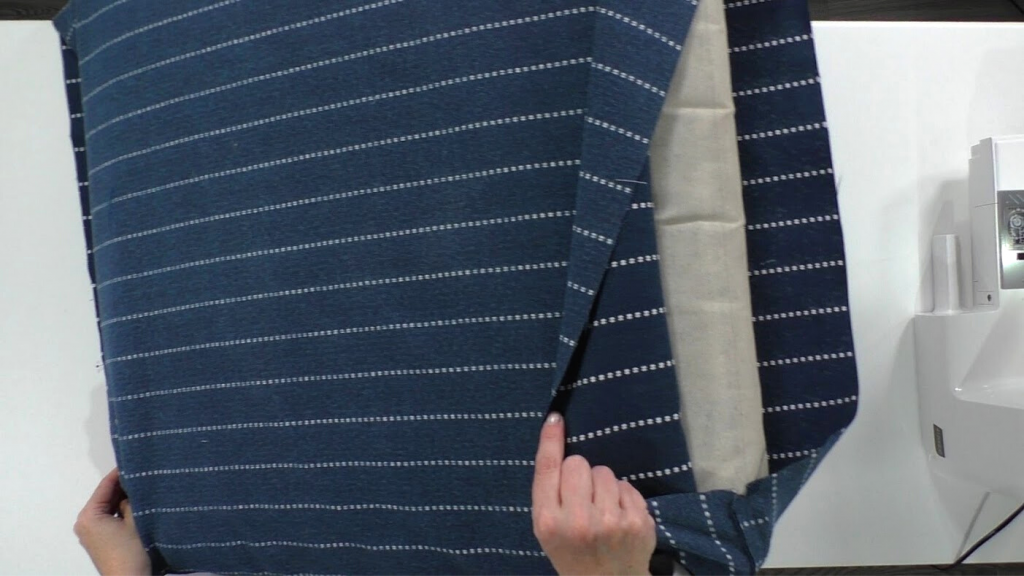
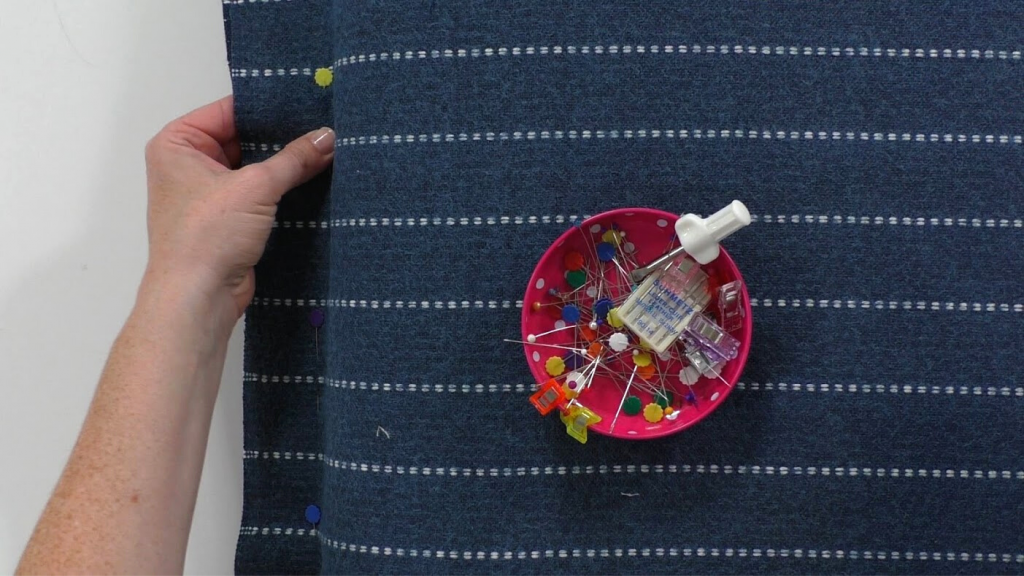
6 – Remove the cushion and sew both raw edges, be sure to remove the pins as you go.
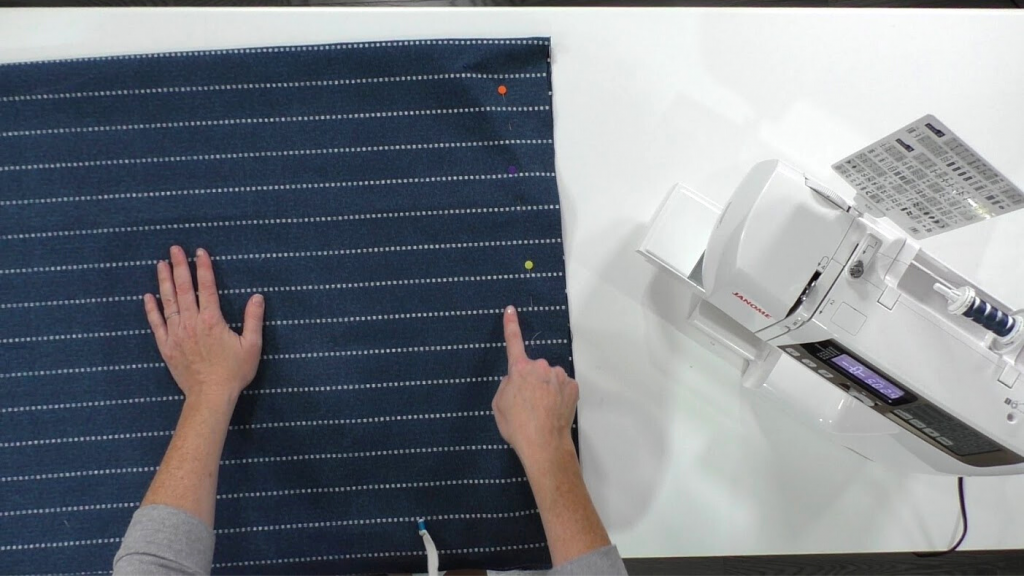
7 – To box the corners, make sure your cover is Right sides together, pull the bottom and top material apart so the sewn corners come to a point. Lay the point flat, measure over about an 1 inch (or however high your cushion is) mark the line with a pin or some chalk, stitch along your mark, and cut the tip of the corner off. Repeat on all four corners.
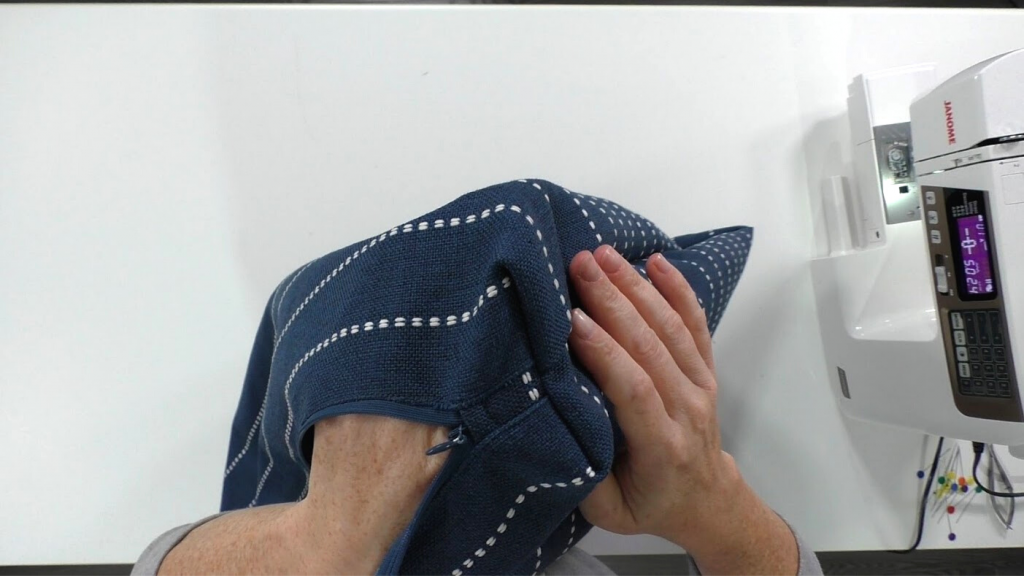
8 – Turn cushion cover right side out and insert cushion.
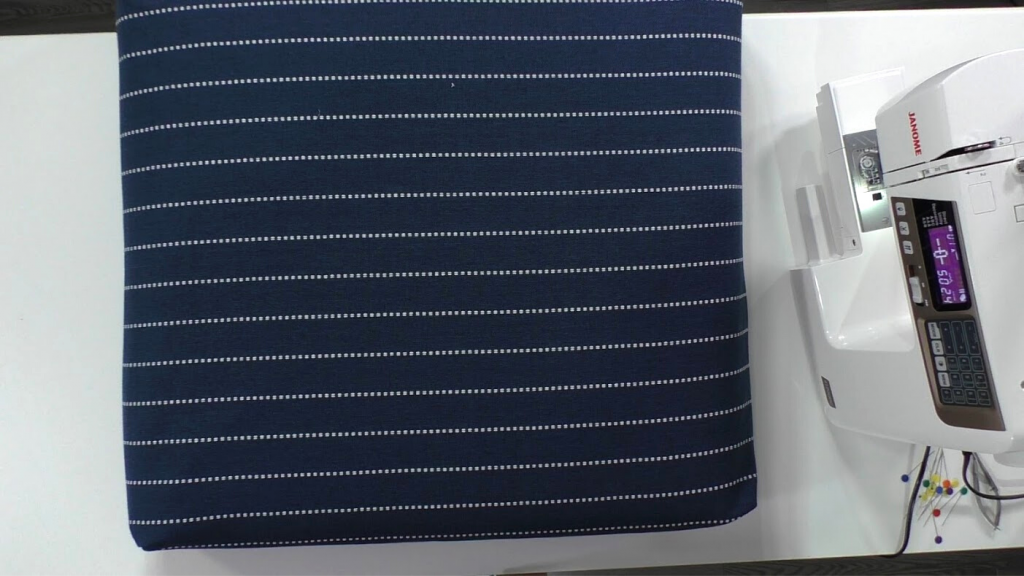
9 – Repeat for however many cushions you have.

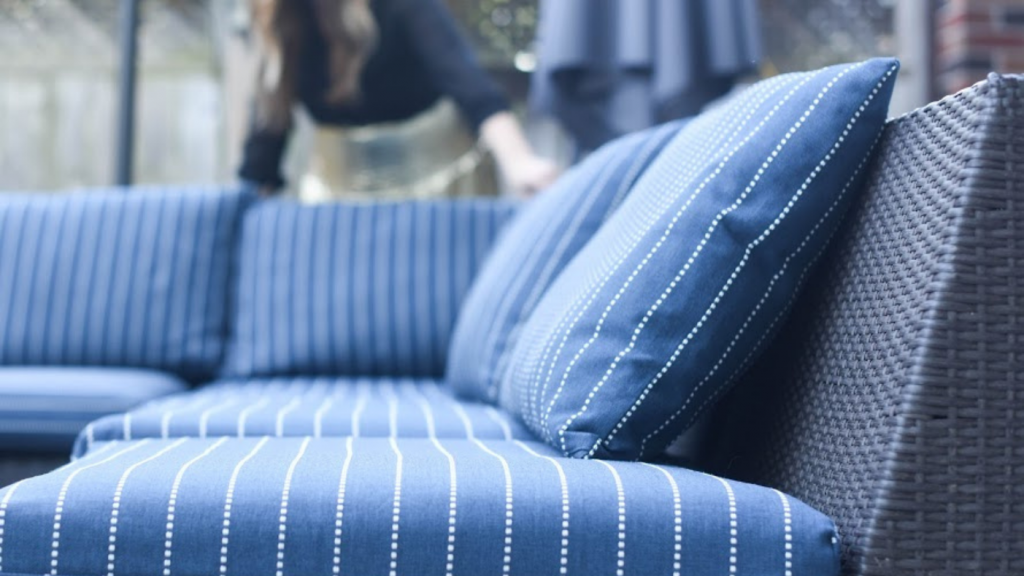
No matter which method you choose, enjoy your refreshed patio set!
– Jen

