Hello Kitty Hat Tutorial
Well I couldn’t get away with making one kid a hat. Â I was quickly schooled on fairness according to 3 and 4-year-old. Â Like I couldn’t see this argument coming a mile away. But little did they know I had them in mind the whole time.
Surprise! Hello Kitty!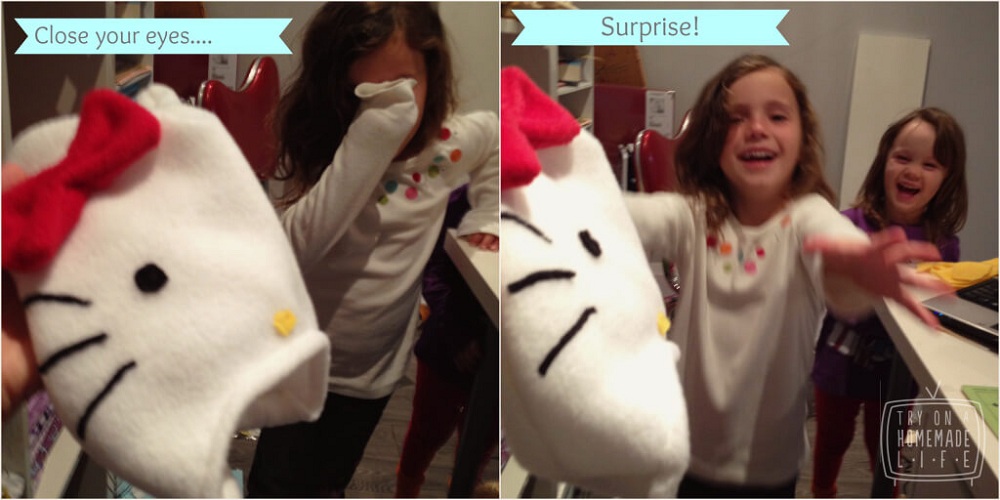
Here’s what you’ll need.
SUPPLIES LIST
1/2 metre of white fleece (you could make 4 hats with this much, but you need the length, so don’ t buy less.)
4 inches x width (which was the minimum the fabric store would sell it) Red Fleece (for bow)
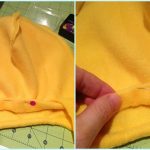
scrap of yellow fleece, fabric or even thread for nose
black fleece for eyes and whiskers
pins
scissors or rotary cutter
sewing machine
measuring tape
Kid with a head.
Follow these hat instructions found in the Minion Hat Tutorial.
The only difference being, rather than round the top of the pattern, you’ll want to sew into a point while inside out to mimic the ears.
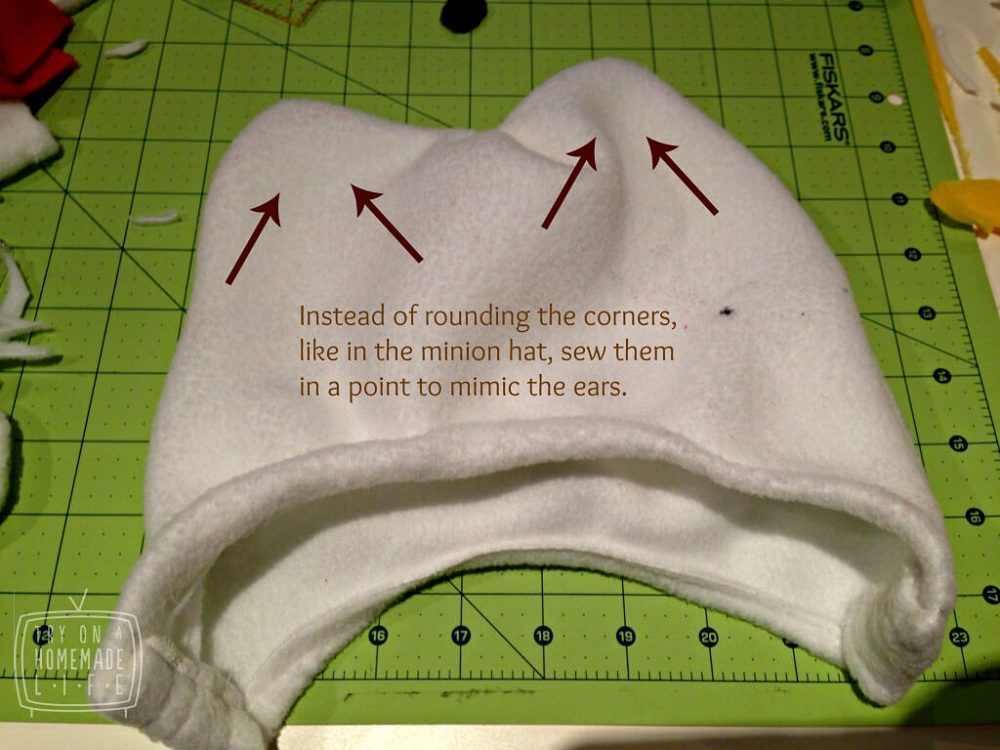
Then continue following the Minion Hat Tutorial for hemming the bottom.
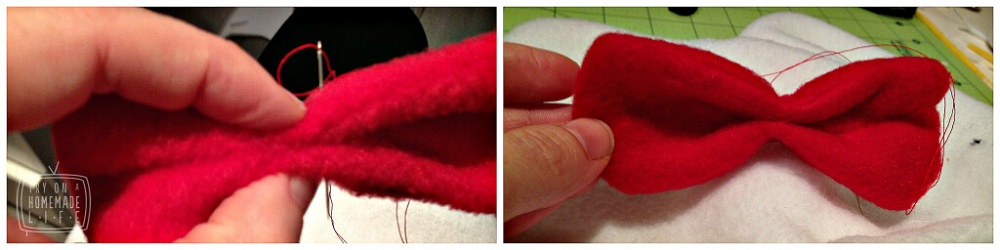
Then comes the Hello Kitty Embellishments. Most importantly, I think, the bow. take 2, 2×4 inch pieces of Red Fleece, and sew 3 the 2, 4 inch sides and 1, 2 inch side together. Leaving one side open, so you can flip it inside out. The rest will require hand sewing. Just squeeze the centre, to make the bow and sew into it, then attach just under the left ear.
The cut some small black circles for eyes, 6 small 1inchx3mm whiskers and a small triangle of yellow for the nose. I sewed these on with the machine. Careful not to go over the edges, you don’t want extra coloured stitches on your white fleece. If you’re worried about this, just hand sew them, they’re so small it won’t take long.
Don’t they look so cute! The hats do too.